Soil & Fertilizing8 min read
How to Use Leaf Mold to Improve Garden Soil
Fallen leaves can become one of the most useful materials in a garden. Given time and moisture, they break down into leaf mold: a dark, crumbly material that helps soil hold water and supports a loose, workable structure. Unlike rich compost, leaf mold is not primarily a fertilizer. Its strength lies in improving the physical character of soil and making a gentle, attractive mulch. You do not need a sophisticated setup to make it, and even a small autumn collection can be put to work around beds, paths, and containers.

Choose Leaves That Will Break Down Well
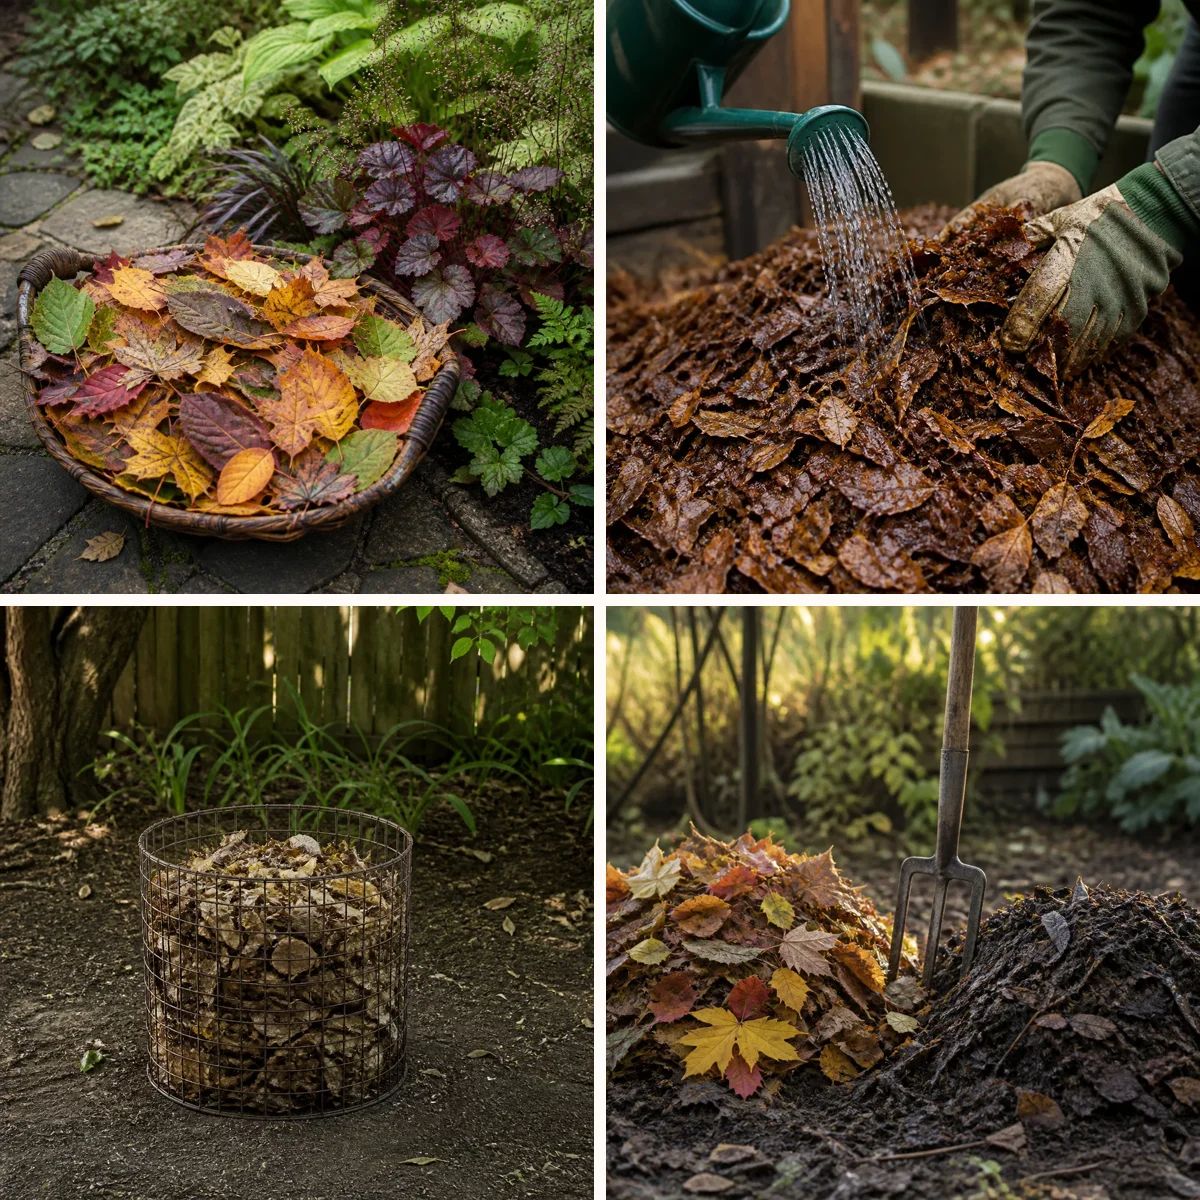
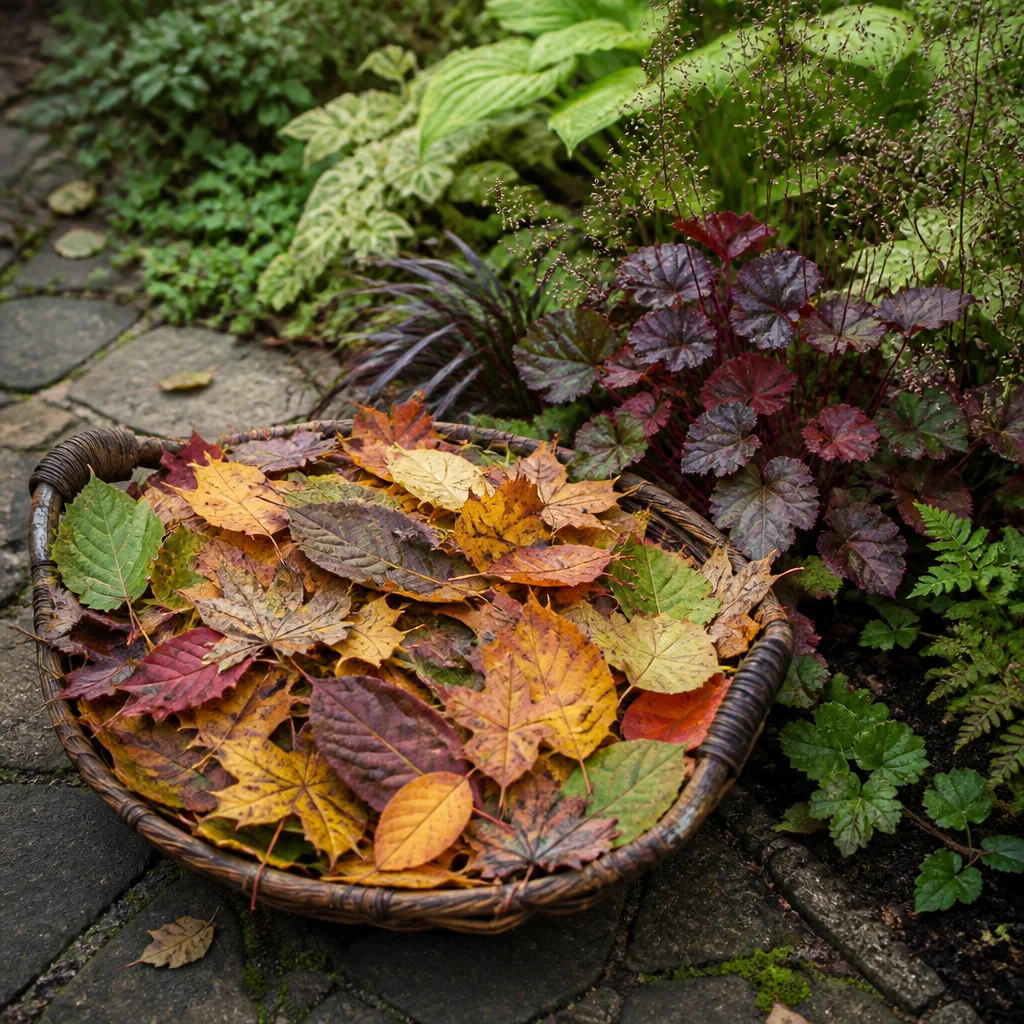
Start with fallen leaves from healthy trees and shrubs, gathering them before they blow away or form slippery mats on paths. Many common deciduous leaves make good leaf mold. Oak and beech leaves can take longer to soften, while smaller or thinner leaves often break down more readily. A mixture is perfectly acceptable, so there is no need to sort every handful by tree. Avoid leaves contaminated with litter, oil, or other pollutants, and leave glossy evergreen foliage and tough conifer needles out of your first batch because they generally decompose slowly. Keep leaves showing serious signs of disease out of the pile if you are concerned about carrying pathogens back to susceptible plants. Leaf mold piles are typically cool rather than reliably hot, so they should not be counted on to destroy plant diseases or weed seeds. If you collect leaves from outside your own garden, ask permission and avoid material that may have been treated with herbicides.
Shred and Moisten Your Collection
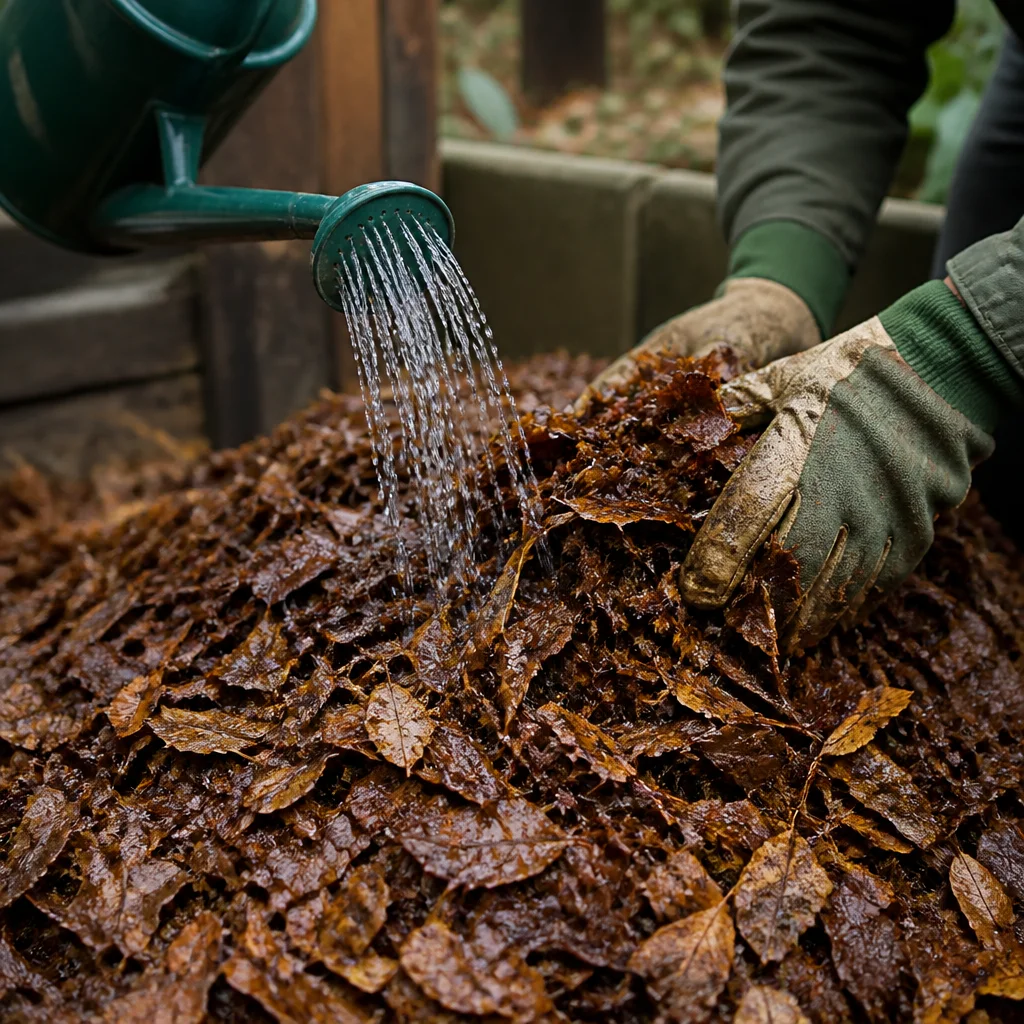
Shredding leaves increases their surface area and helps prevent dense, water-shedding layers. A mower with a collection bag can chop dry leaves spread thinly over a lawn; follow the mower’s safety instructions and check the area first for stones and other debris. Alternatively, cut leaves with a garden shredder or simply gather them whole if you do not mind a longer wait. Whole leaves are still useful, but compacted masses of large leaves can slow the process. Moisten dry leaves as you collect them. Aim for the feel of a wrung-out sponge: damp throughout, but not dripping. Autumn rain may do much of this work, although a sheltered pile can dry out surprisingly quickly. If leaves are sodden and slimy, loosen them to let excess water drain and air circulate. You are creating a hospitable environment for the fungi and other organisms that gradually turn leaves into soil-like material.
Build a Simple Leaf Mold Bin
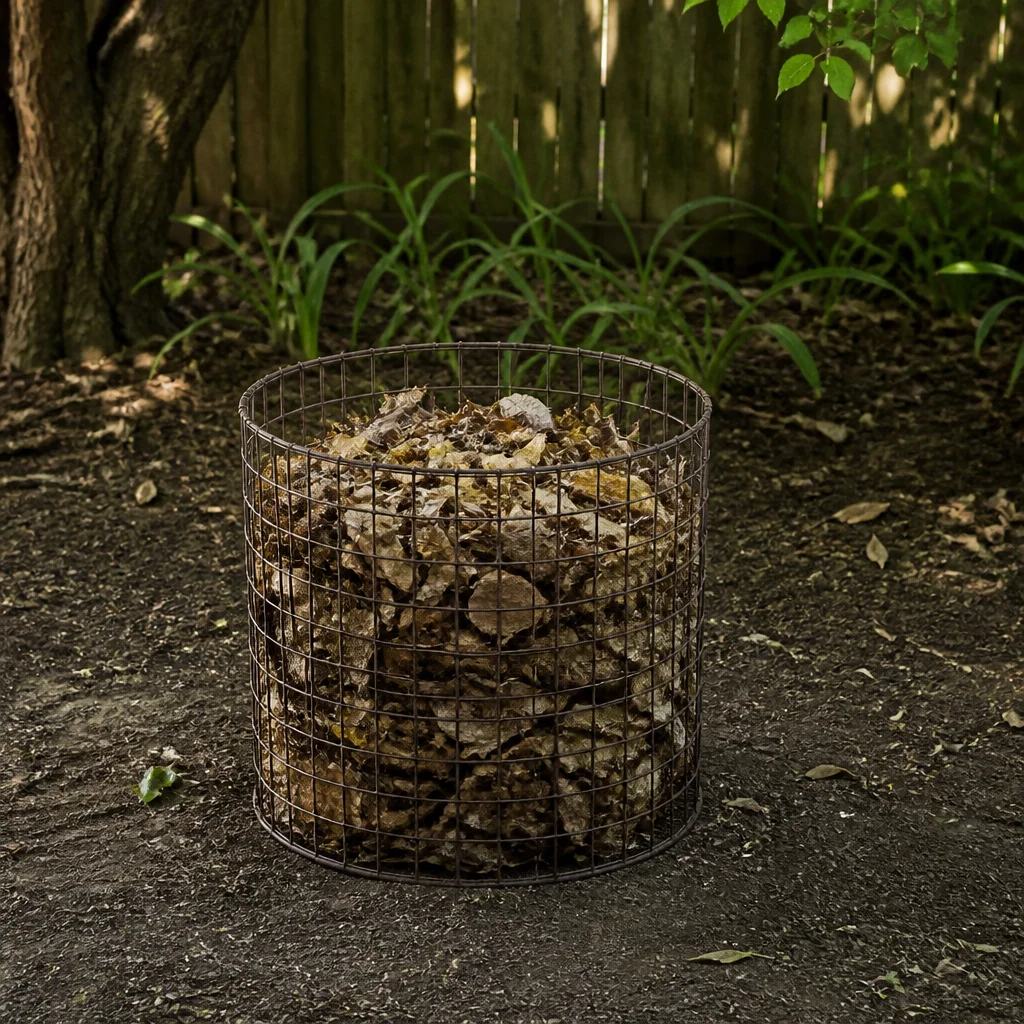
A leaf mold bin can be as straightforward as a ring of sturdy wire mesh secured with posts. Place it on bare soil in a convenient, partly shaded spot, then fill it loosely with damp leaves. The open sides admit air and rain, while contact with the ground allows decomposers to move in. Make the enclosure large enough to hold your collection but narrow enough that you can reach in with a fork. Leaves settle considerably as they soften, so a full bin will gradually shrink. For a small garden, use a reusable garden sack or a sturdy bag with drainage and air holes. Fill it with damp leaves, close it loosely, and tuck it somewhere out of the way. Check bagged leaves more often than an open pile: add water if the contents dry out, and open or loosen the bag if they become waterlogged. Keep the setup tidy and secure so leaves do not scatter into neighboring spaces.
Give the Pile Time and Occasional Attention
Leaf mold develops slowly, usually over one to two years, although shredded leaves in a moist pile may be usable sooner and tough leaves may take longer. Conditions matter more than the calendar: dry weather, cold temperatures, leaf type, and particle size all affect the pace. Unlike a conventional compost heap, a leaf mold pile does not need layers of kitchen scraps or nitrogen-rich material to do its job. Let it concentrate on leaves. Every few months, check the moisture and loosen any tightly packed areas with a fork. Turning the whole pile is optional, but moving dry outside leaves toward the damper center can help an uneven batch along. If space allows, start a fresh pile each autumn beside the older one. That simple rotation gives you a supply at different stages without mixing newly fallen leaves into material that is nearly ready.
Recognize Finished and Partly Finished Leaf Mold
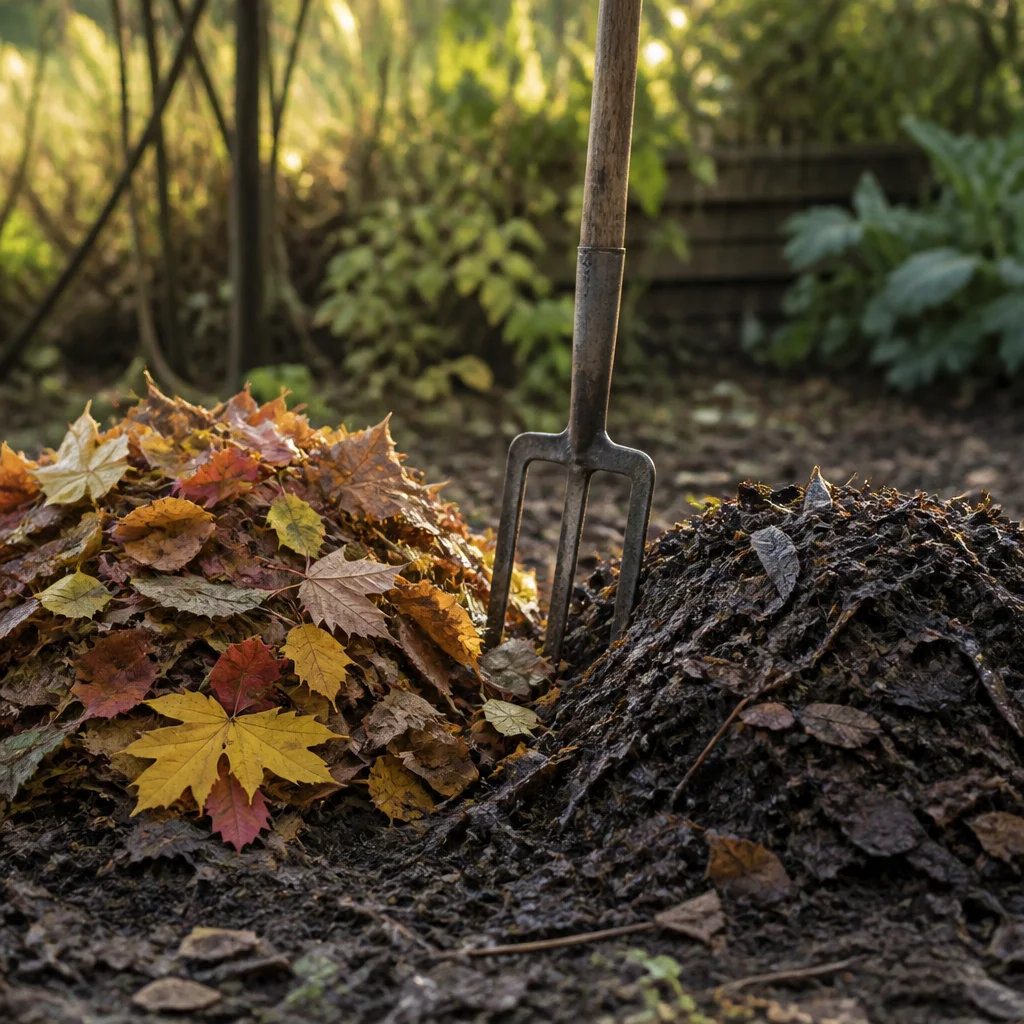
Finished leaf mold is dark brown to nearly black, crumbly, and earthy-smelling, with few recognizable leaf shapes. It should feel moist and loose rather than slimy or sharply sour. Rub a handful between your fingers: if it falls apart readily and looks like coarse, dark soil, it is ready for most garden uses. Sift it through a coarse garden sieve if you want a finer texture, returning stubborn pieces to the next batch. Partly decomposed leaves also have a place in the garden. If you can still see leaf shapes but the material is soft and beginning to crumble, use it as a surface mulch around established plants. Let it mature longer before mixing it into beds or using it in a potting blend. An unpleasant smell or matted, wet clumps suggest poor aeration; loosen the material and allow excess moisture to drain before using it.
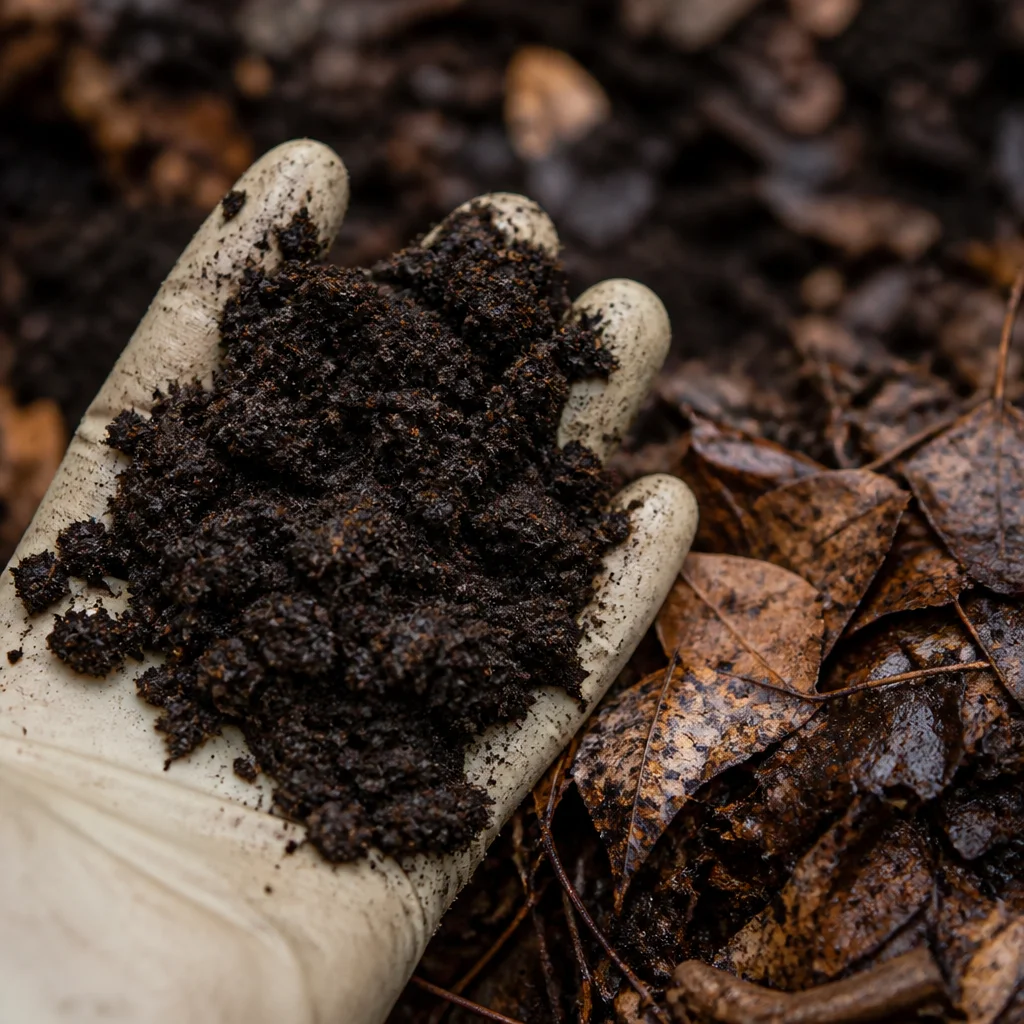
Work Finished Leaf Mold Into Garden Beds
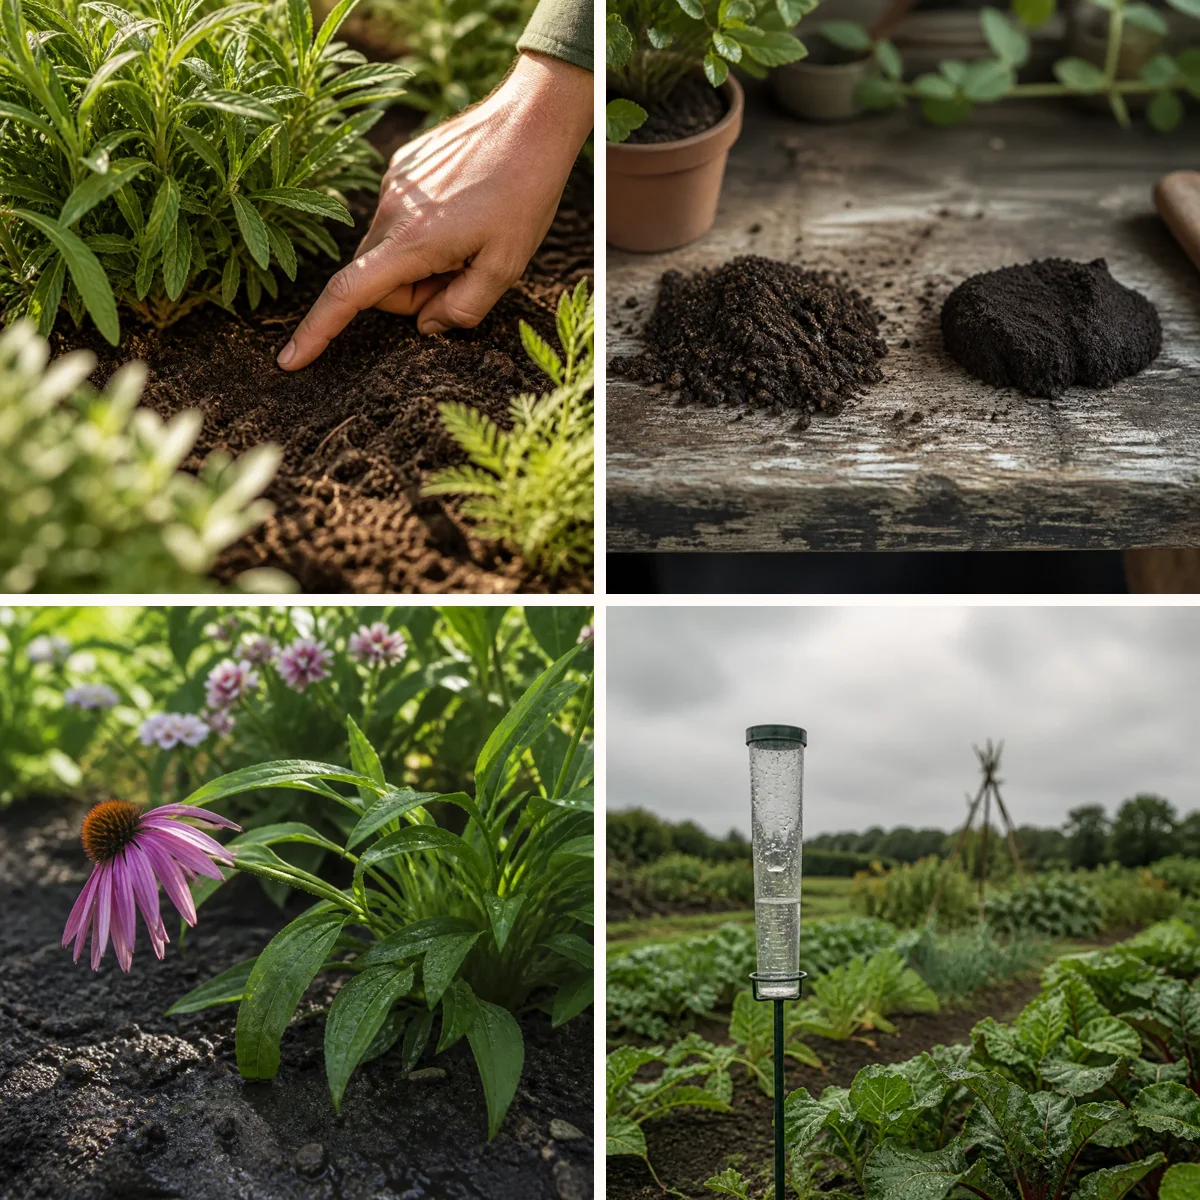
Finished leaf mold is especially useful where soil dries quickly or feels difficult to work. Spread a layer about 1–2 inches deep over a bed, then gently mix it into the top few inches with a fork before planting. On established beds, you can instead leave it on the surface and let worms and other soil life gradually draw material downward. Avoid digging when soil is very wet, since walking or working it then can compact the structure you are trying to improve. Leaf mold adds organic matter, but it should not be treated as a complete source of plant nutrients. Assess the needs of what you grow and, where appropriate, use compost or a suitable fertilizer alongside it. For a new border, amend the whole planting area rather than packing rich material into individual planting holes; this creates a more consistent environment for roots to explore.
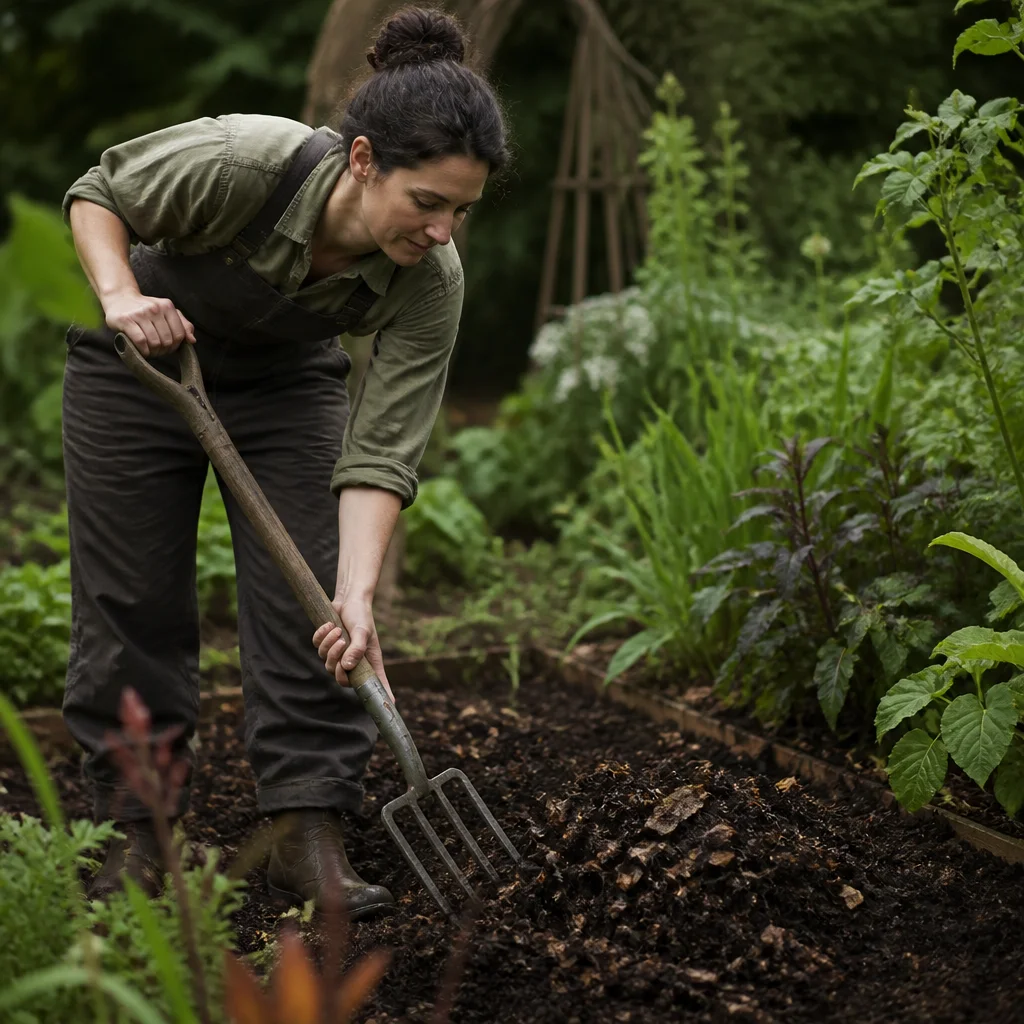
Mulch Around Plants for a Neat, Natural Finish
Spread finished or partly finished leaf mold roughly 2–3 inches deep around established perennials, shrubs, and trees. It can help shade the soil, reduce moisture loss, and suppress some weed seedlings. Leave a clear gap around stems, crowns, and tree trunks so damp material does not sit against the bark or tender growth. Pull existing weeds before spreading, and water dry soil first rather than relying on mulch to rewet it. For a composed look, carry the same dark mulch across an entire border and sweep stray material off edging and paving. Its quiet color sets off silver foliage, ornamental grasses, and pale flowers without competing with them. Refresh thin patches as the mulch settles, but avoid piling new layers on indefinitely; check the total depth and keep plant crowns visible.
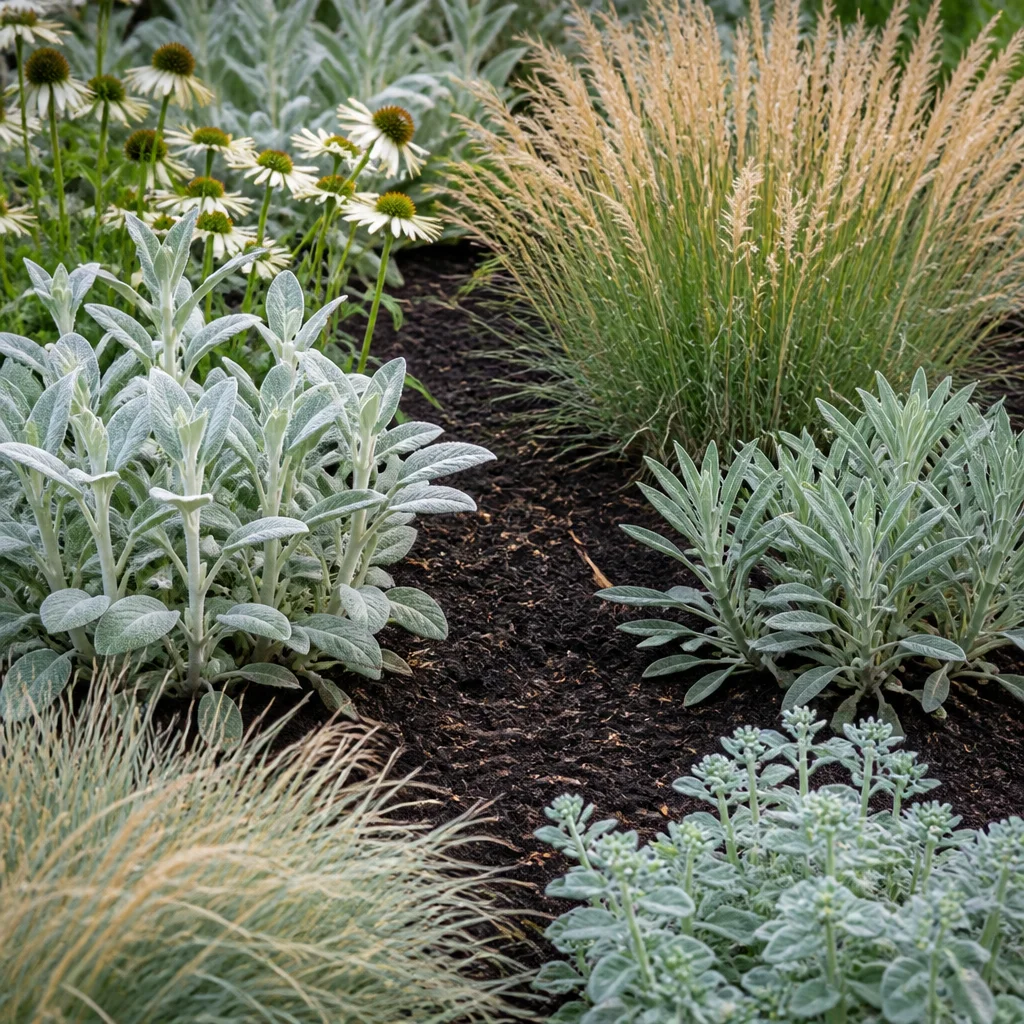
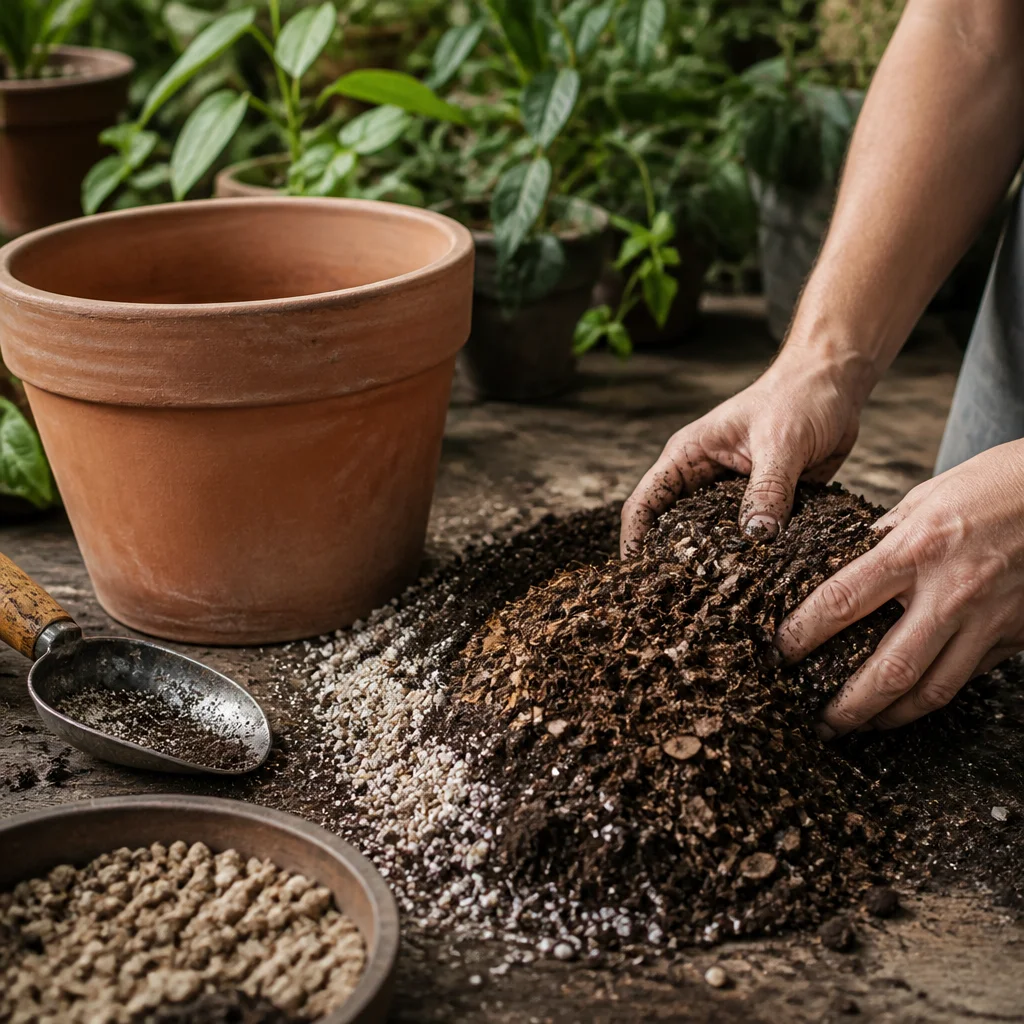
Use Mature Leaf Mold in Containers and Fine Planting Work
Well-rotted, sifted leaf mold can be one component of a homemade potting mix for established container plants. Combine it with other suitable ingredients rather than using it alone: it varies from batch to batch and does not provide a dependable balance of nutrients or drainage. Start with a modest proportion, observe how quickly the mix dries, and adjust for the plants and containers you use. Add nutrients separately when needed, following the directions for your chosen fertilizer. A fine layer of mature leaf mold can also be worked into the surface of a prepared bed before planting. For seed starting, choose a reliable seed-starting mix rather than assuming homemade leaf mold is clean or consistent enough for delicate seedlings. Keep stored leaf mold covered from heavy rain but not sealed while wet, and check it for unwanted roots or weed seedlings before bringing it into pots.
Make Leaf Collection Part of the Garden’s Autumn Rhythm
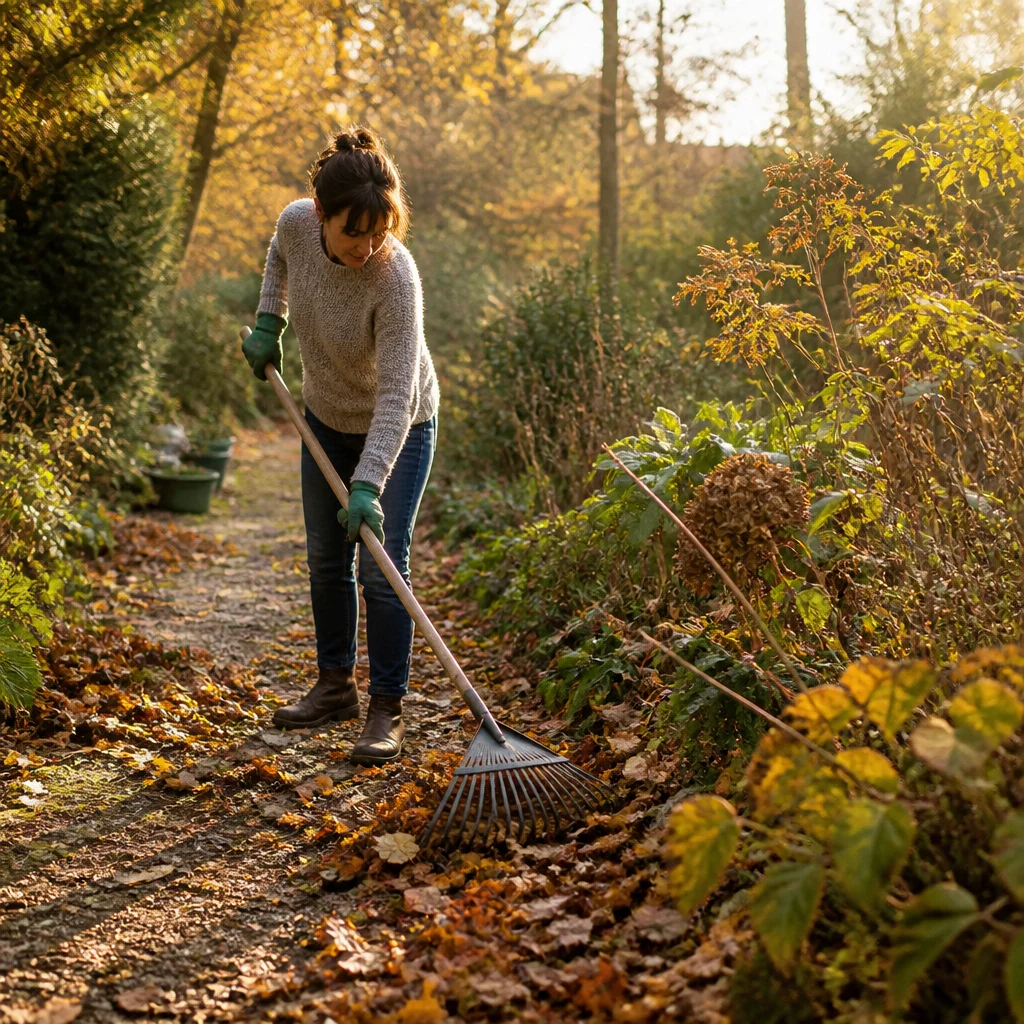
Plan collection around the spaces where leaves matter most. Clear lawns, drains, steps, and frequently used paths promptly, but consider leaving a light, loose scattering beneath established shrubs where it will not smother small plants or block drainage. Gather the surplus for your leaf mold bin. A wide rake is useful on lawns, while a hand rake or gloved hands make it easier to lift leaves from between closely spaced plants without damaging crowns. Use the finished material to tie the garden together the following year: mulch a shady border, soften the edge of a woodland-style path, or top up a hardworking vegetable bed after harvest. Keep partly decomposed material on paths or open soil rather than pressing it against plants. By collecting a little each autumn and using each batch according to its stage, you turn a seasonal chore into a steady cycle of soil care.
How did this story make you feel?
Choose one reaction. You can change it later.