Propagation7 min read
How to Propagate Softwood Cuttings From Garden Shrubs
Softwood cuttings turn a few fresh shrub shoots into the beginnings of a garden full of plants. Taken while new growth is flexible but not limp, they can root in a small pot with warmth, moisture, and patience. The technique is useful for repeating a favorite shrub along a path or sharing plants with friends, and it needs little more than clean tools, a free-draining medium, and a simple humidity cover. Success varies by species and season, so start with several cuttings rather than relying on one.

Choose Shrubs That Respond to Softwood Cuttings
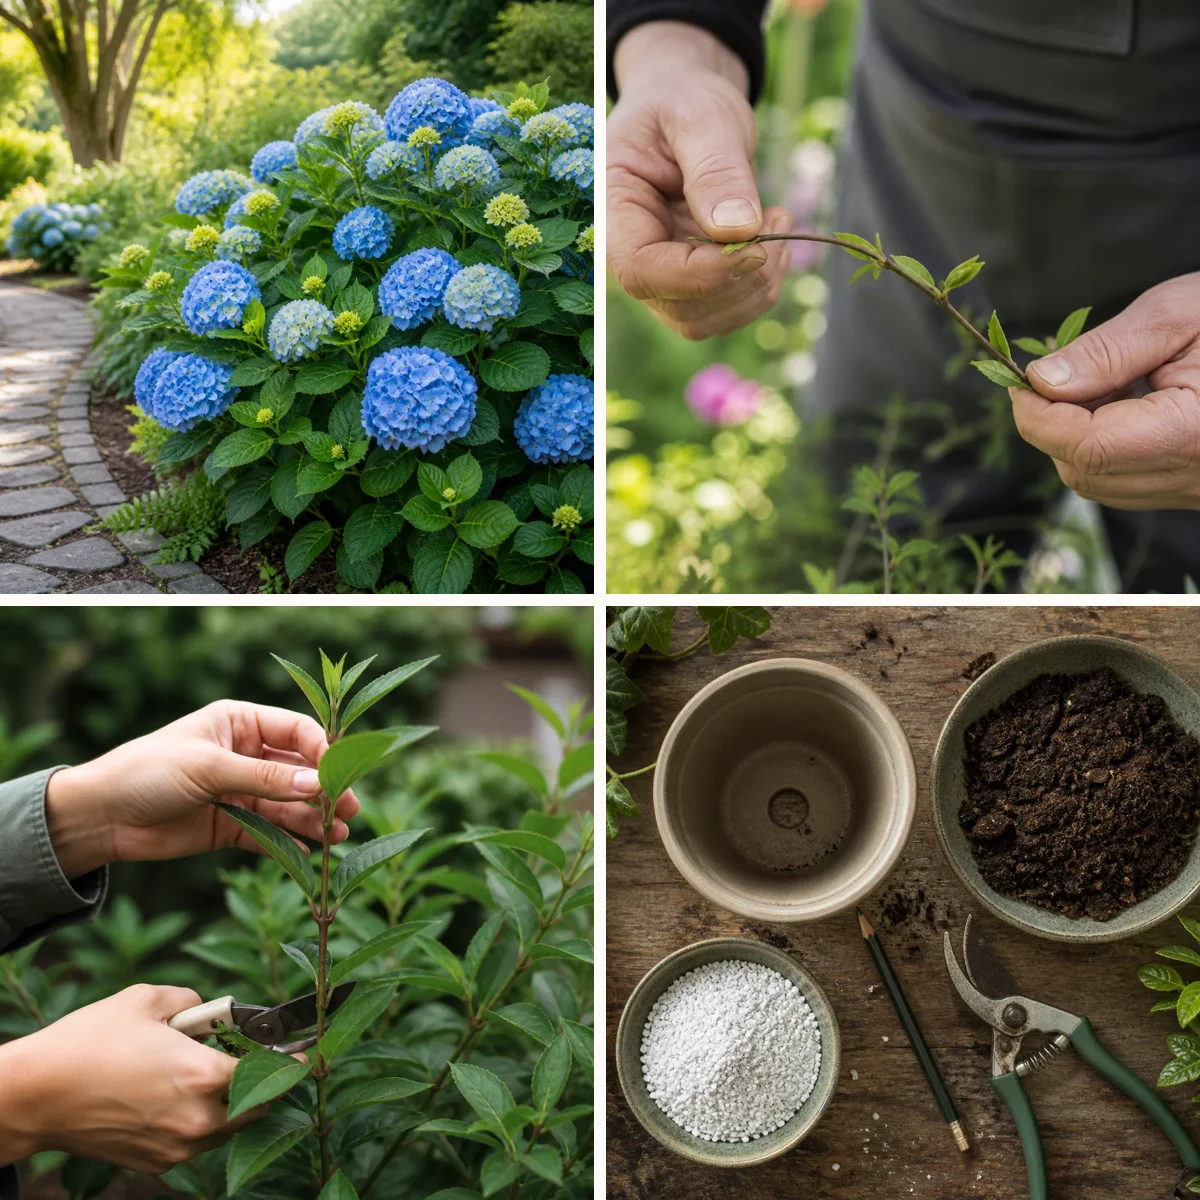
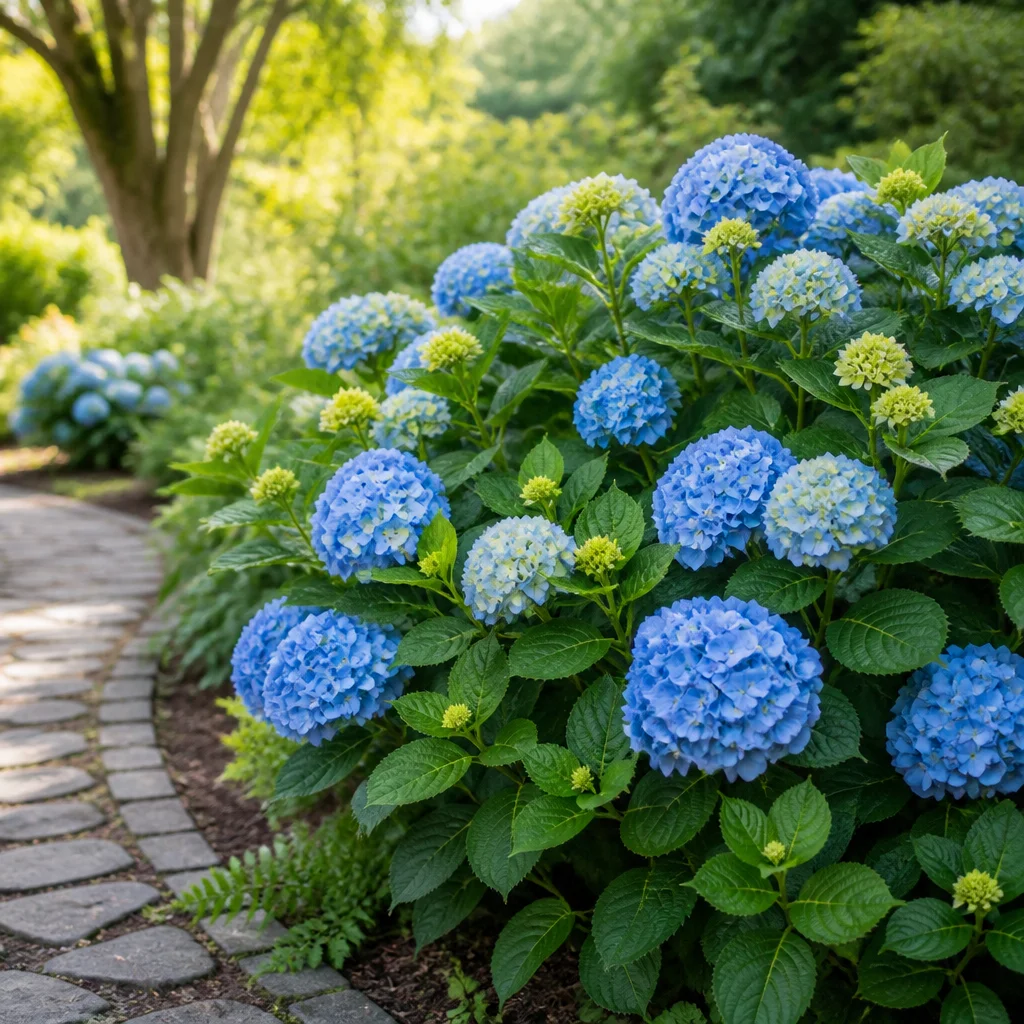
Many deciduous garden shrubs are good candidates, including hydrangea, buddleja, weigela, and some varieties of spirea. Their fresh shoots are relatively easy to handle, although rooting speed and success depend on the plant and growing conditions. Check the needs of your particular shrub before you begin; some plants are better propagated from semi-ripe or hardwood material. Choose a healthy parent plant with vigorous growth and no obvious pest or disease problems. Avoid taking so much material that you spoil its shape. If you want a coordinated border, select shrubs whose mature size and flowering season suit the space rather than multiplying a plant simply because it is available. Respect any plant variety rights that restrict propagation.
Time Your Cuts for Flexible New Growth
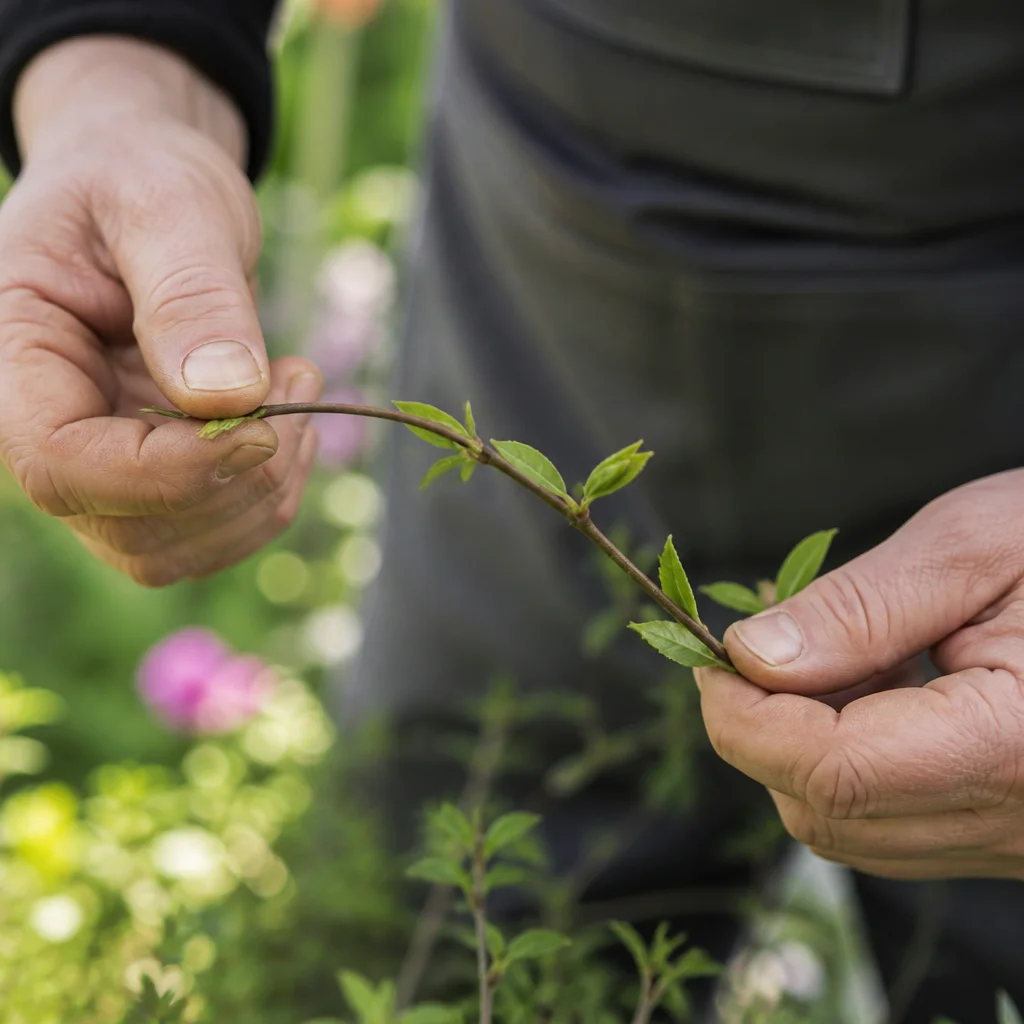
Softwood is the current season’s growth, usually available from late spring into early summer. Look for shoots that bend easily and feel supple but have begun to firm up. A useful test is to bend a shoot gently: suitable growth often snaps rather than folding without resistance or refusing to bend. This is a guide, not a guarantee, because stems differ between species. Take cuttings in the morning when the parent shrub is well hydrated, ideally after it has been watered. Avoid collecting wilted growth during the hottest part of the day. If you cannot prepare it immediately, place the shoots in a clean, slightly damp bag, keep them cool and shaded, and work with them as soon as possible.
Select Healthy Nonflowering Shoots
Choose fresh, healthy shoots without flower buds where possible. Flowering draws on a cutting’s limited reserves, so a leafy, nonflowering stem is usually a better starting point. Avoid tips that are visibly damaged, heavily infested, unusually soft, or already woody at the base. Look for several sets of leaves and clear nodes, the points where leaves join the stem. Roots commonly develop near these nodes. Take more shoots than the number of plants you ultimately need, allowing for losses without overcrowding your propagation space. For a pleasing future display, label material from different shrubs separately; young rooted cuttings can look surprisingly alike.
Prepare a Clean Pot and Airy Rooting Mix
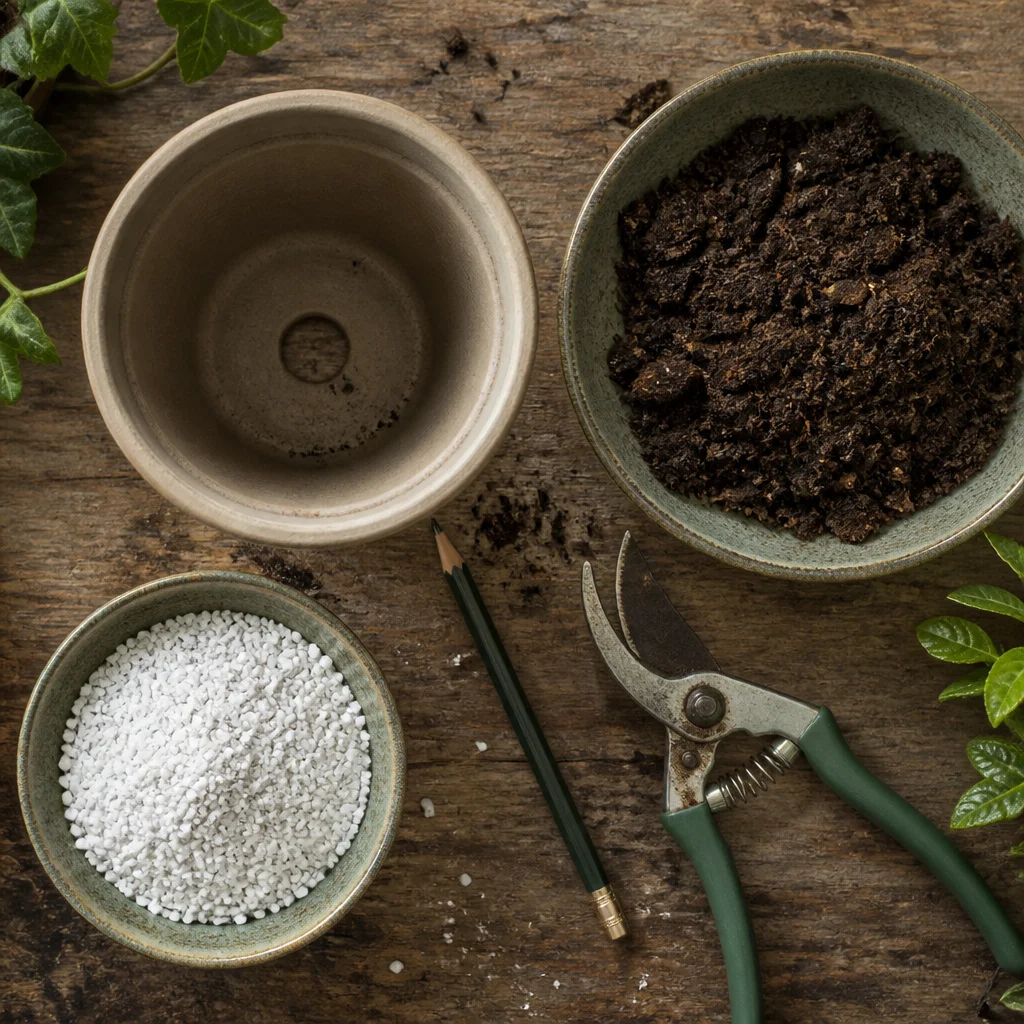
Before cutting stems to size, assemble a clean pot with drainage holes, a tray, labels, and sharp secateurs or a small knife. Wash reused containers and tools to reduce the chance of carrying problems from old plants. A small pot can hold several cuttings, provided their leaves do not press tightly together. Fill it with a moist, free-draining propagation mix. A blend of peat-free seed compost and perlite or horticultural grit gives a useful balance of moisture and air. Wet the mix before planting, then let excess water drain away; it should feel evenly damp rather than saturated. Make planting holes with a pencil so the stems can be inserted without scraping their bases.
Trim Each Cutting Just Below a Node
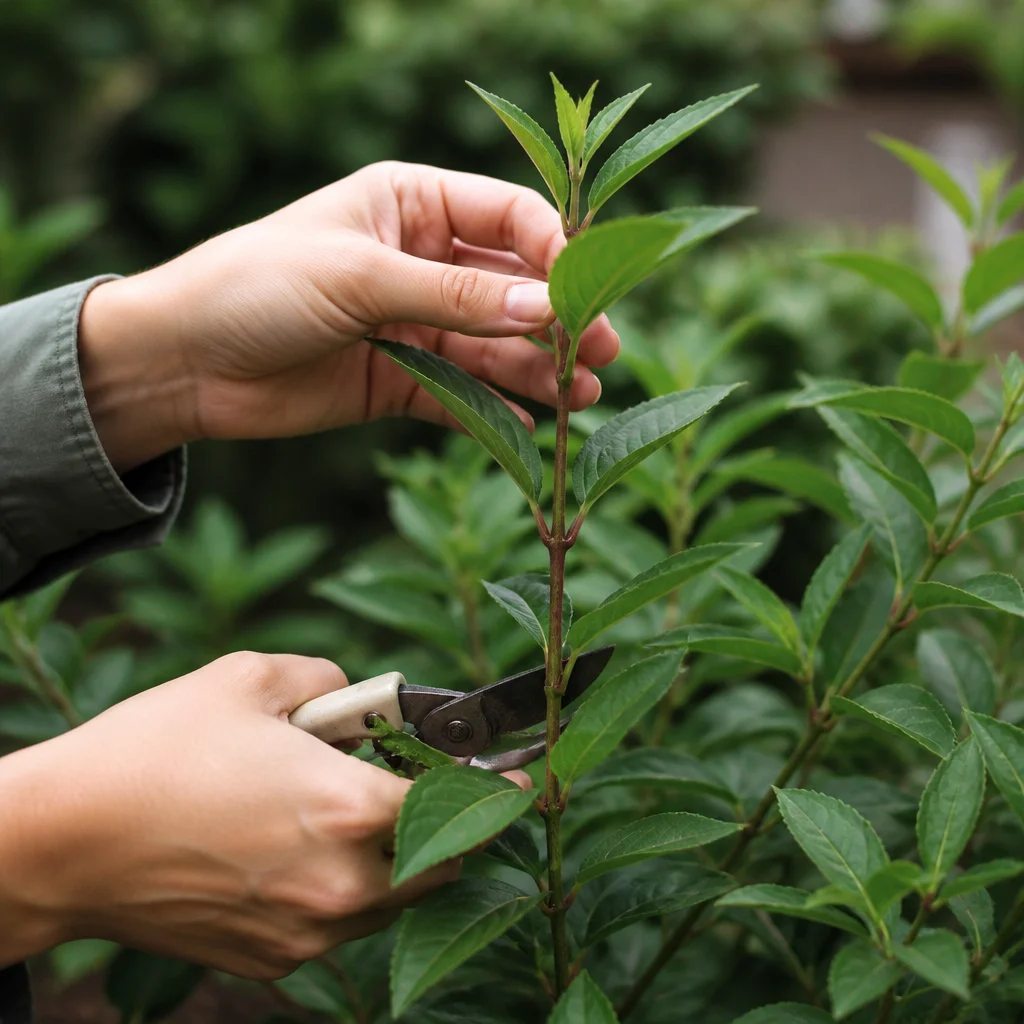
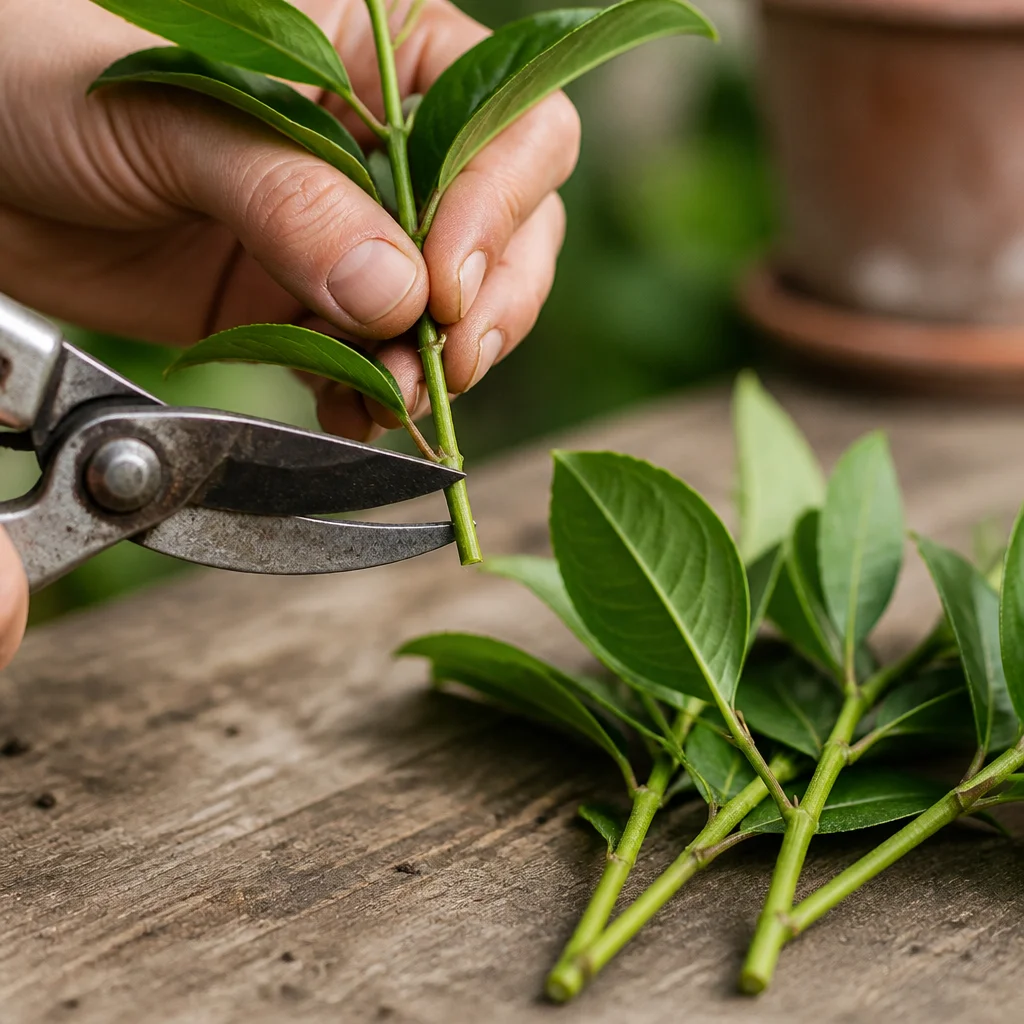
Cut a shoot into lengths roughly 8–12 cm long, adjusting for the spacing of its leaves. Make the lower cut cleanly just below a node and remove the leaves from the lower portion that will sit in the mix. Keep one or two pairs of healthy leaves near the top so the cutting can continue to use light while it develops roots. If the remaining leaves are large, trimming them by about half can reduce water loss and prevent crowding. Do not strip every leaf: the cutting needs some foliage, but a large leafy canopy can wilt before roots form. Remove flower buds if present, and keep prepared stems shaded and moist while you finish the batch.
Insert the Stems Without Crowding
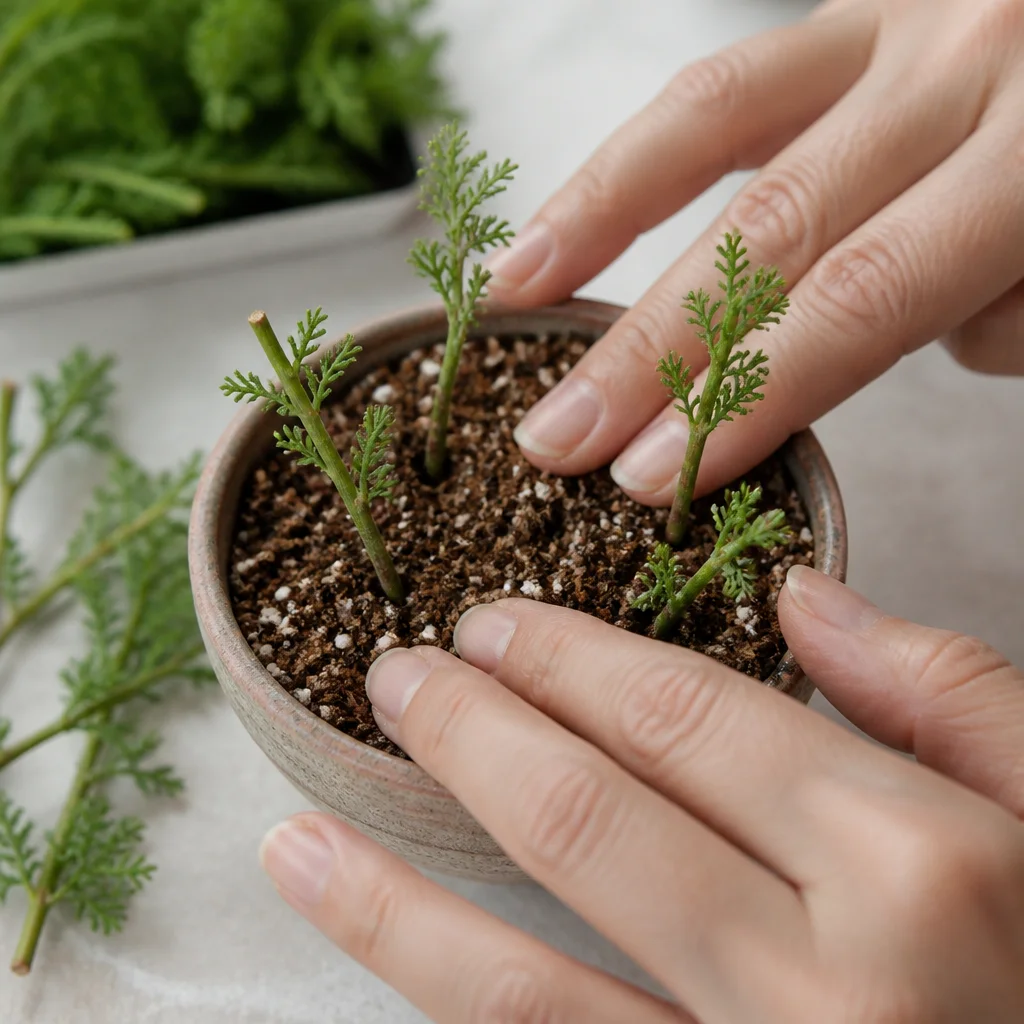
Insert each cutting into a prepared hole so that at least one leaf node is below the surface and the remaining leaves are clear of the mix. Firm the medium gently around the stem to hold it upright, then water lightly to settle it. Space cuttings far enough apart that air can move between their leaves; a ring around the edge of a pot is a practical arrangement. Rooting hormone is optional for many shrubs. If you use it, follow the product label and apply it to the prepared base before planting. Put a little into a separate clean dish rather than dipping cuttings into the original container, and discard any remainder. Label the pot with the shrub name and date.
Create Humidity Without Trapping Stale Air
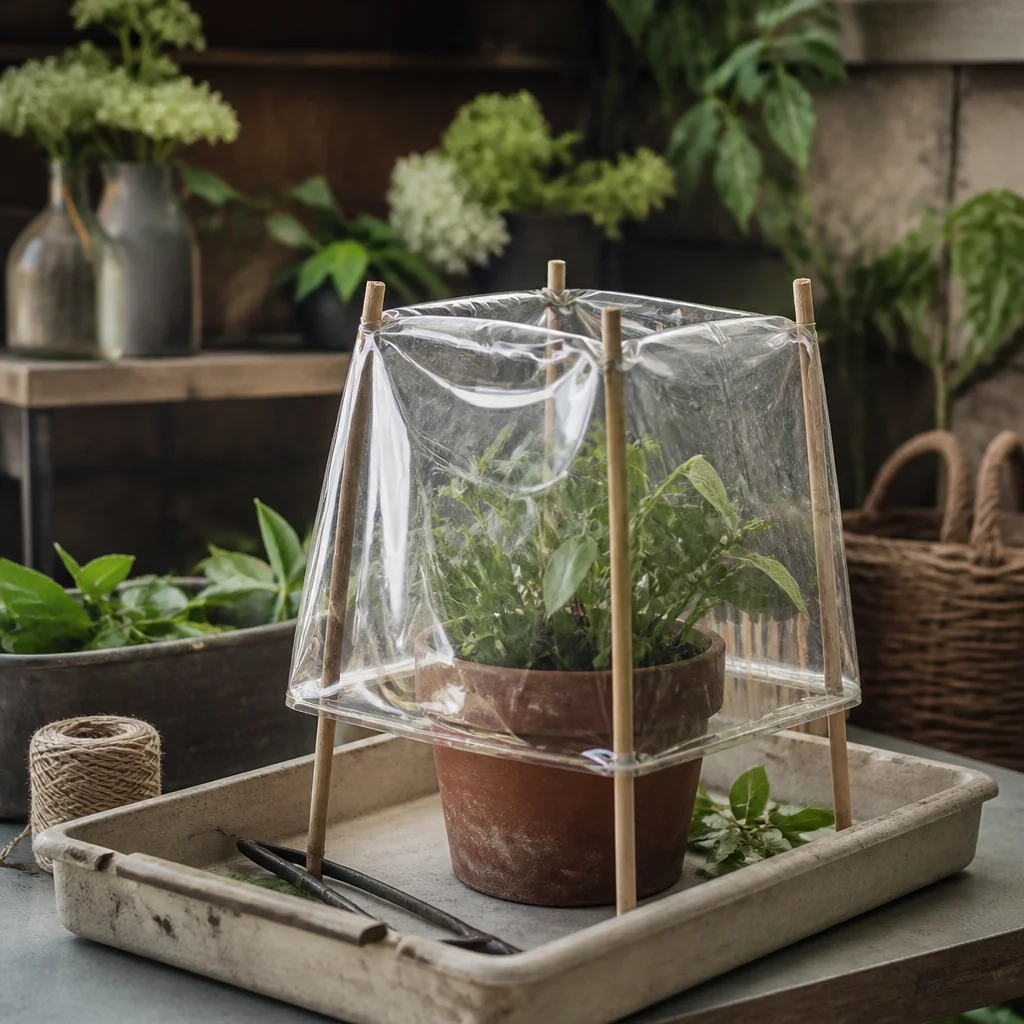
Until roots develop, cuttings cannot replace lost water efficiently. Cover the pot with a clear propagator lid or a transparent bag supported by short canes, keeping the cover from resting on the leaves. The enclosed air slows moisture loss, while the supports give foliage room to breathe. Check the cover regularly and lift it briefly for ventilation, especially if droplets accumulate heavily or leaves begin to decay. Remove fallen leaves promptly and discard any cutting that turns mushy or develops spreading mold. The aim is a humid environment, not a sealed, waterlogged one. A tidy tray beneath several labeled pots keeps the setup easy to inspect.
Provide Bright Light and Gentle Warmth
Place the covered cuttings in bright, indirect light, such as a sheltered spot near a window or in a lightly shaded greenhouse. Direct sun can rapidly overheat a covered pot and scorch tender leaves. Normal mild temperatures are generally suitable for many garden shrubs; protect the cuttings from cold drafts and large swings in temperature. Check the mix by touch rather than watering on a fixed schedule. If the surface begins to dry, add a little water and let excess drain. Persistent wetness can exclude air from the root zone and encourage rot. Turn the pot occasionally if growth leans strongly toward a window, but avoid repeatedly moving it between very different conditions.
Check for Roots and Ease Off the Cover
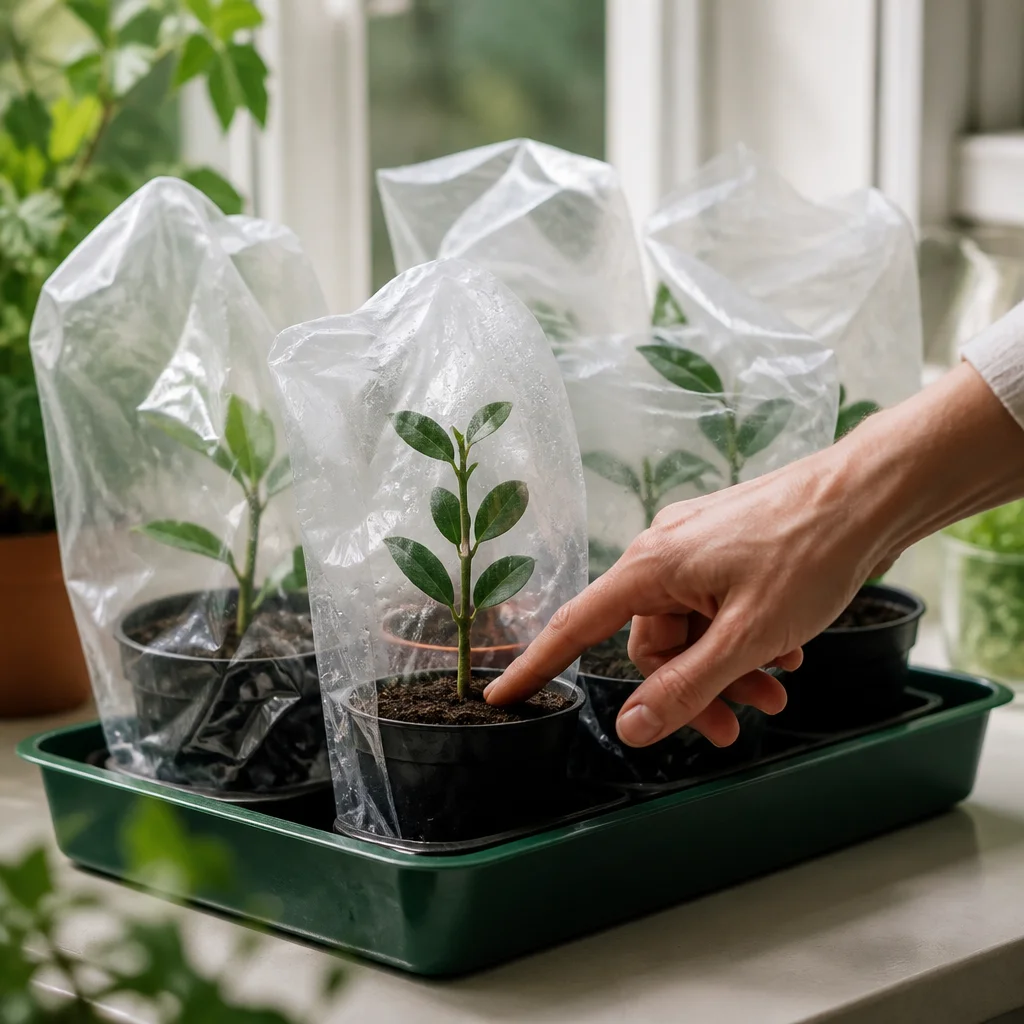
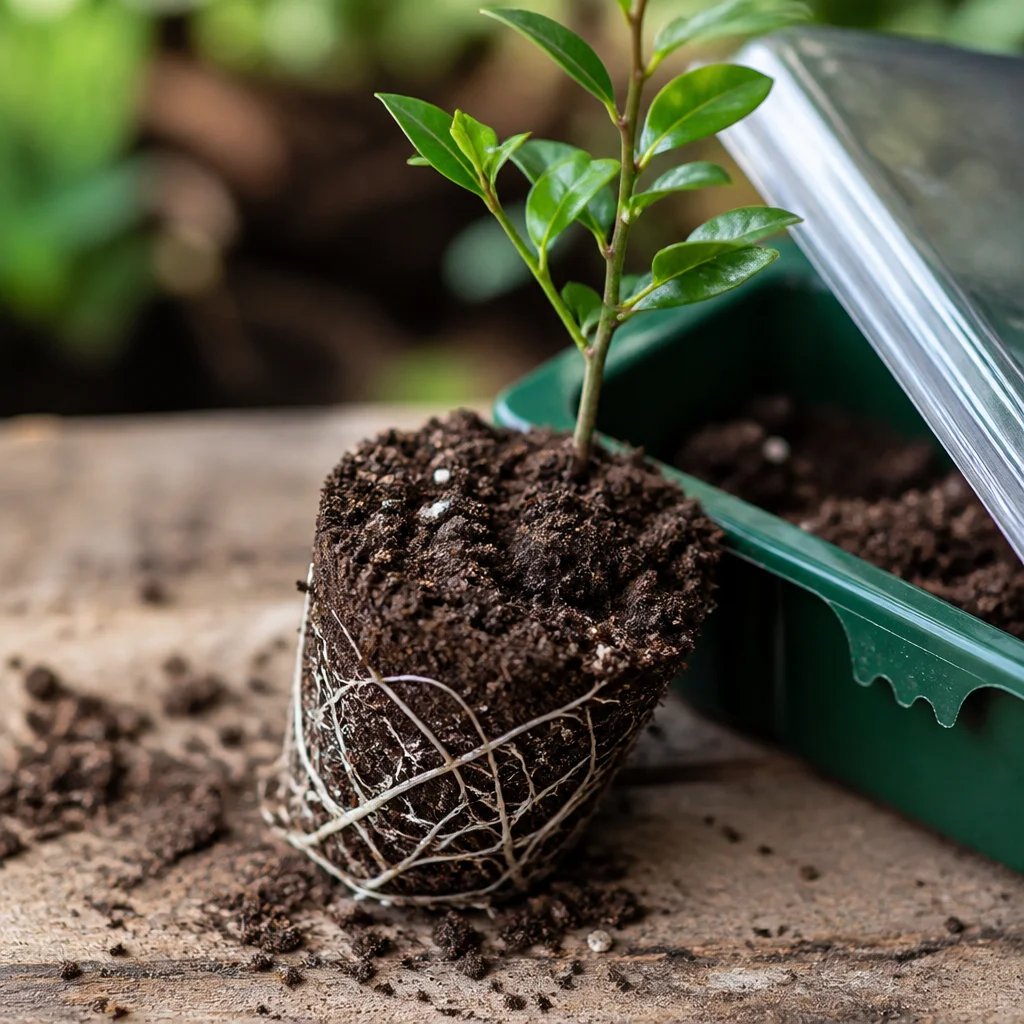
Rooting may take several weeks or longer, depending on the shrub and conditions. Watch for fresh growth, but do not treat it as proof that a strong root system has formed: a cutting can produce leaves using stored energy. After a few weeks, check gently for roots emerging from drainage holes or for light resistance when you very carefully tug a cutting. Avoid frequent pulling, which can damage new roots. Once a cutting has rooted, gradually increase ventilation over several days by propping open or briefly removing the cover. Extend the uncovered periods as the leaves remain firm. If they wilt, replace the cover and make the transition more slowly. Keep the mix lightly moist during this adjustment.
Pot On and Plan a Repeated Garden Display
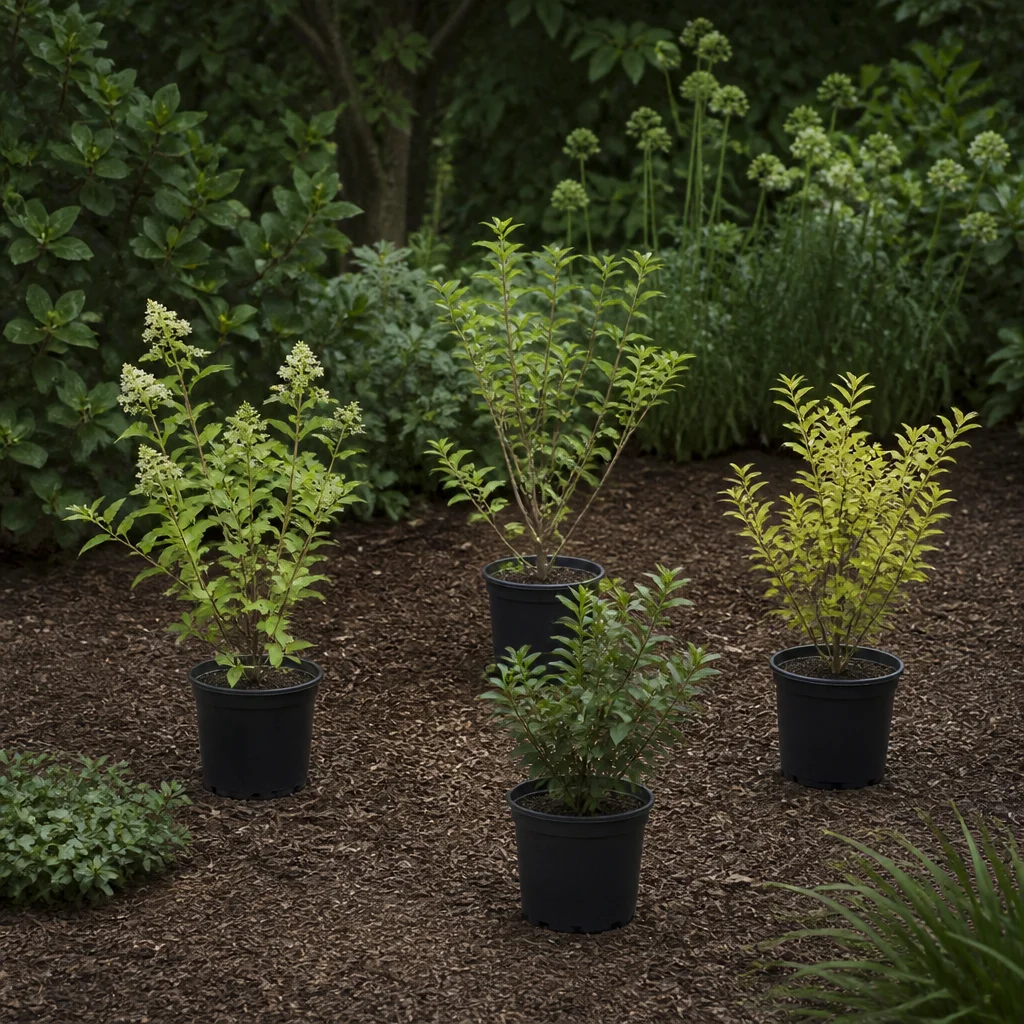
When roots are established enough to hold some mix together, lift each cutting carefully and pot it individually into a small container of peat-free potting compost. Handle it by a leaf or the root ball rather than squeezing the tender stem. Water it in and return it to a sheltered, bright position while it settles. Grow the young shrubs on until they are sturdy enough for their eventual sites, protecting them from severe weather and checking their individual care needs. Before planting outdoors, gradually acclimatize them to outside conditions. For a calm, intentional look, repeat the same shrub in small groups or along a boundary, allowing for its mature width. Keep labels until you are certain of each plant’s identity.
How did this story make you feel?
Choose one reaction. You can change it later.