Soil & Fertilizing7 min read
How to Refresh Potting Mix Before Reusing a Container
A favorite container does not need a complete makeover every time its plants move on. In many cases, the potting mix inside can have another season of life with a little sorting, fresh material, and a sensible feeding plan. The important first step is knowing what you are working with: tired mix is different from mix that may harbor a persistent pest or disease. Use its appearance, texture, and history to decide whether to refresh it or start again, then give the container a clean, practical setup for its next planting.

Start With the History of the Pot
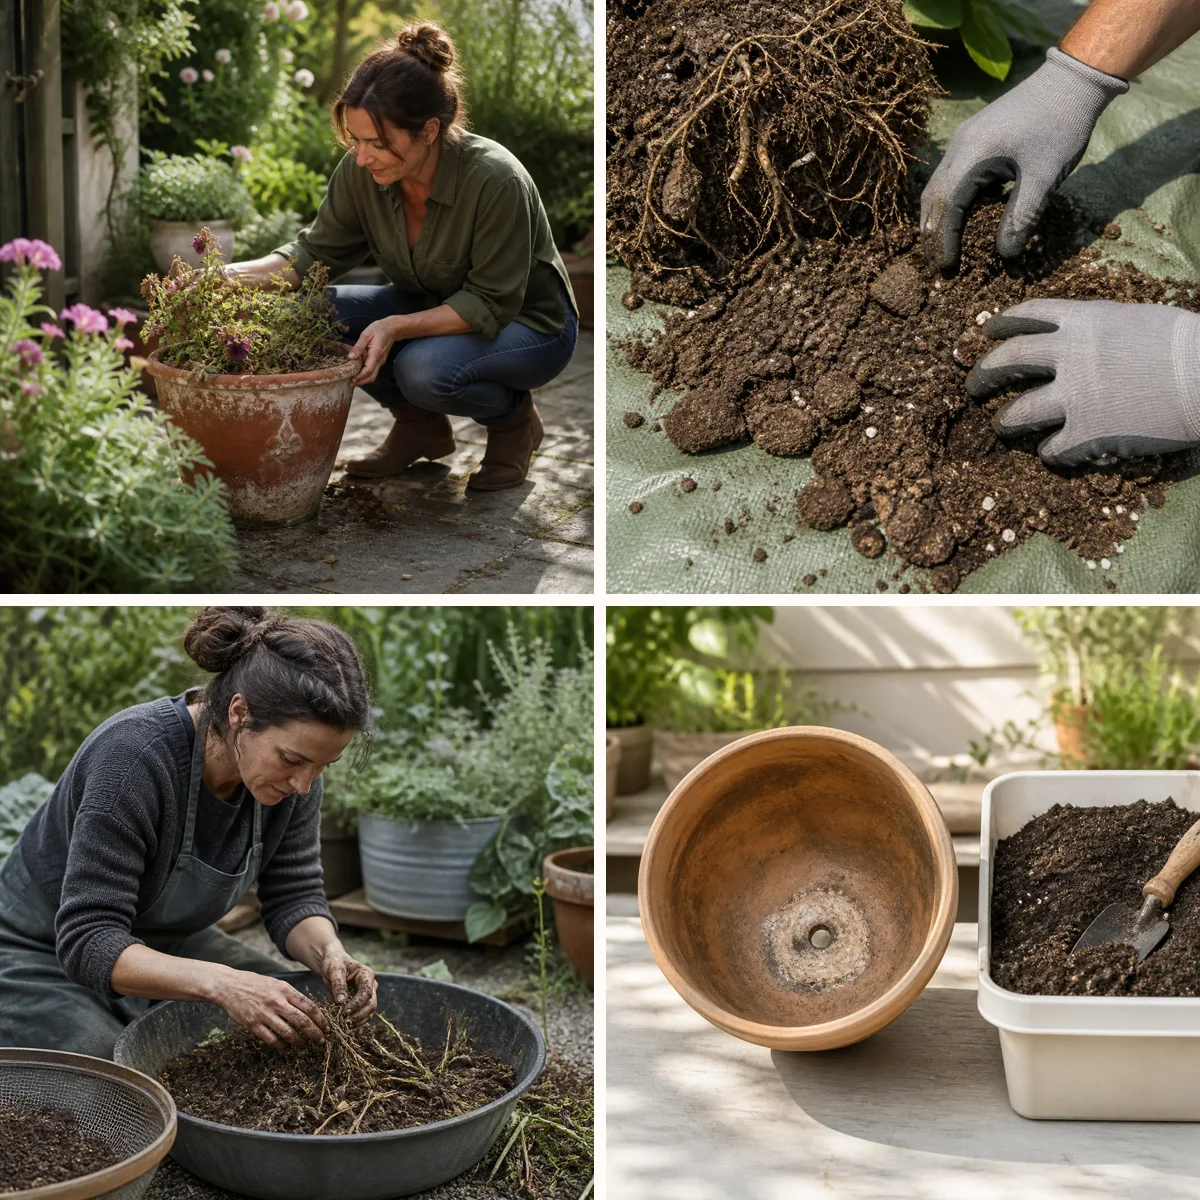
Before tipping anything out, think about what grew in the container and how it finished the season. Mix from a healthy display of annual flowers or herbs is a better candidate for reuse than mix from a plant that declined for no clear reason. Note whether the pot stayed soggy, dried out unusually fast, or produced a crust of fertilizer salts. These clues help you decide what the mix needs and whether it is worth keeping. Check the container itself, too. A large planter with sound drainage holes is a good place to reuse refreshed mix, particularly for another ornamental display. If the old plant showed signs of root rot, serious pest infestation, or a suspected soilborne disease, replacement is the safer choice. When you cannot identify the problem confidently, avoid transferring the old mix to a prized plant or a seed-starting tray.
Empty and Inspect the Mix
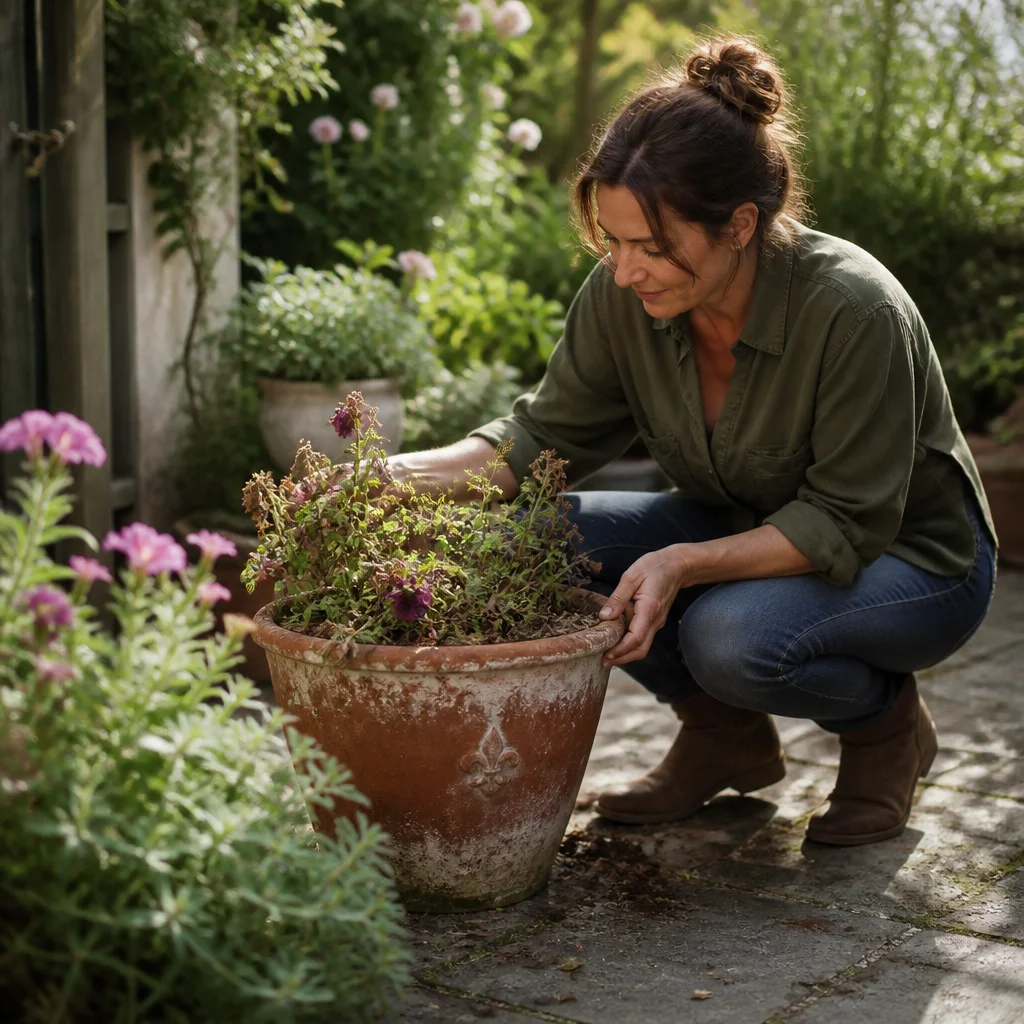
Spread the contents onto a clean tarp or into a wide tub where you can see and handle them comfortably. Wear gardening gloves, and lightly dampen a dusty mix before working with it. Break apart the root ball and look for a loose, crumbly texture rather than hard clods or a dense, matted mass. A musty, sour smell, consistently slimy texture, or evidence of pests should make you pause rather than simply cover the problem with fresh ingredients. Potting mix naturally changes with use: bark and other organic components break down, reducing the air spaces that roots need. If water previously sat on the surface or ran straight down the sides of a shrunken root ball, the structure may be too far gone for a simple refresh. A small amount of dry, compacted mix can sometimes be loosened and blended, but badly decomposed material is better replaced than relied on in a container.
Remove Roots, Debris, and Unwanted Guests
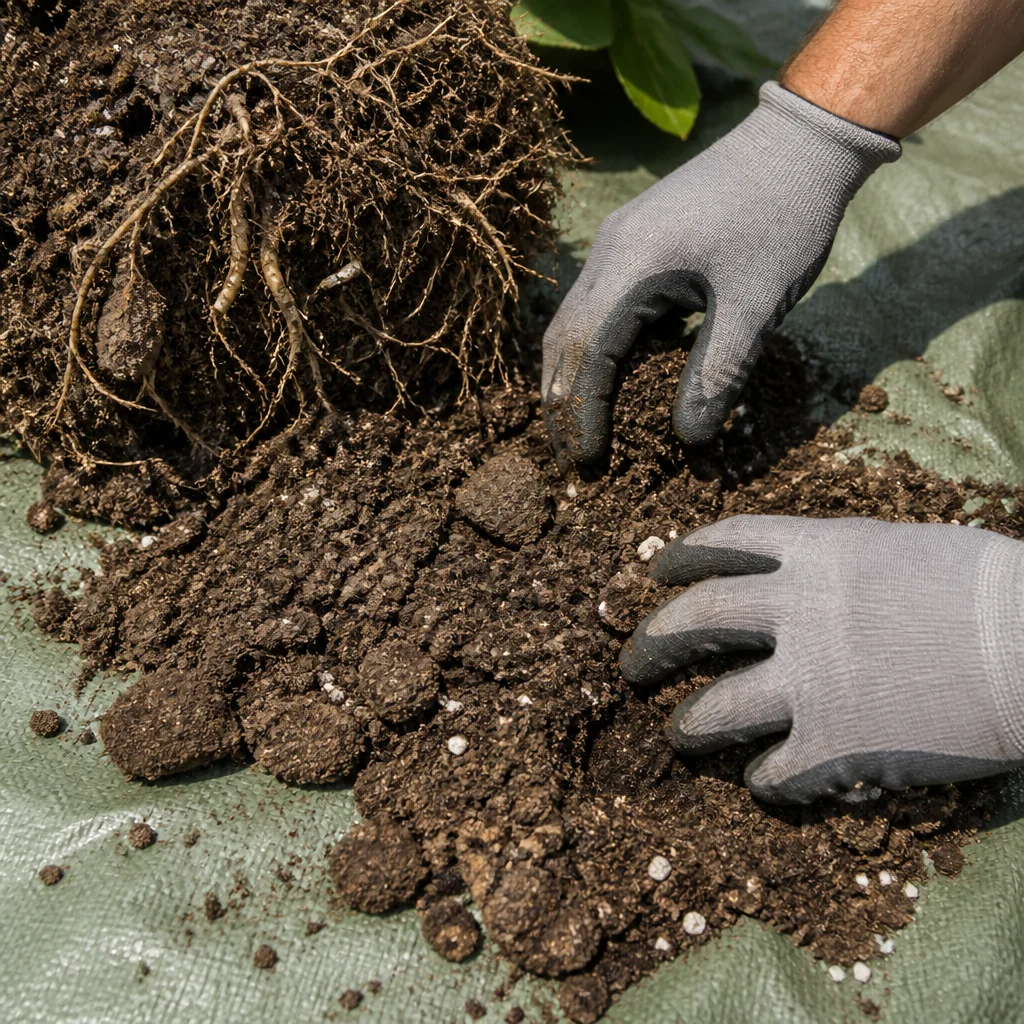
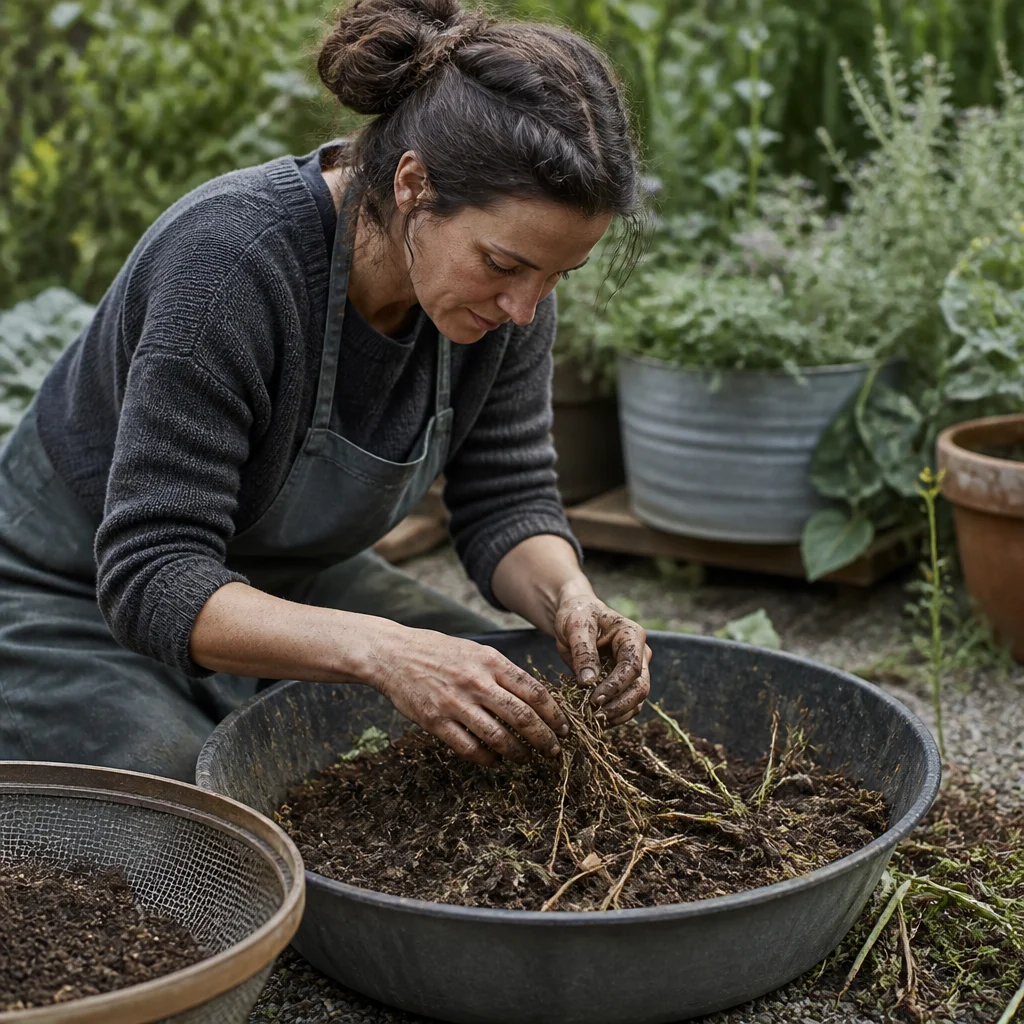
Pull out old stems, large roots, fallen leaves, and any weeds with their roots attached. Shake useful mix from healthy root clumps rather than throwing away more than necessary. A coarse garden sieve or a gloved hand works well for separating stubborn pieces; there is no need to remove every fine root. Pick out visible larvae or insects and inspect nearby plants if you find signs of an active infestation. Keep diseased plant material and heavily infested mix out of a home compost pile unless you know it reaches and maintains temperatures sufficient to address the problem. Follow local disposal guidance instead. Also remove old fertilizer prills only when they are easily spotted; their appearance alone does not reliably tell you how much nutrient remains. Sorting makes the mix easier to assess, but it does not sterilize it or guarantee that pests and pathogens are gone.
Know When Fresh Mix Is the Better Investment
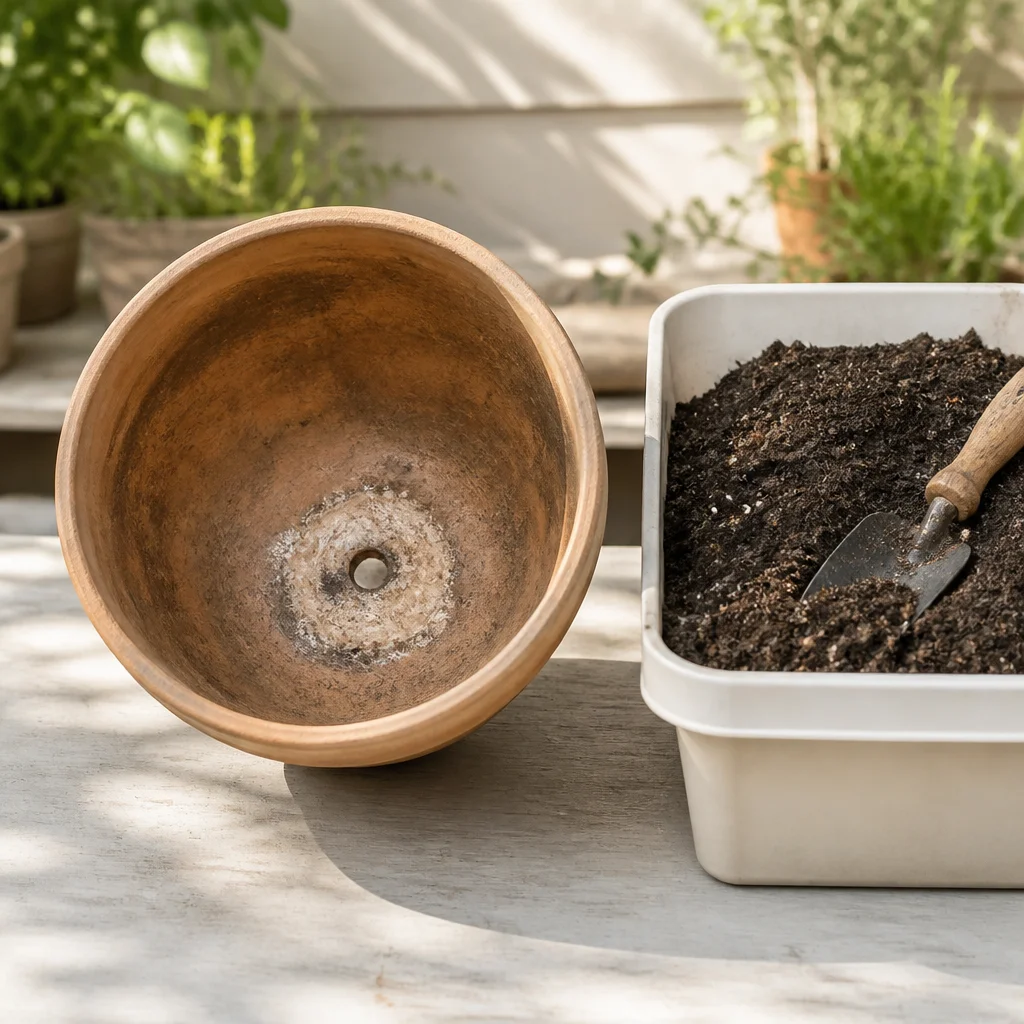
Replace the mix when the previous plant had suspected root disease, a serious recurring pest problem, or unexplained decline. Starting fresh is also sensible for seedlings, cuttings, and other vulnerable plants that need a consistently fine, clean growing medium. Do not count on homemade heat treatments or a sunny afternoon to make contaminated mix safe: temperatures and treatment times are difficult to control, especially through a whole container of material. A white crust on the surface or around the drainage area can indicate salt buildup, particularly where fertilizer was used heavily or tap water is mineral-rich. If the buildup is substantial, replacement is the straightforward choice. For otherwise healthy, lightly affected mix, flushing with clean water can help remove soluble salts, provided the pot drains freely. Let excess water escape completely and avoid flushing where runoff could harm sensitive plants.
Rebuild an Airy, Moisture-Holding Blend
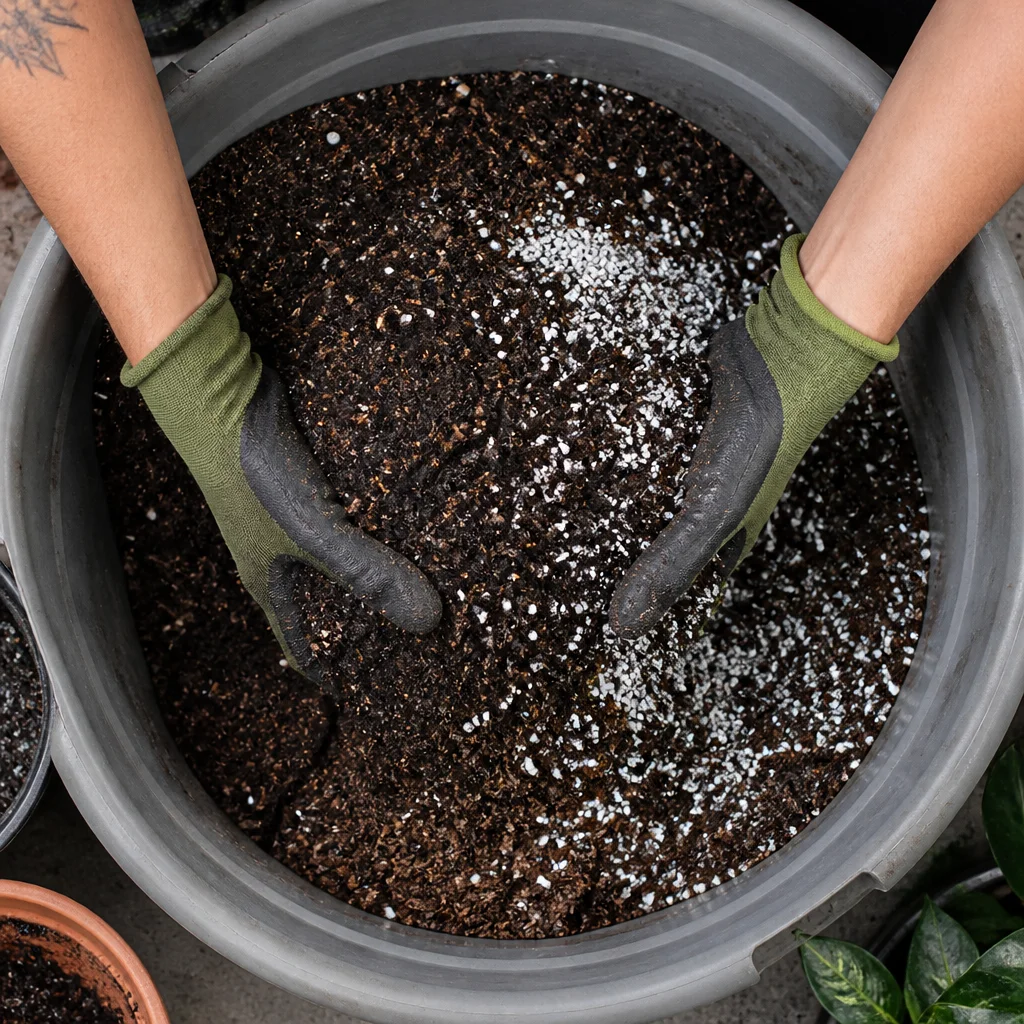
For mix that passes inspection, blend the old material with fresh, good-quality potting mix. A practical starting point is roughly equal parts old and new, adjusted to the condition of the old mix and the needs of the next plant. If the old material is still springy and open, it may need less fresh mix; if it has become fine and heavy, use more new mix or replace it entirely. Blend thoroughly in a tub so the container does not end up with distinct layers. Choose fresh mix suited to the plants you plan to grow. A cactus or succulent blend, for example, is designed to drain more quickly than a moisture-retentive mix for many leafy ornamentals. A modest amount of perlite can improve aeration in a heavy blend, but adding it cannot reliably repair mix that has broken down severely. Avoid ordinary garden soil in containers: it can compact and restrict drainage.
Clean the Container and Check Drainage
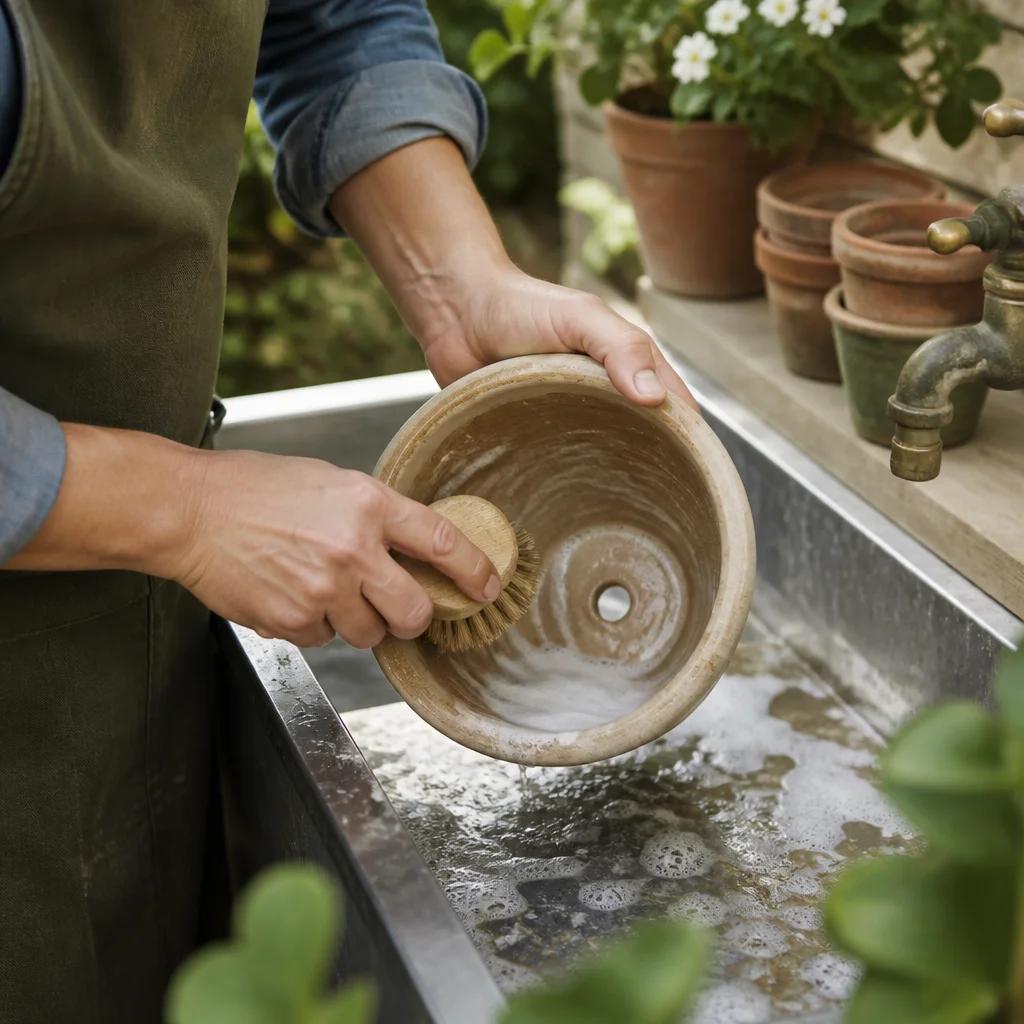
While the pot is empty, scrape away old roots and loose deposits, then wash the inside and outside with water, a little dish soap, and a stiff brush. Rinse thoroughly. If the previous plant had a suspected disease, clean the container before disinfecting it with a product suitable for pots, following its label for dilution, contact time, and rinsing. A porous or damaged container that is difficult to clean may be best retired from use with susceptible plants. Make sure drainage holes are open before refilling. A piece of mesh over a large hole can keep mix from washing out without blocking water. Skip the layer of stones often placed at the bottom: it takes up valuable root space and does not improve drainage through the mix. For a polished display, match a clean saucer to the pot, but empty standing water after watering so roots are not left sitting in it.
Replant at the Right Depth and Feed Thoughtfully
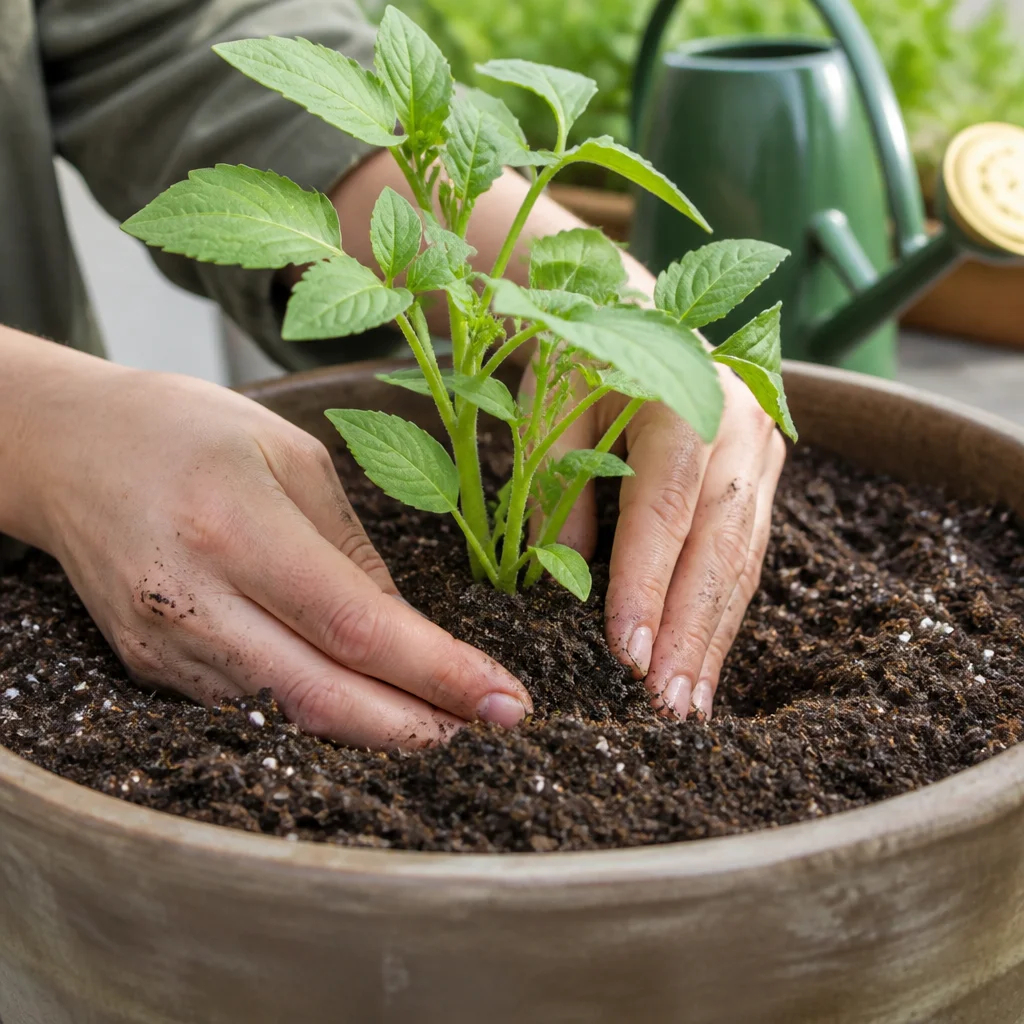
Moisten the refreshed blend before filling the container; it should feel evenly damp, not waterlogged. Add enough mix that the new plant sits at the same depth it grew in its nursery pot, then fill around the roots and firm gently. Leave a small gap below the rim for watering. Water slowly until excess drains out, allow the pot to settle, and top up any low spots without burying the crown. Old mix may be depleted, while fresh mix may already contain fertilizer. Read the fresh mix label before adding more, then choose a fertilizer appropriate for the plant and follow its directions. Avoid assuming that a generous dose will compensate for poor structure. During the growing season, watch the plant and check moisture below the surface; refreshed mixes can dry at different rates from the original blend.
Finish With a Cohesive, Easy-Care Display
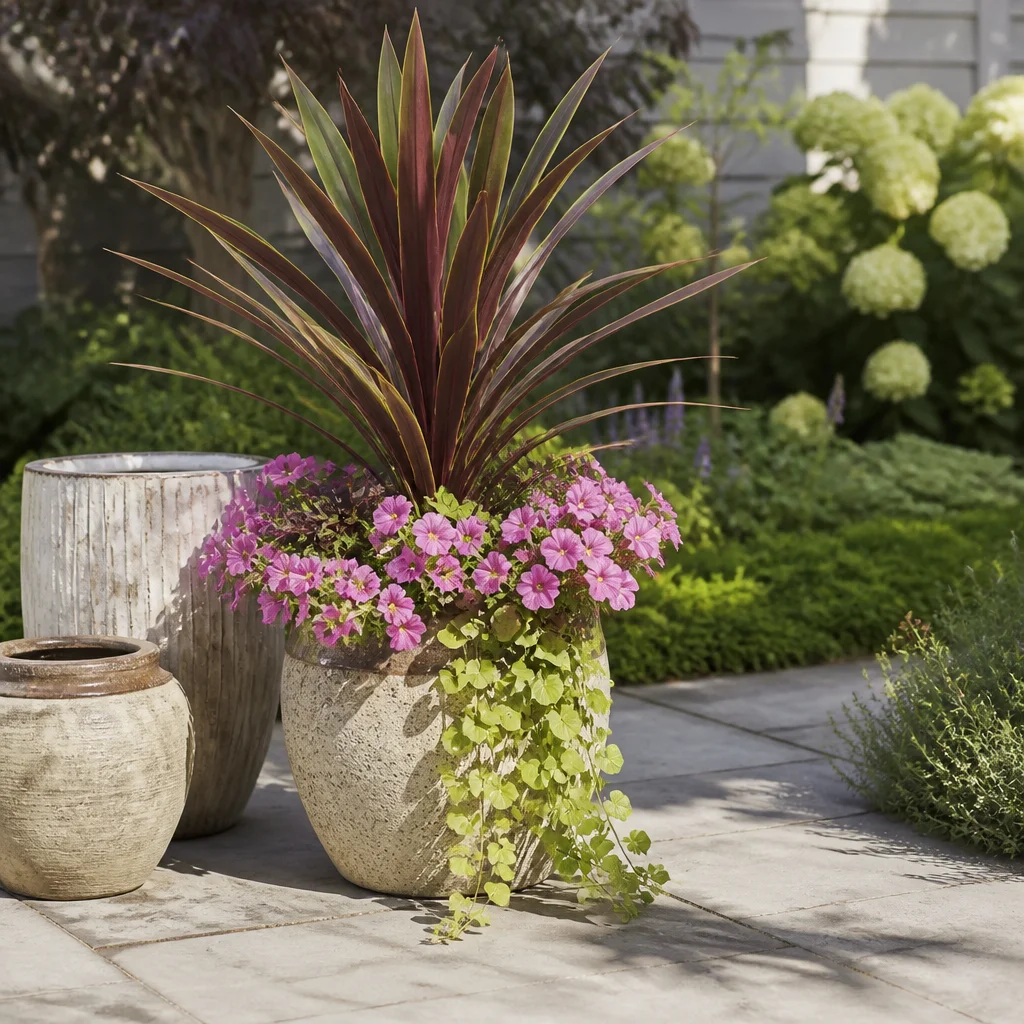
Once the practical work is done, use the refreshed container as the anchor for a simple planting scheme. Combine plants with similar light and watering needs, and leave enough space for their mature growth. For a balanced arrangement, try one upright plant with lower, mounding companions and a trailing plant near the edge. Repeating a foliage color or flower shade can make a mixed pot feel intentional without crowding it. A thin top dressing of fine bark or another suitable decorative mulch can give the surface a neat finish and help slow evaporation. Keep it away from stems and avoid a thick layer that hides the condition of the mix. Group containers with related colors or materials for a calm look, while leaving enough space to reach them with a watering can. At the end of the season, reassess the mix rather than assuming it can be refreshed indefinitely.
How did this story make you feel?
Choose one reaction. You can change it later.