Flowering Bulbs8 min read
Spring Bulb Layering Ideas for Pots and Beds With Weeks of Successive Bloom
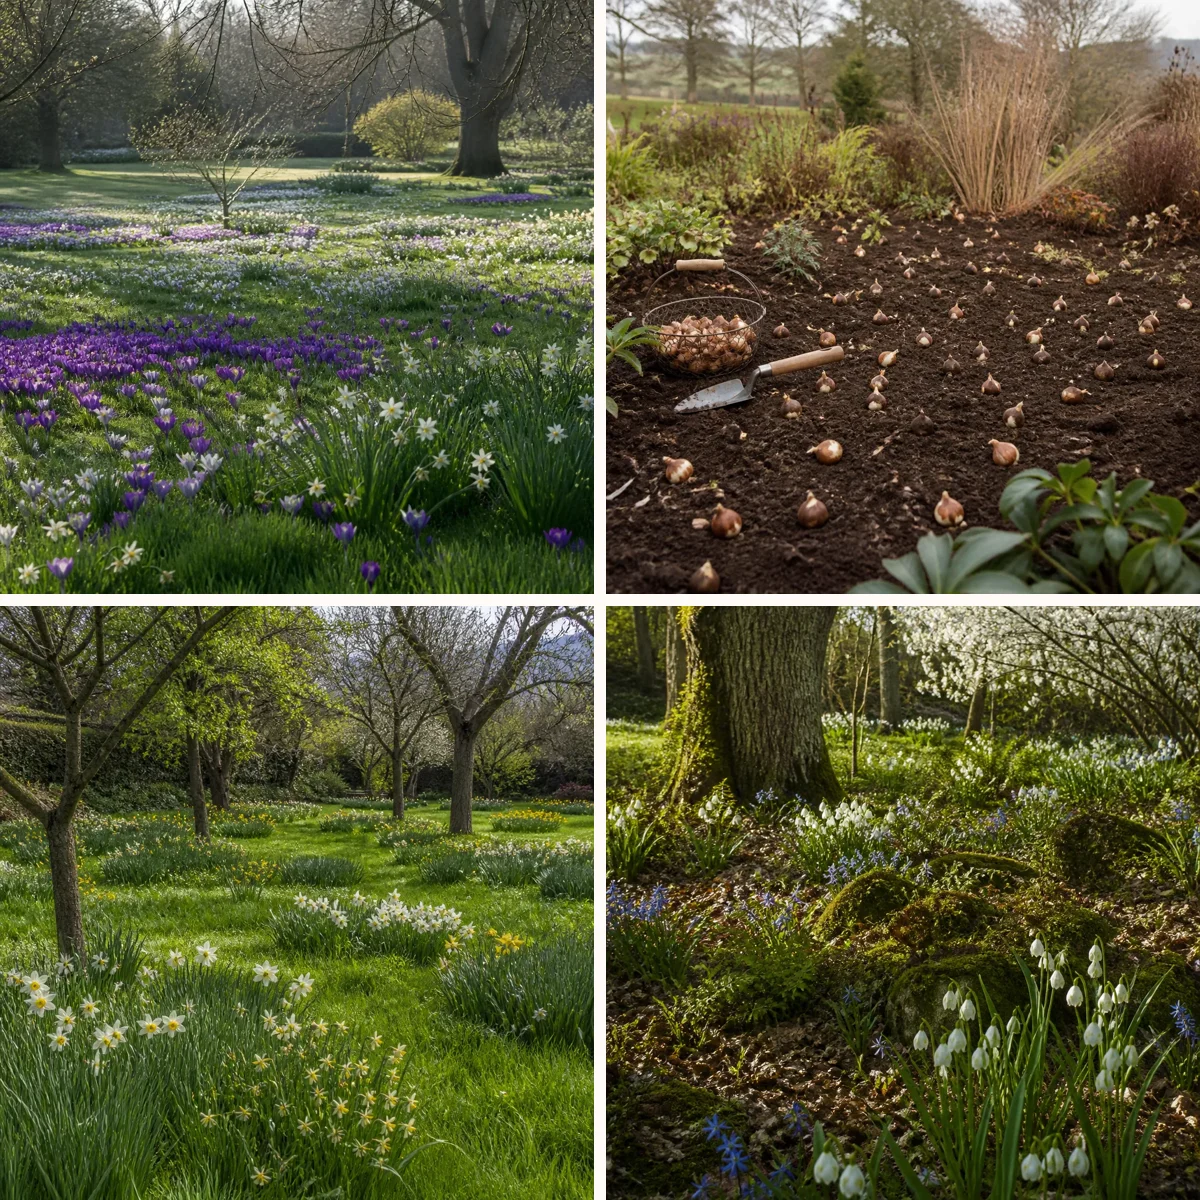
A spring display feels far more generous when it unfolds in stages instead of peaking all at once. Bulb layering, sometimes called lasagne planting, is a simple way to build that effect by combining early, mid, and late flowering bulbs in the same pot or border. With a little planning, one planting can move from the first crocus and dwarf iris to tulips, alliums, and late narcissus, keeping the garden lively for many weeks. The secret is to think in sequences rather than single highlights. Consider bloom time, stem height, flower shape, and color progression together so each wave looks intentional as the next one rises behind or through it. Whether you are filling a terrace pot, framing a front path, or adding depth to a mixed border, careful layering can turn spring bulbs into a long, paced performance rather than a short burst.

Start with a simple early-mid-late bloom plan
The easiest way to build a longer show is to choose bulbs from three clear bloom windows. For early spring, use compact flowers such as crocus, dwarf iris, snowdrops, or early species tulips. For the middle period, add classic daffodils, hyacinths, and midseason tulips. For the late stretch, rely on taller tulips, ornamental onions, and later narcissus varieties. This structure gives your planting a beginning, middle, and end, which is much easier to manage than choosing bulbs at random. A reliable combination for a medium container might be pale crocus at the top, white and lemon narcissus in the middle, and taller purple tulips beneath them. In a border, the same principle works on a larger scale: plant drifts of early bulbs near the front, medium-height narcissus through the center, and late alliums or Darwin tulips behind. When each group is selected for a slightly different season, the planting stays active even as one layer fades and the next takes over.
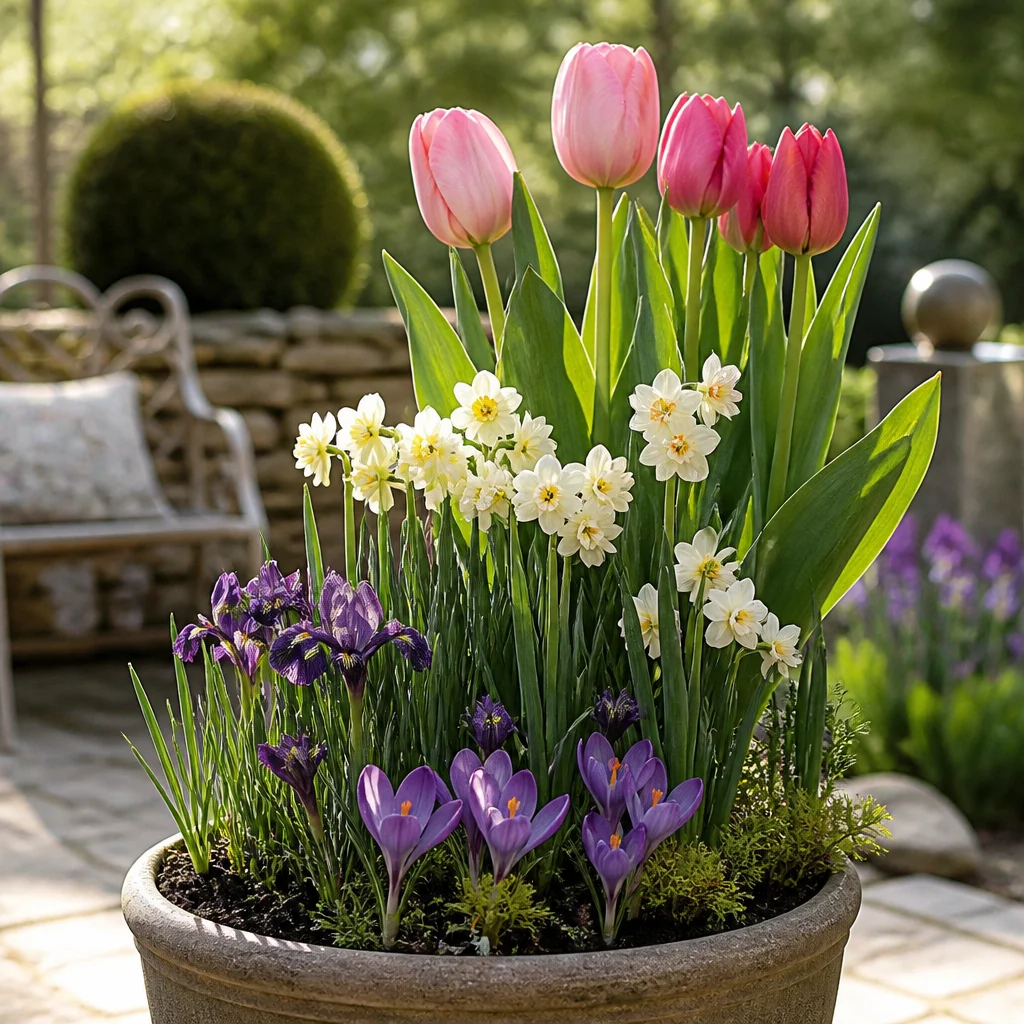
Layer by planting depth so bulbs share the same space
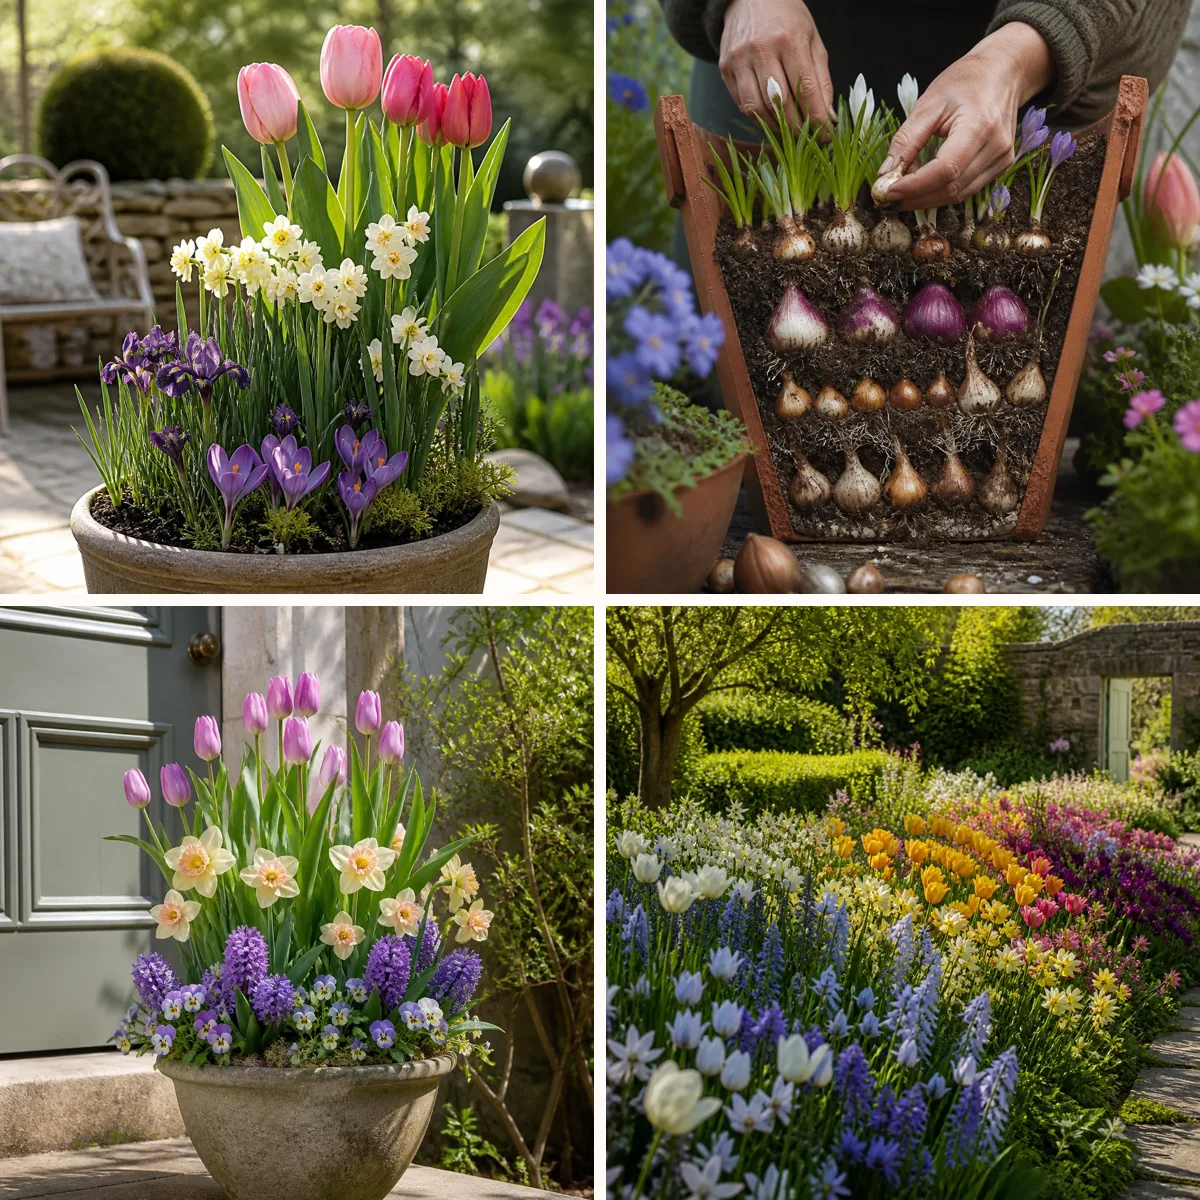
In pots, true bulb layering depends on placing bulbs at different depths. Larger bulbs go deepest, medium bulbs above them, and small bulbs closest to the surface. A pot can hold far more spring interest this way than if all bulbs were planted in a single level. Use free-draining compost, begin with the latest and tallest bulbs at the bottom, cover them with soil, then add the middle layer, and finish with the earliest small bulbs near the top. In borders, layering is less vertical but still effective. You can tuck small early bulbs between later perennials and place larger tulips or alliums behind them so their foliage rises through the developing spring growth. The aim is not crowding for its own sake, but efficient use of space. As long as bulbs are not pressed tightly against each other and drainage is good, several seasons of bloom can come from a surprisingly compact area.
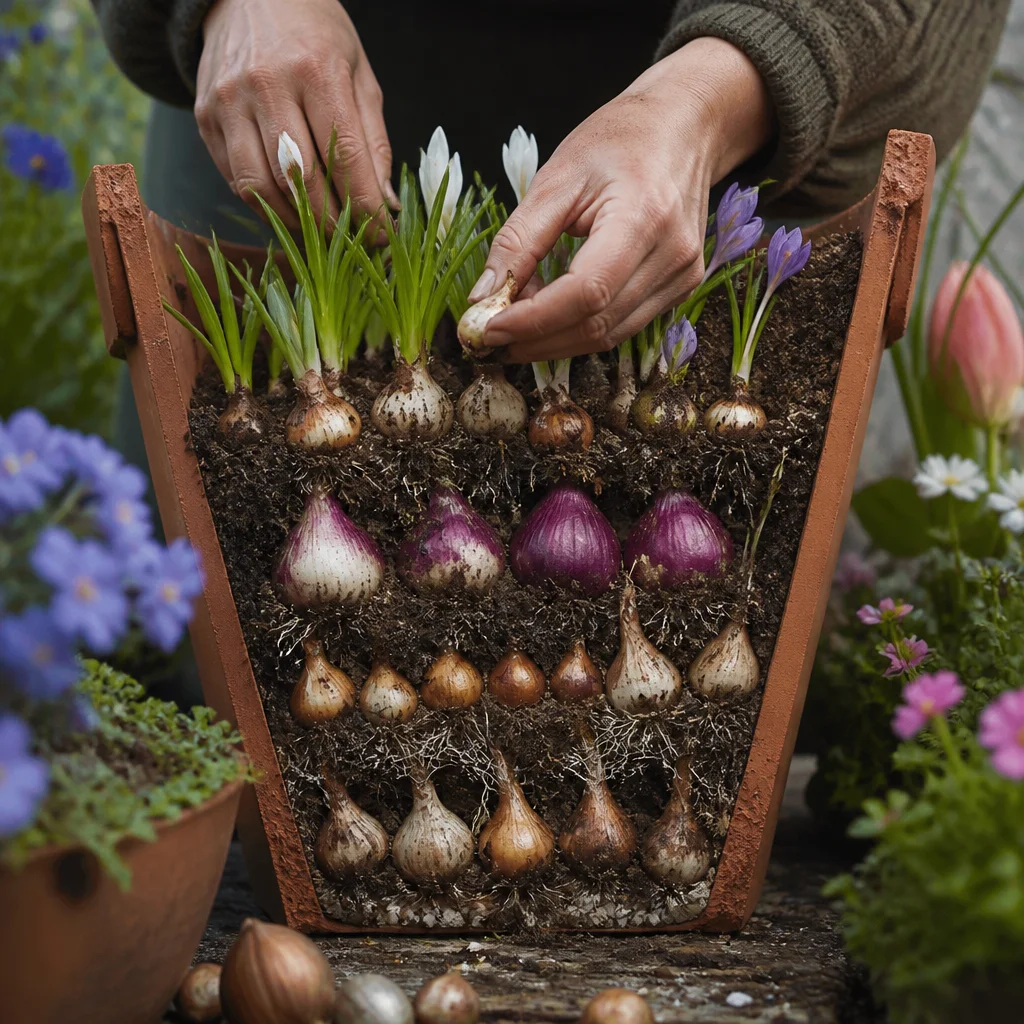
Sequence heights so each wave can be seen clearly
Height matters just as much as flowering time. If the tallest bulbs bloom first, later flowers can look like an afterthought or disappear entirely. A more graceful arrangement begins low, rises through the middle weeks, and finishes with stronger vertical accents. Short crocus, scilla, and dwarf iris work well as opening notes, then medium narcissus and hyacinths carry the middle, followed by taller tulips or alliums that bring lift toward late spring. This is especially important in containers viewed at close range. In a pot by a door or seating area, every stem needs room to show. Put shorter bulbs toward the rim and reserve the central depth for stronger stems that will arrive later. In borders, use a stepped arrangement from front to back, but keep some repetition across the planting so the eye moves naturally instead of stopping at a single tall block.
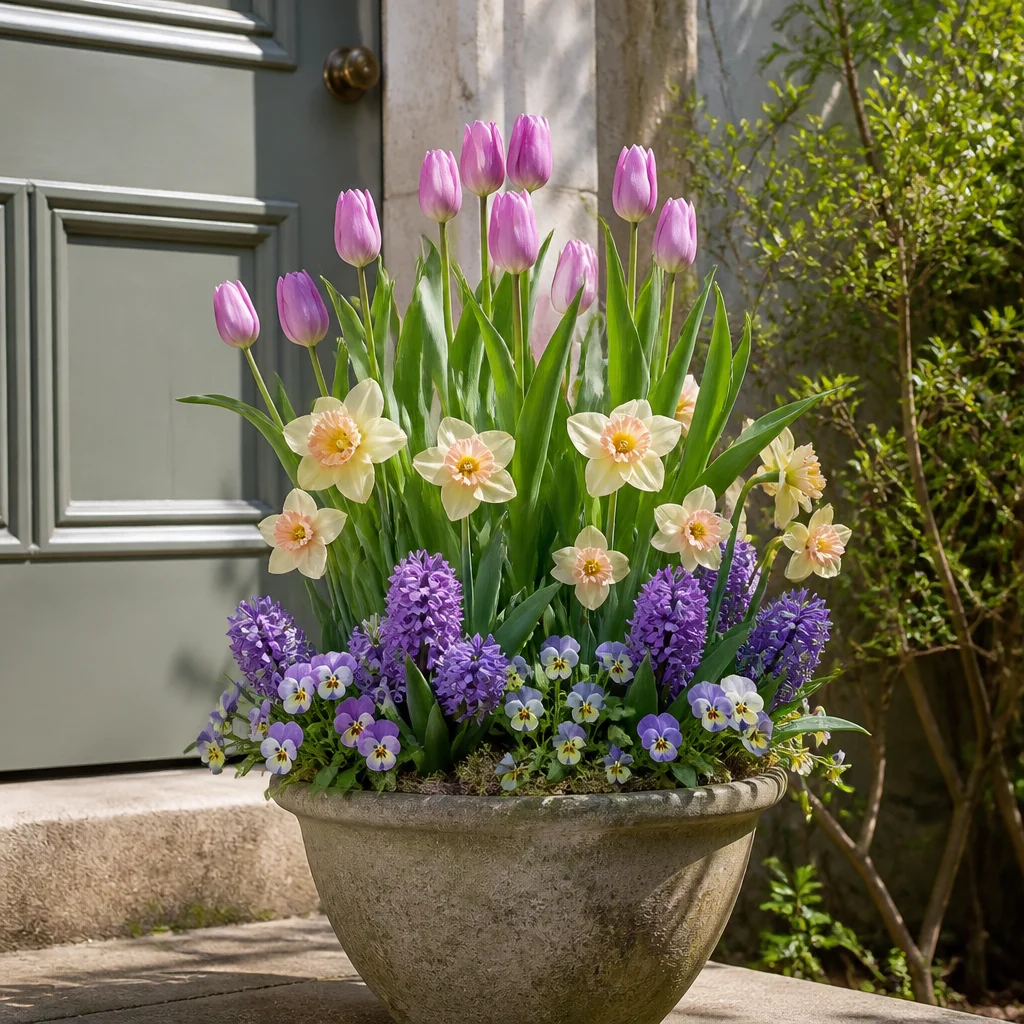
Use color progression to make the display feel intentional
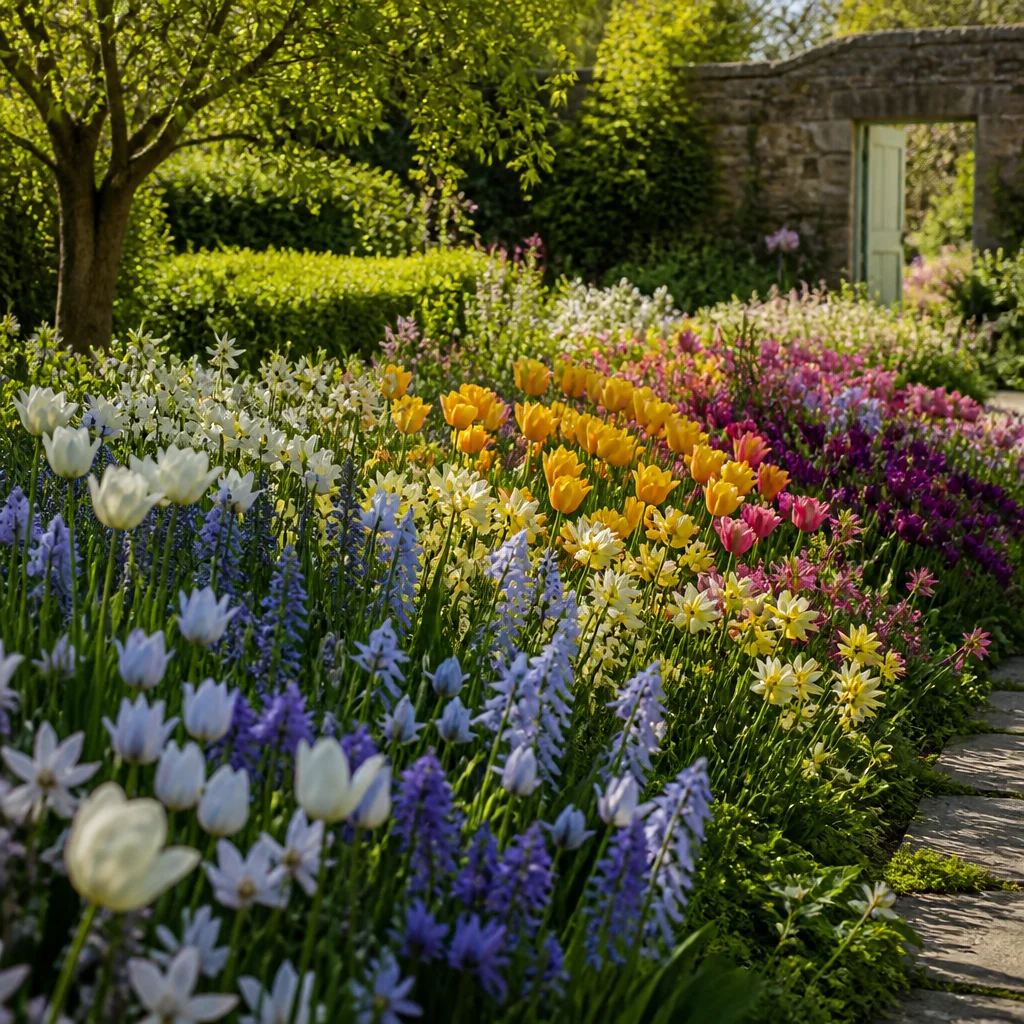
A long-lasting bulb display is most satisfying when the colors also shift in a pleasing order. One useful approach is to begin with fresh, cool tones such as white, soft blue, and pale lavender, then move into cheerful yellows and pinks, and finish with richer shades like plum, crimson, or saturated orange. This mirrors the way spring often feels, starting crisp and light before becoming fuller and warmer. Another successful strategy is to limit the palette and vary only tone and texture. A white and green sequence, for example, might begin with snowdrops and white crocus, continue with creamy narcissus, and end with white tulips and pale alliums. A tighter palette looks calm and elegant, especially in formal pots or near a modern entrance. Brighter mixed schemes suit cottage borders, where a little contrast helps each wave stand out.
Build one starring container around a clear seasonal theme
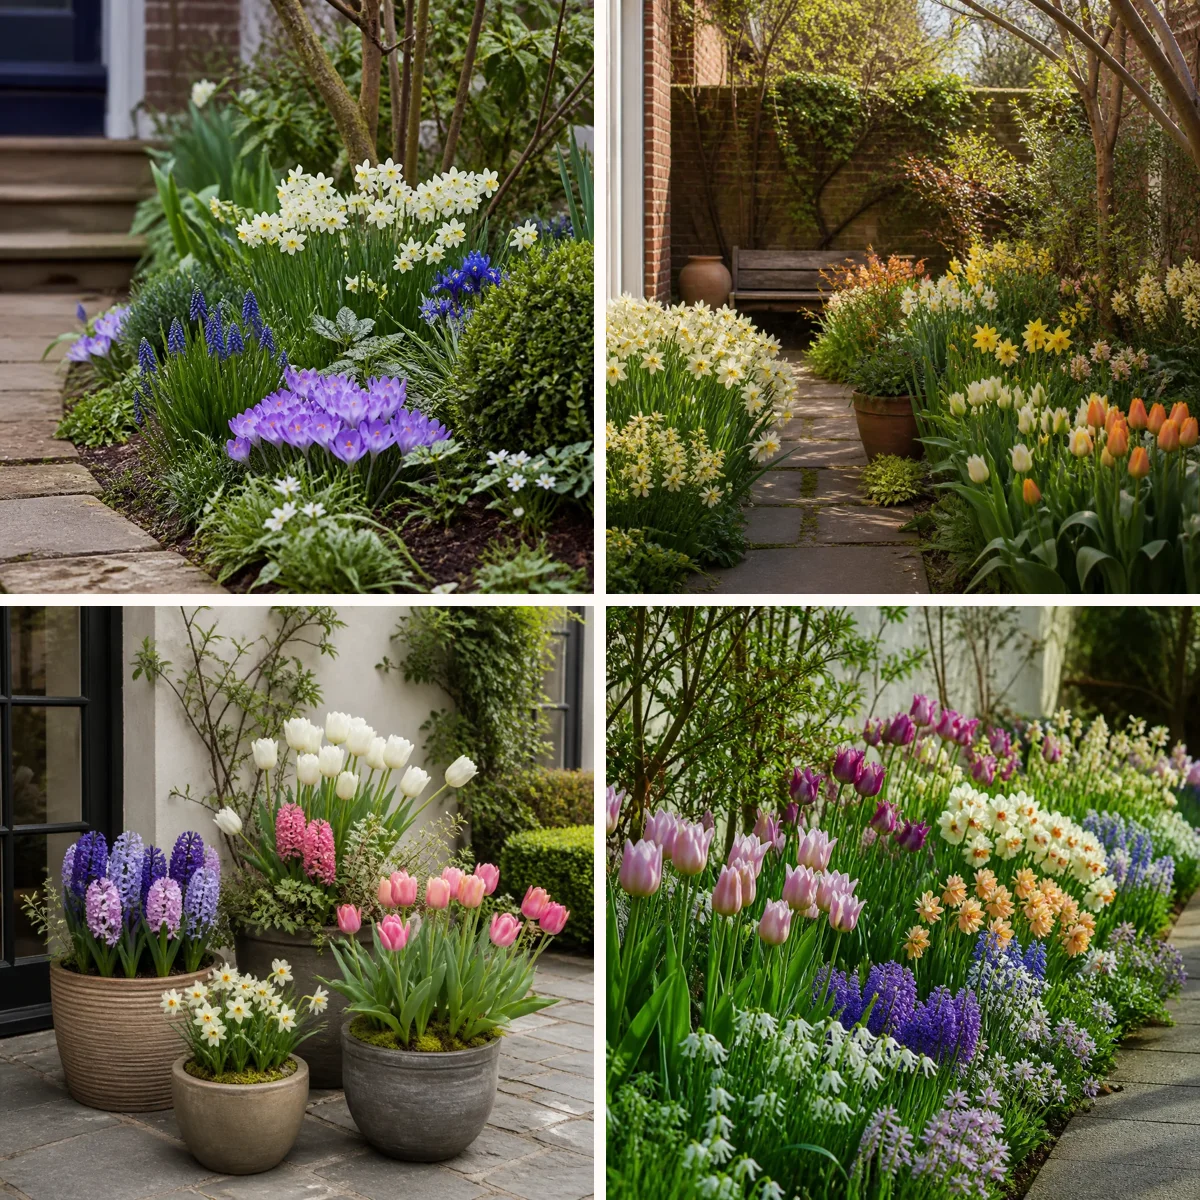
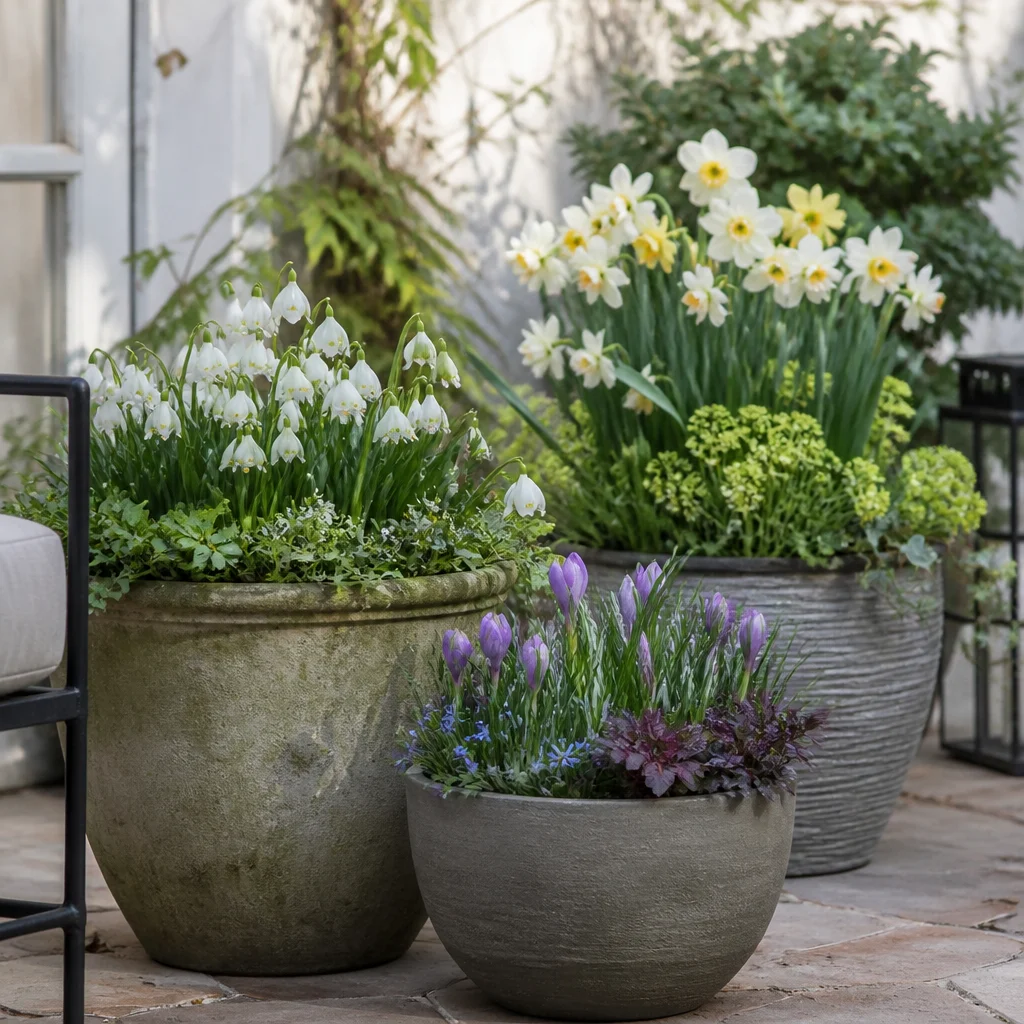
Instead of trying to include every favorite bulb in one pot, create a single themed planting with a strong identity. A fragrant spring pot could start with dwarf iris, continue with hyacinths, and finish with scented narcissus or tulips chosen for perfume. A cool-color pot might use blue muscari, white narcissus, and violet tulips. A sunny theme could begin with golden crocus, move into yellow daffodils, and end with apricot or orange late tulips. Themed pots are easier to place and style because they have a coherent mood. Near a front door, choose refined color combinations that read well from a distance. On a dining terrace, fragrance may matter more than dramatic height. In a small garden, a few well-designed containers can carry the whole spring season if each one is tuned to a different sequence and mood.
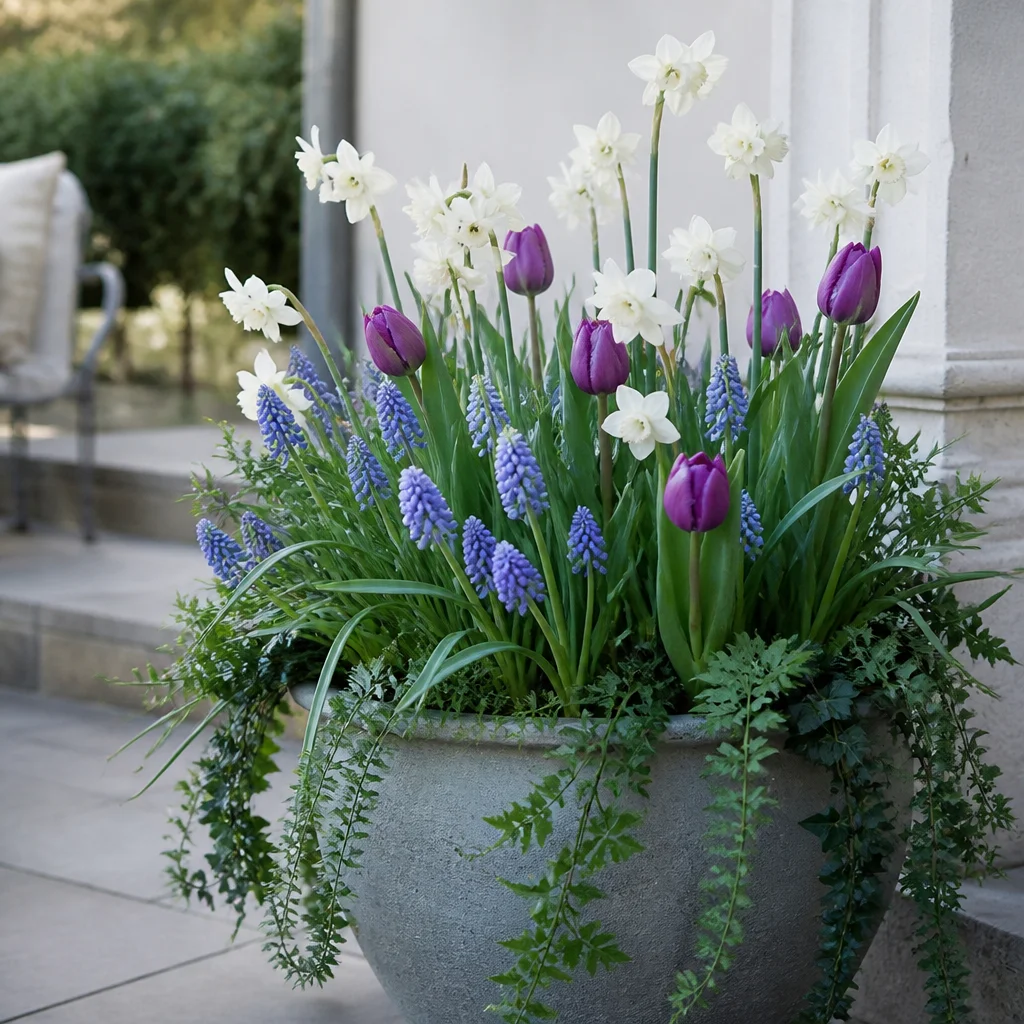
Treat borders as repeating drifts, not isolated clumps
In beds and borders, successive bloom looks more natural when bulbs are planted in repeated drifts rather than in single separate patches. If early crocus appears in several places, then daffodils and tulips echo those same areas later, the border keeps its rhythm even as the cast changes. Repetition also prevents awkward gaps when one variety finishes and another has not yet reached its best. Think of each drift as part of a conversation across the bed. For example, a border might repeat blue scilla in three places near the front, then repeat white narcissus behind each group, with late mauve alliums rising at intervals farther back. The eye connects the groups, and the planting feels generous and layered rather than busy. This approach is especially effective in wider beds where single clumps can otherwise look lost.
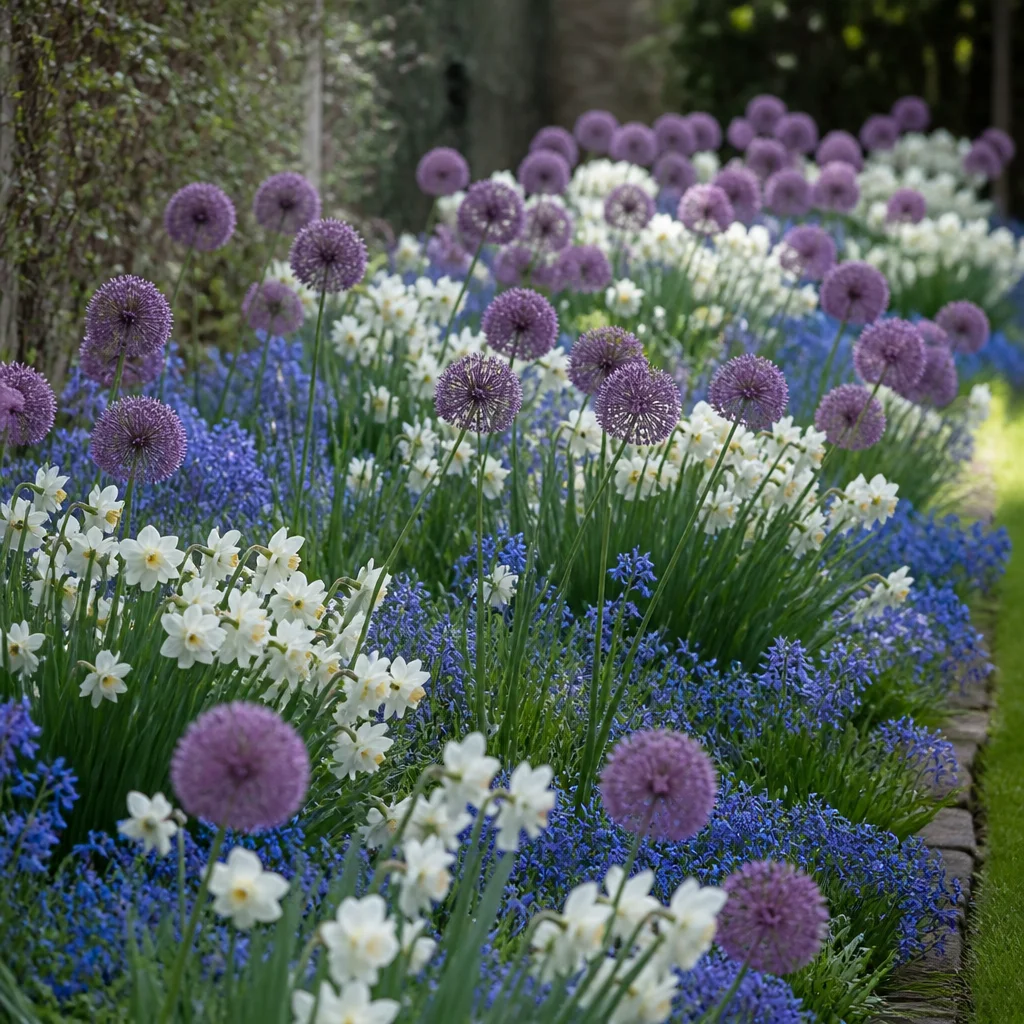
Pair bulbs with perennials that hide fading foliage
One of the practical challenges of spring bulbs is that the leaves must remain after flowering to feed next year’s bulbs. Rather than fighting that stage, plan for it. Low, later-emerging perennials such as hardy geraniums, lady’s mantle, catmint, heuchera, and hostas can grow around bulb foliage and soften its decline. The result is a border that stays attractive while the bulbs quietly recharge underground. In containers, this principle also helps. A deep spring pot can be underplanted or later topped with trailing ivy, small grasses, or cool-season annuals once the bulb display matures. In beds, place bulbs where surrounding perennials will leaf out at just the right time to veil yellowing leaves without smothering them too early. Good partnerships make spring bulb layering feel polished instead of temporary.
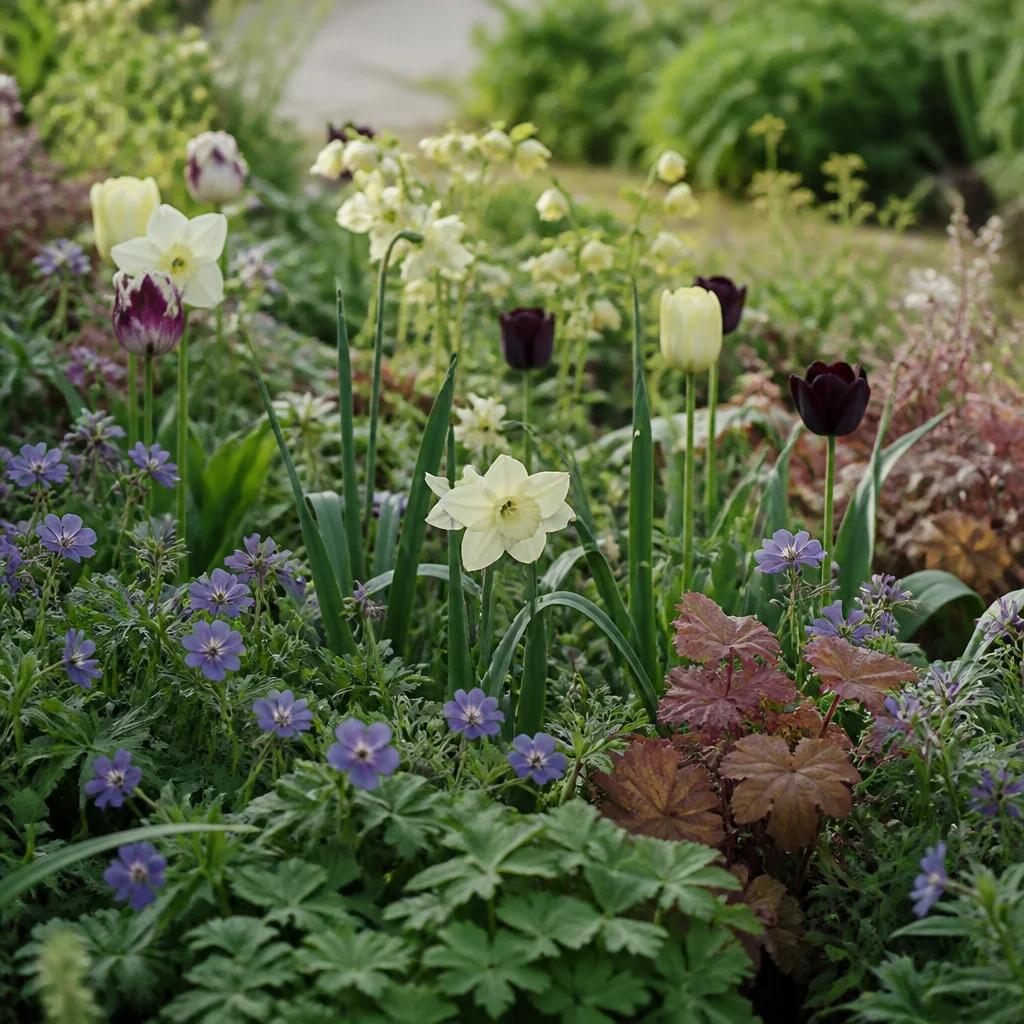
Choose pot shapes and bed positions that support the design
The container itself influences how successful a layered planting will be. Deep pots are better than shallow bowls because they allow proper spacing between bulb layers and hold moisture more evenly through winter and spring. Wide containers also give room for natural-looking groupings instead of rigid rings. For dramatic entrance displays, use fewer kinds of bulbs in larger quantities so the planting reads clearly from a distance. In borders, place layered bulbs where spring sunlight reaches the soil before deciduous shrubs and trees fill out. Avoid positions that stay waterlogged in winter, since bulbs resent sitting in cold wet ground. Near paths and doorways, prioritize varieties with fine detail and scent because people experience them at close quarters. Farther away, stronger colors and taller late bulbs are more effective than subtle combinations.
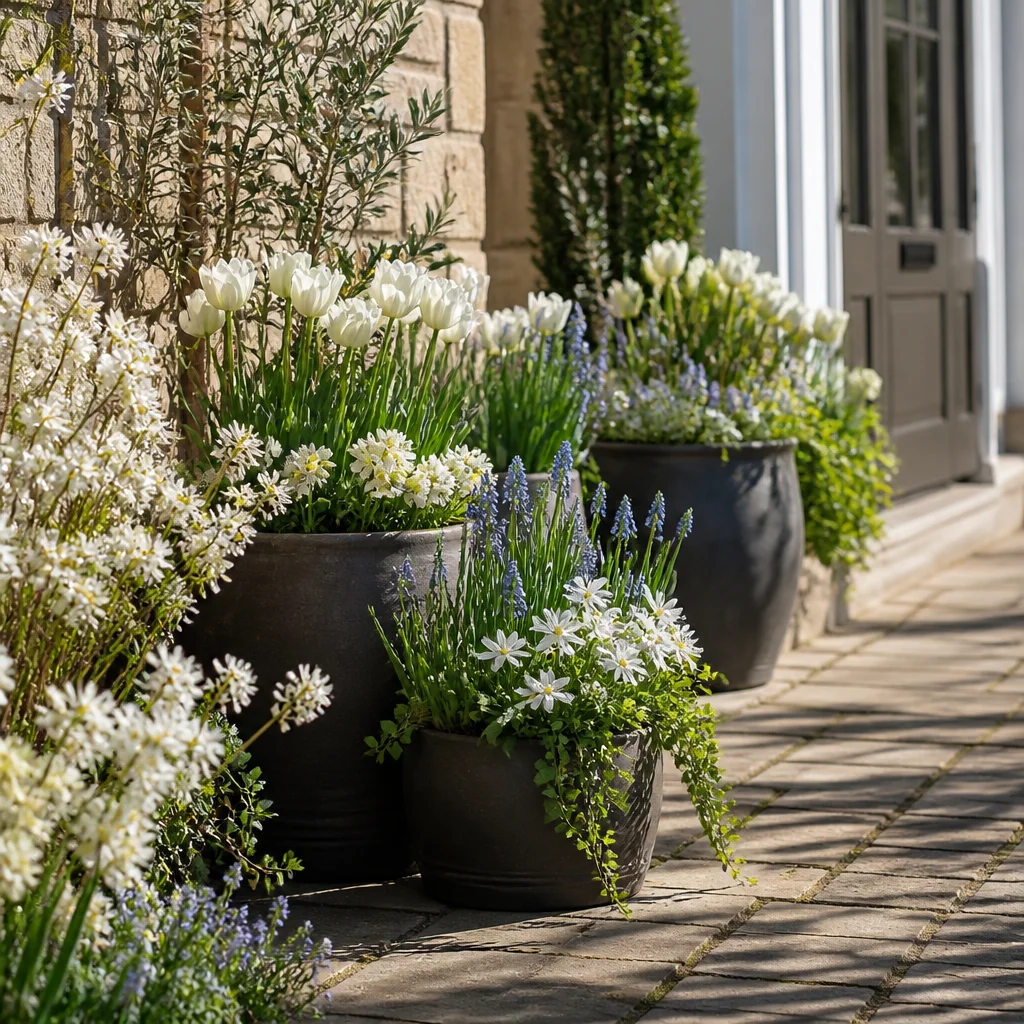
Stagger several pots to extend the season even further
If you have room for more than one container, treat them as a relay rather than making each do everything. One pot can lean early with crocus, dwarf iris, and miniature narcissus. A second can center on midseason daffodils and hyacinths. A third can finish with tulips and alliums. Together, they produce a much longer overall display, and each pot has enough space to look full without becoming overcrowded. This approach is particularly useful on balconies, patios, and small front gardens. As one container peaks, another is beginning. You can also move pots into better view when they are at their best, then shift fading containers slightly aside while leaving foliage to mature. A collection of staggered pots often feels more dynamic and manageable than one oversized planting carrying the entire burden of spring.
Finish with aftercare that protects next year’s performance
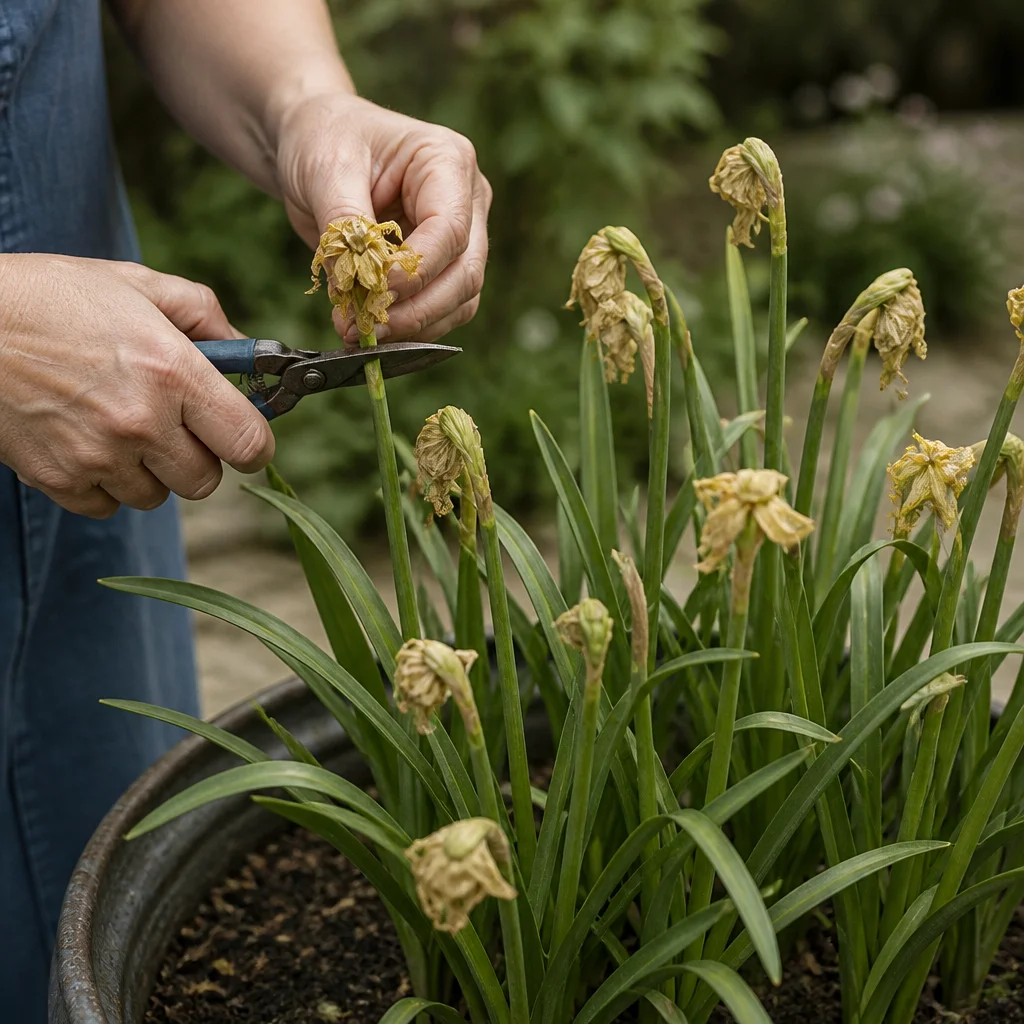
The best layered bulb design still depends on good aftercare. Deadhead spent flowers so plants direct energy back into the bulb rather than into seed. Keep watering containers during active growth, especially in dry springs, and feed lightly if the compost is poor. Most importantly, let the foliage die back naturally before removing it. Cutting leaves too soon weakens next year’s display and shortens the lifespan of the planting. When the season ends, review what worked. Notice whether one color arrived too strongly, whether a late tulip hid behind narcissus leaves, or whether a pot needed more depth for comfortable layering. Small adjustments make a big difference the following year. With each season, your combinations become more confident, and the reward is a spring display that feels prolonged, balanced, and beautifully timed.
How did this story make you feel?
Choose one reaction. You can change it later.