Balcony Gardens7 min read
How to Grow Salad Greens on a Windy Balcony
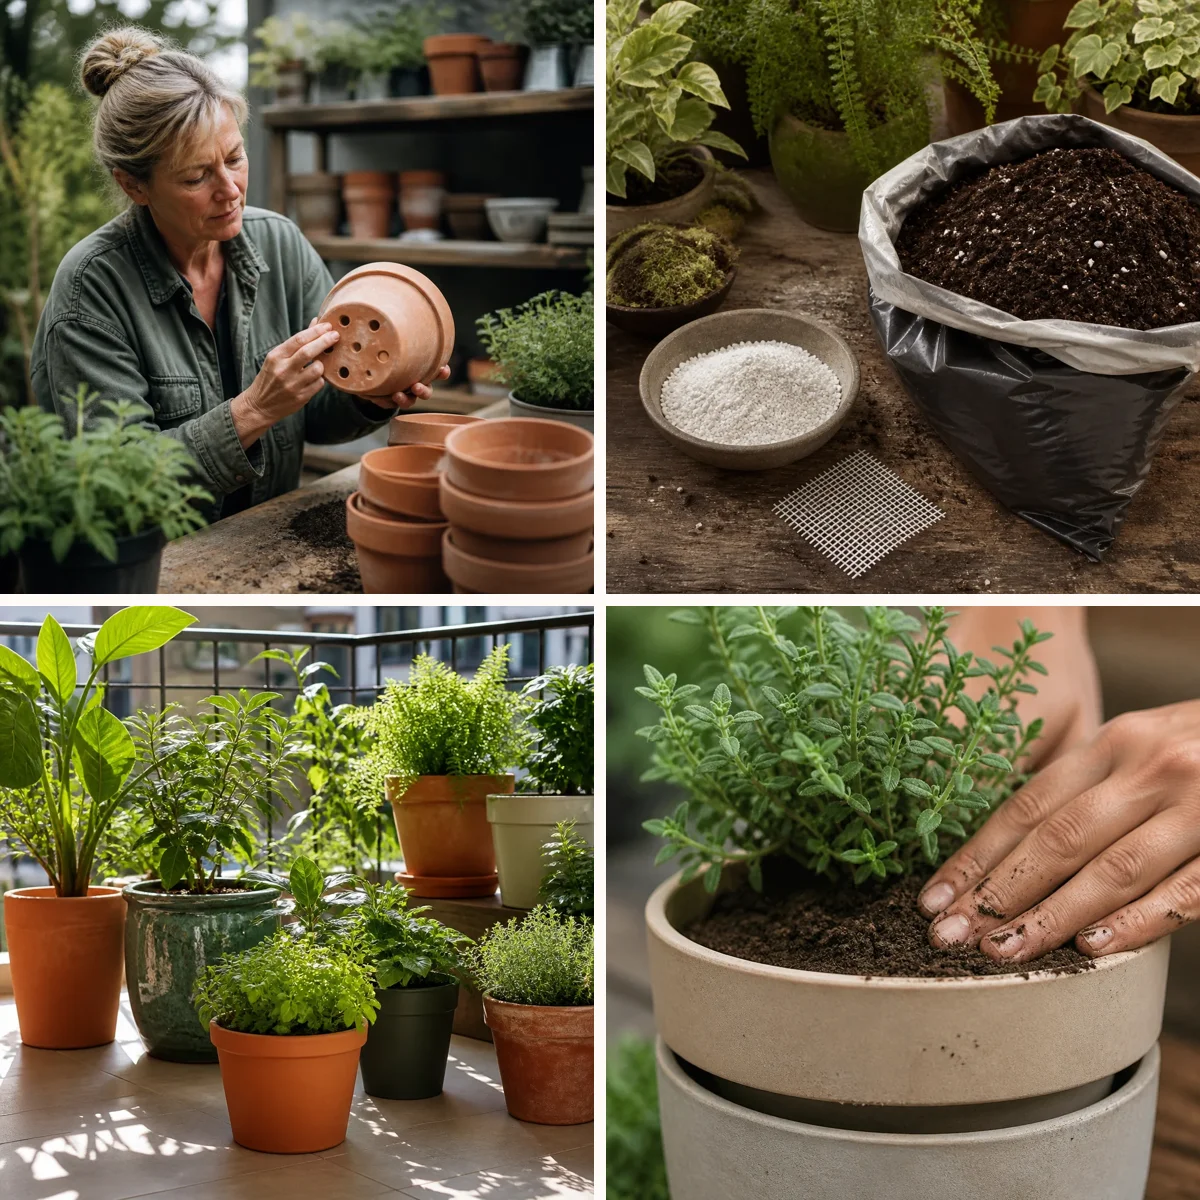
A windy balcony can still produce bowls of fresh salad. The trick is to treat wind as a design condition rather than an inconvenience: slow it down, anchor your containers, and choose greens that are comfortable in a compact space. With a simple watering routine and a few thoughtful styling choices, even a small exposed balcony can become a productive, attractive edible garden.

Read the Wind Before You Arrange Your Garden
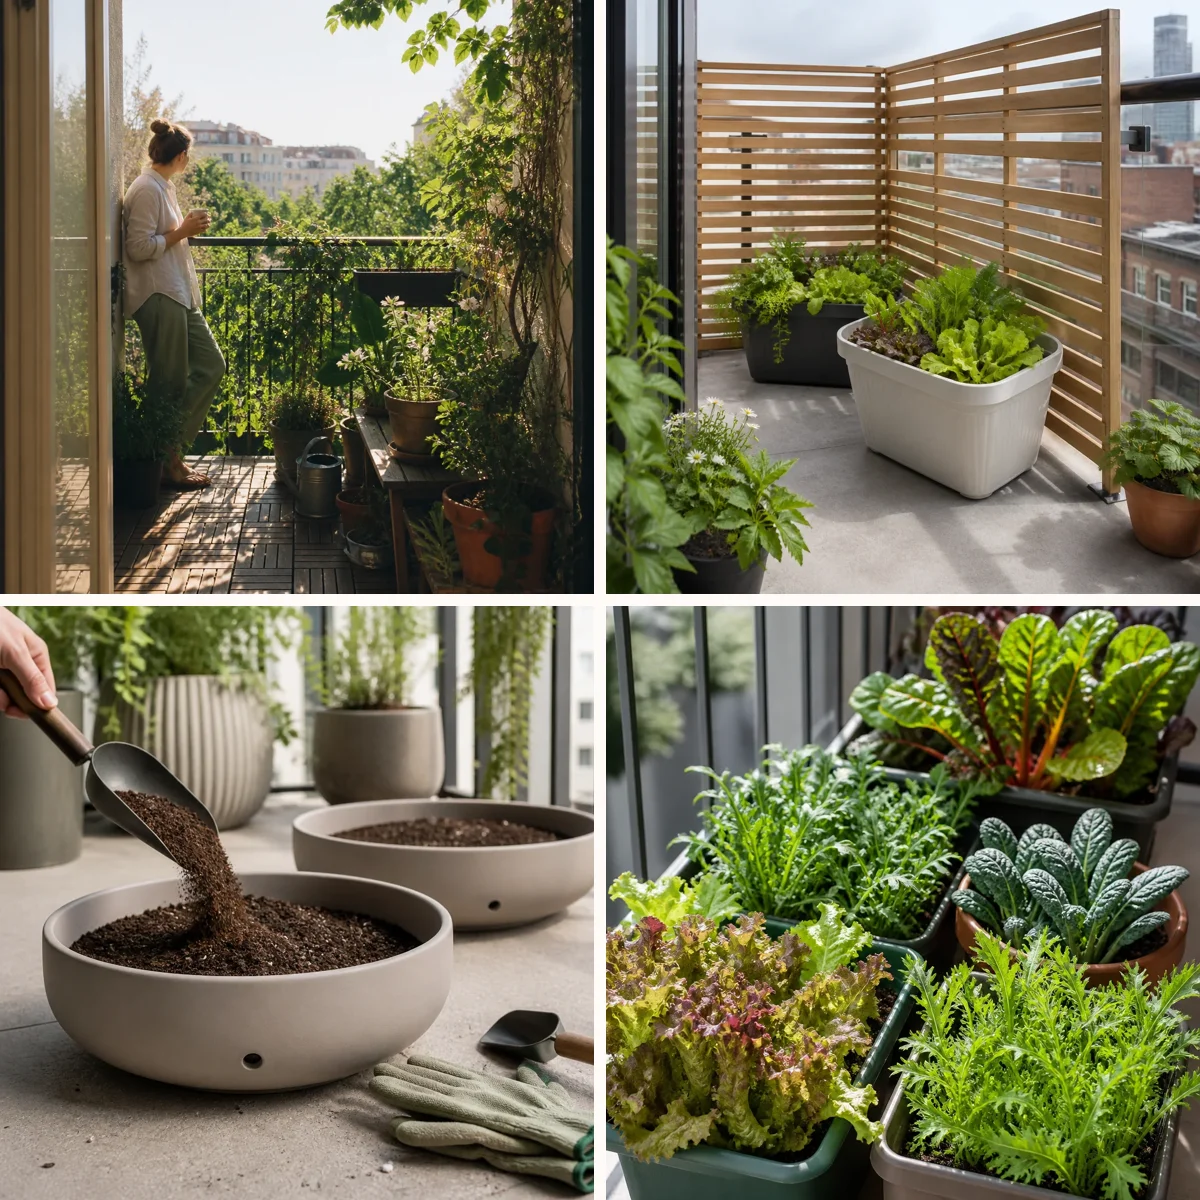
Spend a few days noticing where gusts enter your balcony and where they ease. Corners beside a solid wall are often calmer than the outer railing, while narrow gaps between buildings can funnel surprisingly strong air. Watch how leaves, hanging objects, or a lightweight piece of ribbon move at different times of day. Check sunlight too: many salad greens appreciate several hours of direct sun, but a spot with morning light and some afternoon shade can be useful in hot weather. Choose a sheltered position that still receives good light, and keep the main walking route clear. Avoid blocking doors, drains, or access to balcony fixtures. If you rent or live in a shared building, check the rules before attaching anything to railings or walls. A little observation now prevents a layout that looks lovely but leaves tender seedlings battered or thirsty.

Create a Filtered Shelter, Not a Wind Tunnel
A porous screen can soften wind without creating the turbulence that sometimes forms behind a solid barrier. Try a securely fixed lattice, slatted panel, or windbreak mesh on the side facing the prevailing gusts. Place containers a short distance behind it rather than pressing every pot against the screen. The aim is to slow the air around the plants while allowing enough movement to help foliage dry after rain. Use fittings suitable for the balcony and follow building rules; a loose screen can become dangerous in a storm. Do not rely on lightweight freestanding panels unless they are adequately secured. For a softer look, choose a screen in a color that blends with the railing and repeat that color in a few pots. Keep the screen low enough, or sufficiently open, that it does not unnecessarily shade your greens.
Choose Stable Containers With Room for Roots
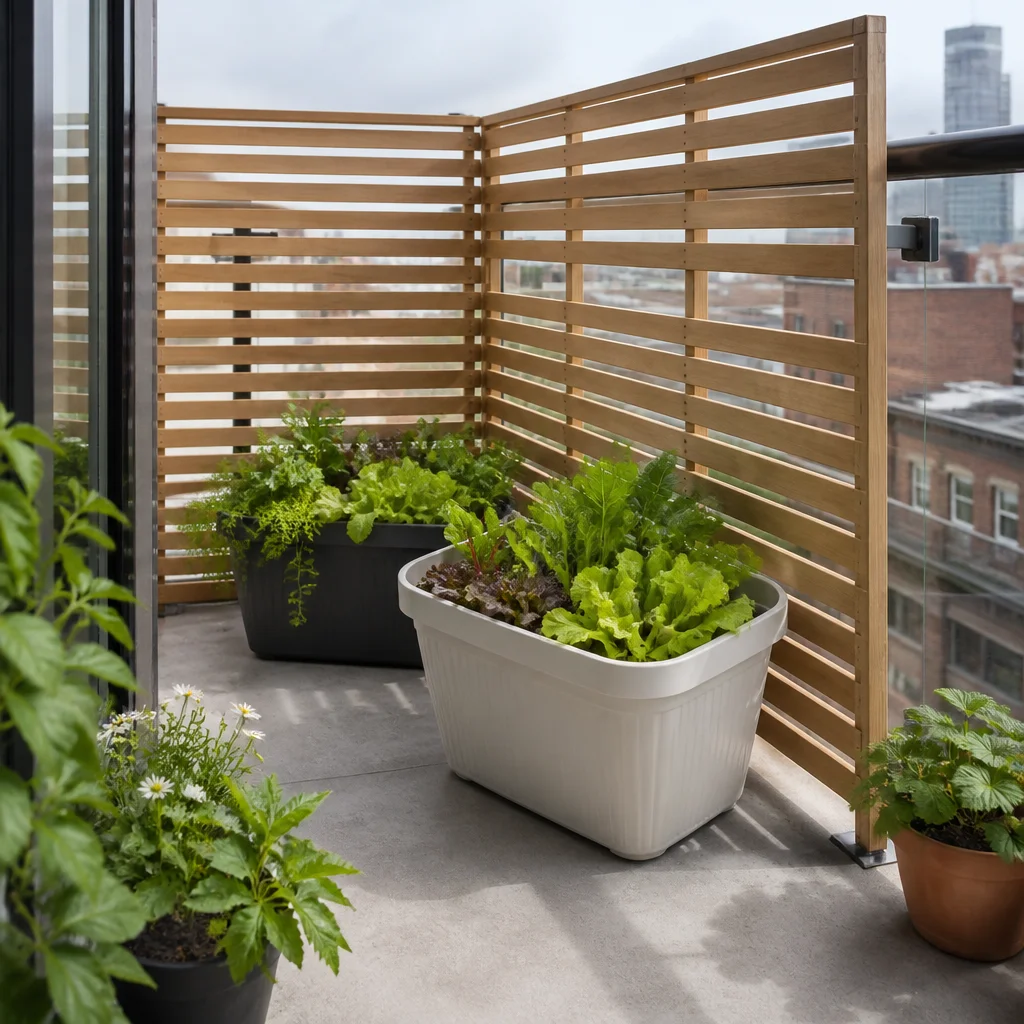
Wide, low containers are generally less prone to tipping than tall, narrow pots. For most loose-leaf lettuce and other shallow-rooted salad crops, choose a planter at least 20 centimeters deep, with drainage holes in the base. A deeper container is useful if you want to mix greens with herbs or give plants more room between waterings. Use a quality container potting mix rather than dense garden soil, which can compact and drain poorly in pots. Set planters on a stable floor surface, not on a precarious ledge. Grouping pots can reduce their individual exposure, but leave enough space to reach them and allow air to circulate. Heavy containers, wet soil, and water add considerable load, so check your balcony’s weight limits before installing large planters. Saucers can protect the floor, but empty excess water promptly so roots do not sit in it.
Pick Greens That Suit the Season
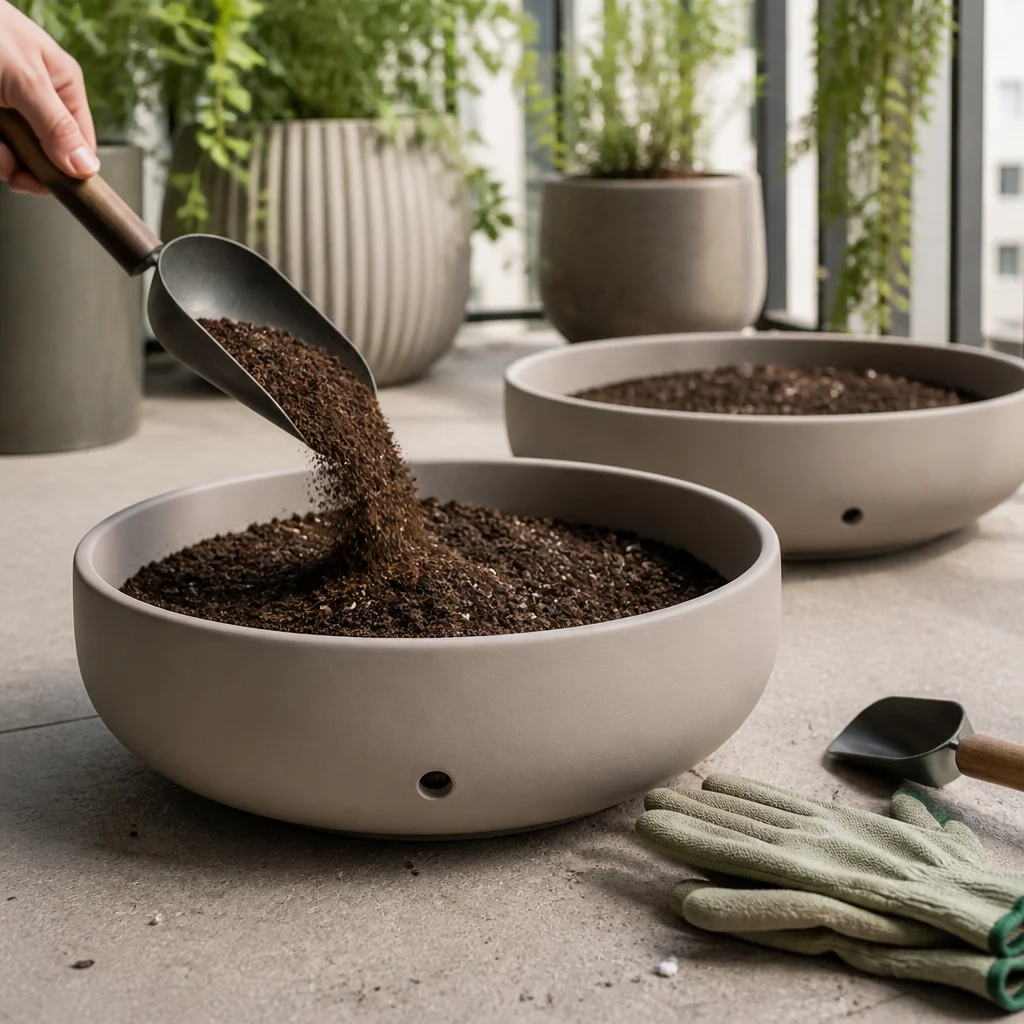
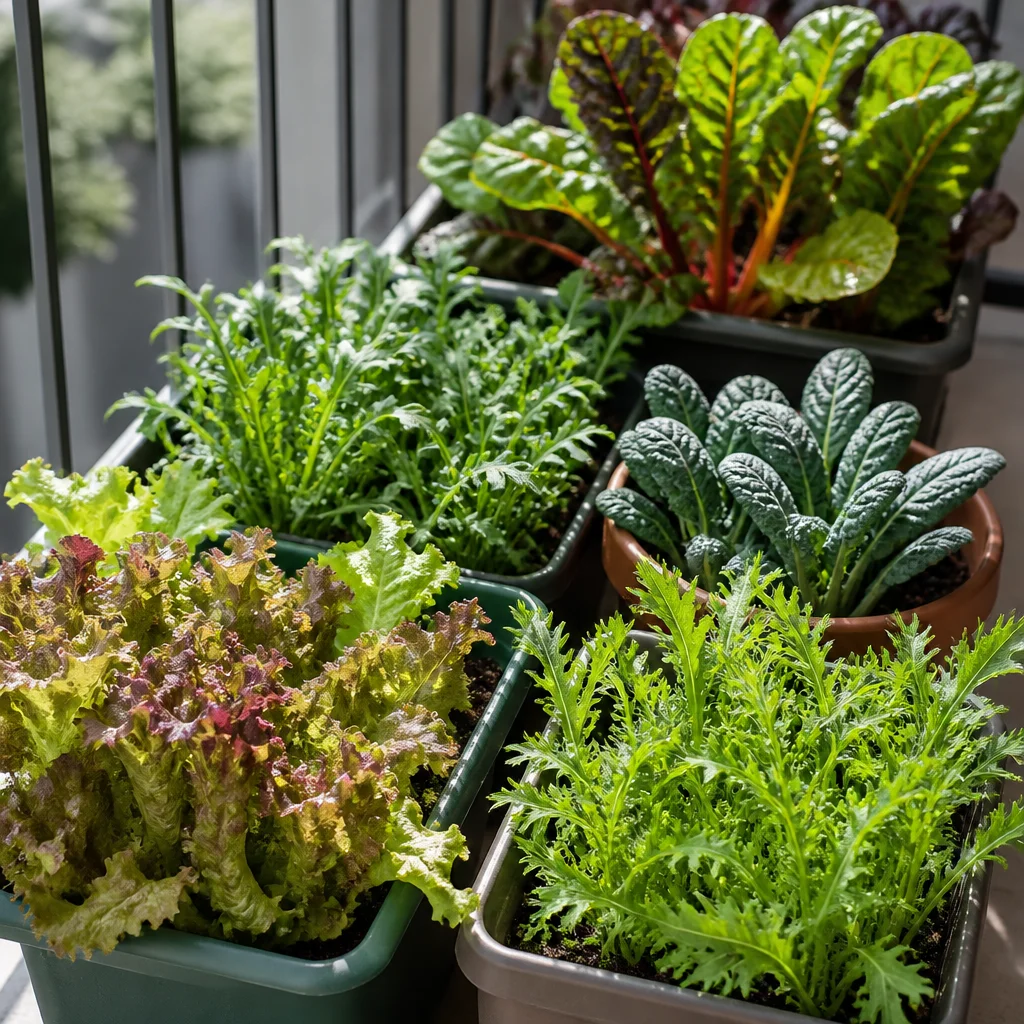
Start with loose-leaf lettuce, arugula, baby kale, mizuna, and Swiss chard for a mix of textures and flavors. Compact varieties are especially useful when space is limited. Leaf lettuce can be harvested gradually, while arugula and mizuna grow quickly enough to make repeated sowings rewarding. Chard is a sturdy option for a larger pot, though its leaves still benefit from protection against strong gusts. Match each crop to the weather. Lettuce and arugula generally prefer cooler conditions and may bolt, or send up flower stalks, when heat arrives. In warm spells, give them afternoon shade and try heat-tolerant lettuce varieties. In cooler months, leafy brassicas such as kale and mizuna may be more accommodating, depending on local conditions. Check seed packets for suitable sowing temperatures and expected plant size rather than filling every gap with seedlings.
Sow in Small Batches for a Longer Harvest
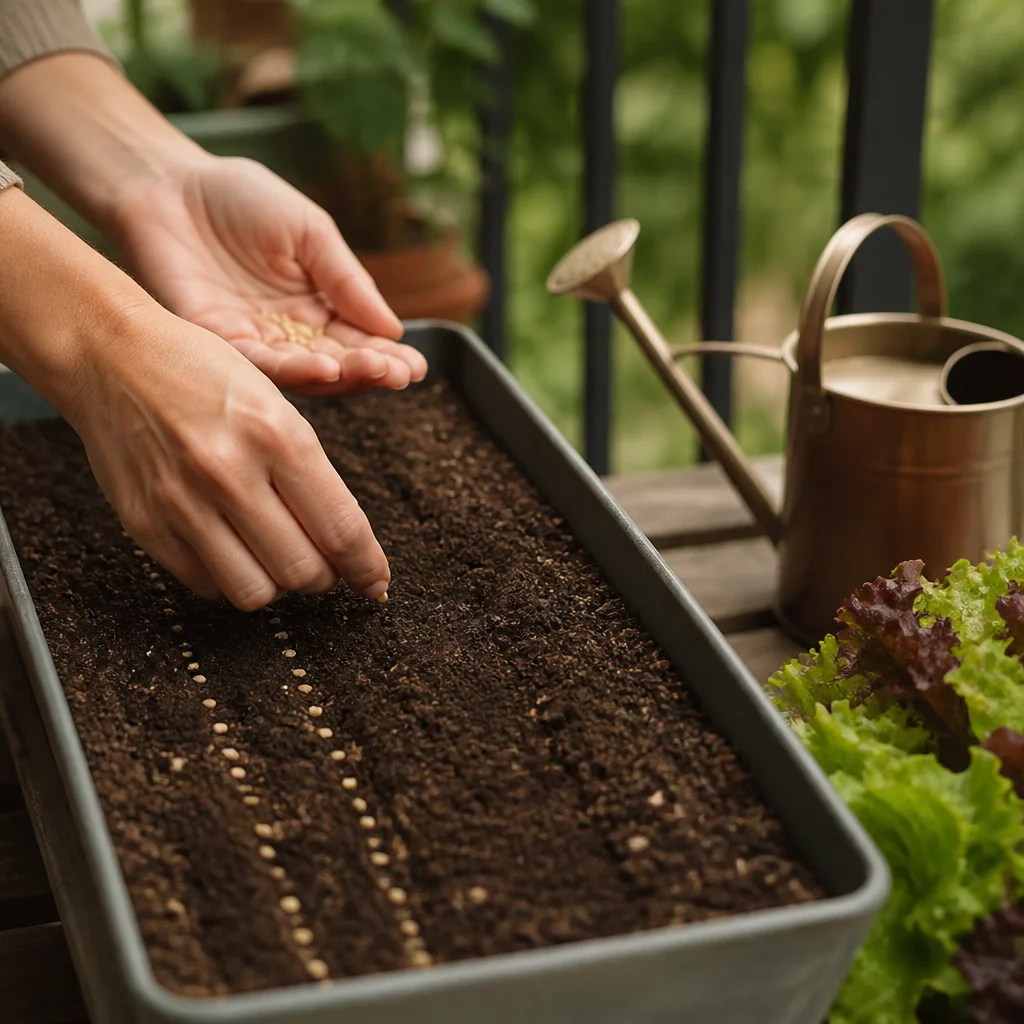
Rather than sowing an entire planter at once, divide it into short rows or small blocks and sow a new portion every two to three weeks while conditions remain suitable. This succession approach spreads the harvest and leaves room to replace crops that become bitter, flower, or decline. Follow the seed packet for sowing depth, then thin seedlings to their recommended spacing; crowded greens compete for water and are harder to keep healthy. Wind can dry the surface of fresh potting mix quickly, so check newly sown containers at least daily. Water gently with a fine rose or small watering can to avoid washing seeds into a heap. A light cover of horticultural fleece can protect young seedlings from drying gusts, provided it is securely anchored and removed or loosened as plants grow. Check beneath it regularly for moisture and pests.
Make Watering Checks a Daily Habit
Wind draws moisture from both leaves and potting mix, sometimes much faster than a sheltered garden would suggest. Check containers each morning during warm or breezy weather, and again later in the day during hot spells. Push a finger a couple of centimeters into the mix: if it feels dry at that depth, water thoroughly until some drains from the base. Seedlings need a consistently moist surface, so their checks may need to be more frequent. Water slowly at the soil surface rather than splashing leaves, and give dry mix time to absorb the water. A pot that has pulled away from its sides may need a second pass after a few minutes. Avoid watering automatically on a fixed schedule; cool, cloudy days can leave soil damp for longer. If a saucer collects runoff, empty it after watering. A thin layer of clean, fine mulch around established plants can also slow evaporation, but keep it clear of tiny seedlings.
Feed Lightly and Keep Leaves Airy
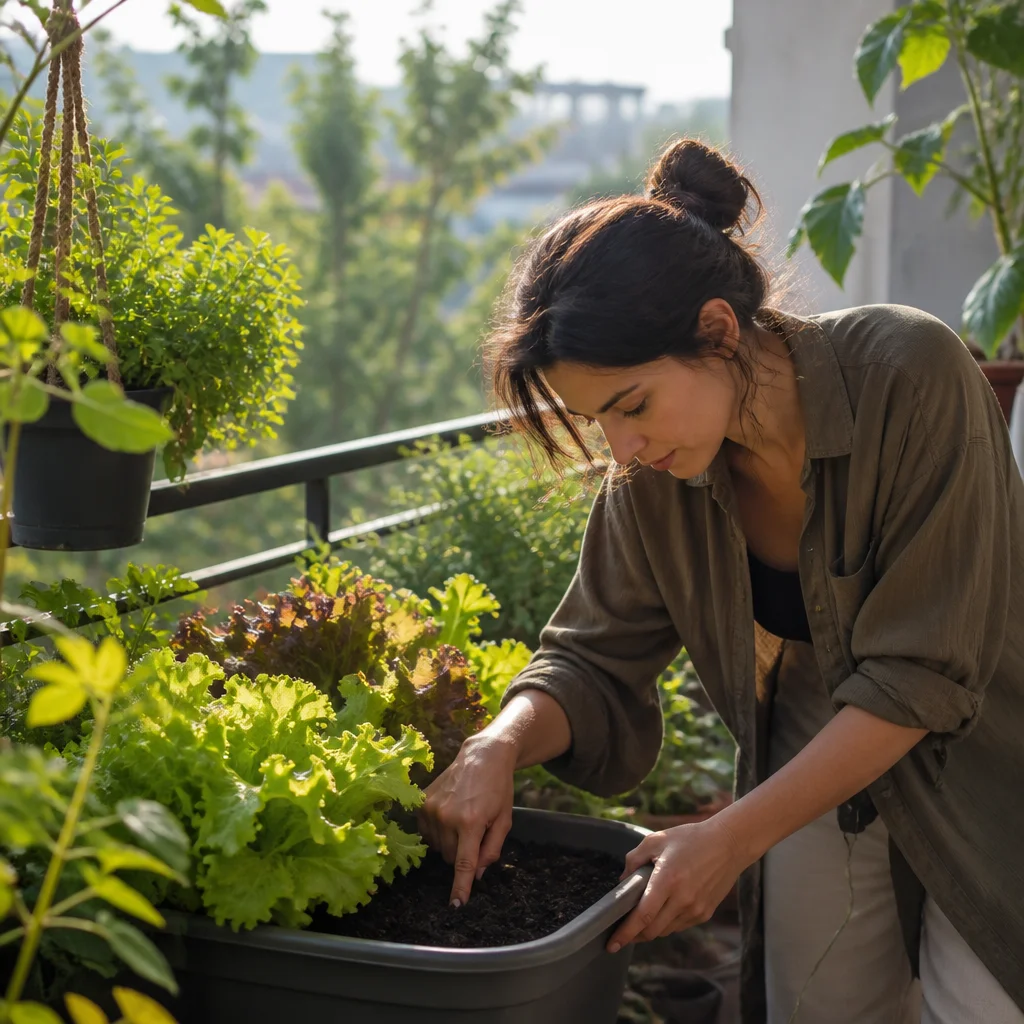
Leafy crops grow best with steady moisture and modest nutrition, not heavy feeding. Begin with a potting mix intended for containers and follow its label for any included fertilizer. If plants remain in the same mix for several weeks, use a fertilizer suitable for edible crops at the label’s recommended dilution and frequency. Too much fertilizer can encourage soft growth and leave salts in the potting mix, so more is not necessarily better. Remove yellowing or damaged leaves and check the undersides of foliage for aphids and other pests. A gentle rinse or wiping pests away by hand may be enough for a small planting. Keep plants spaced so you can inspect them easily, and avoid letting foliage form a dense, permanently damp mat. Wash harvested leaves before eating, and follow any product label carefully if you choose to use a pest treatment on edible plants.
Style the Space Around Easy Access
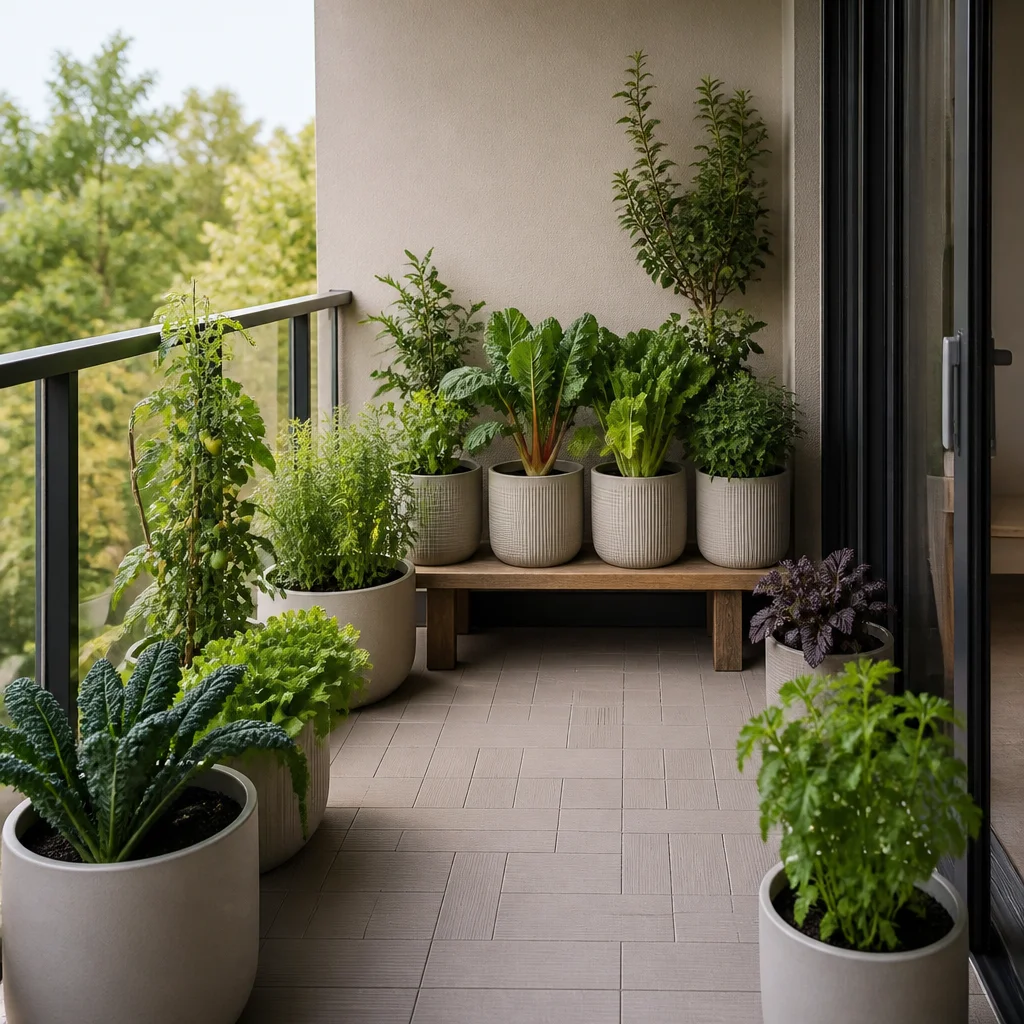
A compact edible garden can look intentional without sacrificing practicality. Use two or three coordinated container colors, then let the greens provide variation: ruffled lettuce beside upright chard stems, for example, or feathery mizuna near broad kale leaves. Repeat similar pot shapes to create a calm arrangement, and use a shallow tray for small tools or plant labels so the working area stays tidy. Place the containers you harvest most often nearest the door, with larger, heavier planters toward the sheltered side of the balcony. A sturdy low stand can bring a small pot within easy reach, but only if it is stable and does not expose the plant to stronger wind. Keep watering equipment accessible and leave a comfortable path around the pots. The best arrangement is one you can tend without stretching over railings or moving half the garden.
Harvest Often and Reset Tired Planters
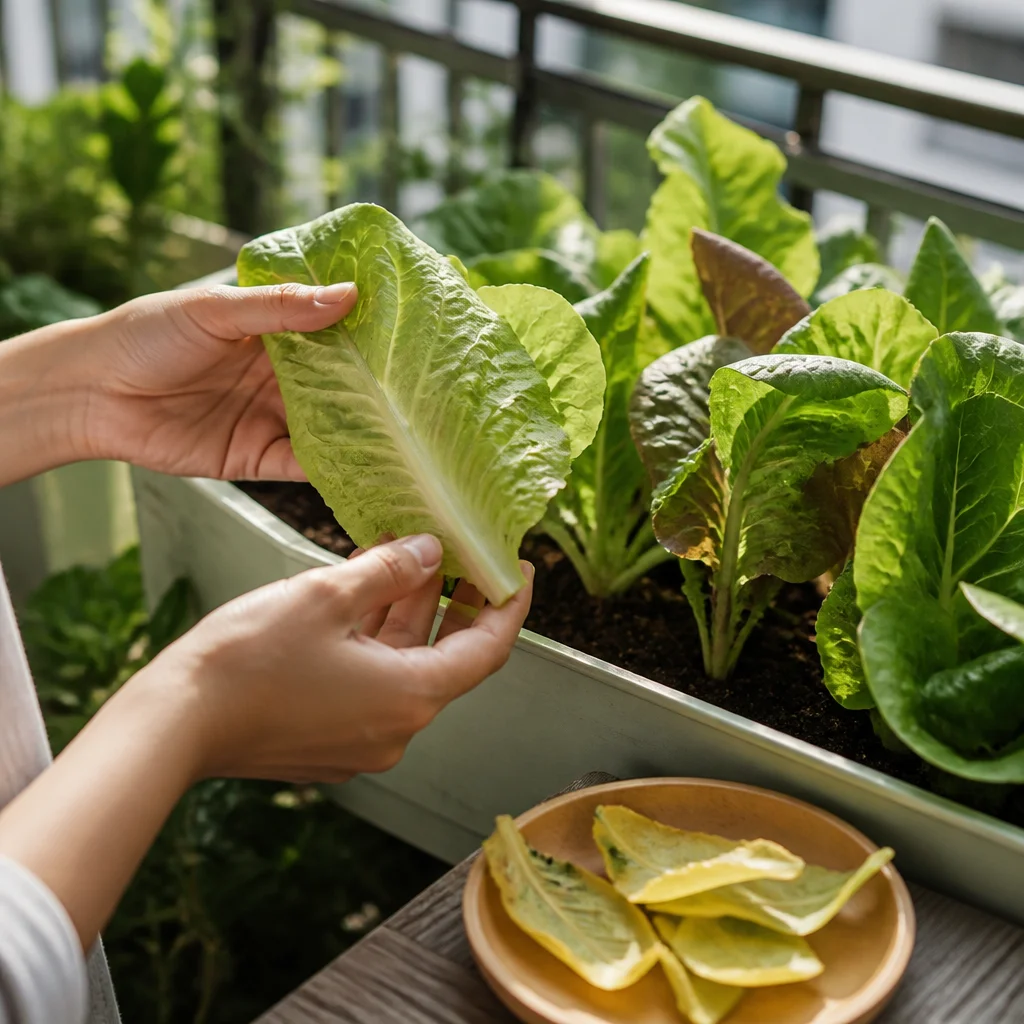
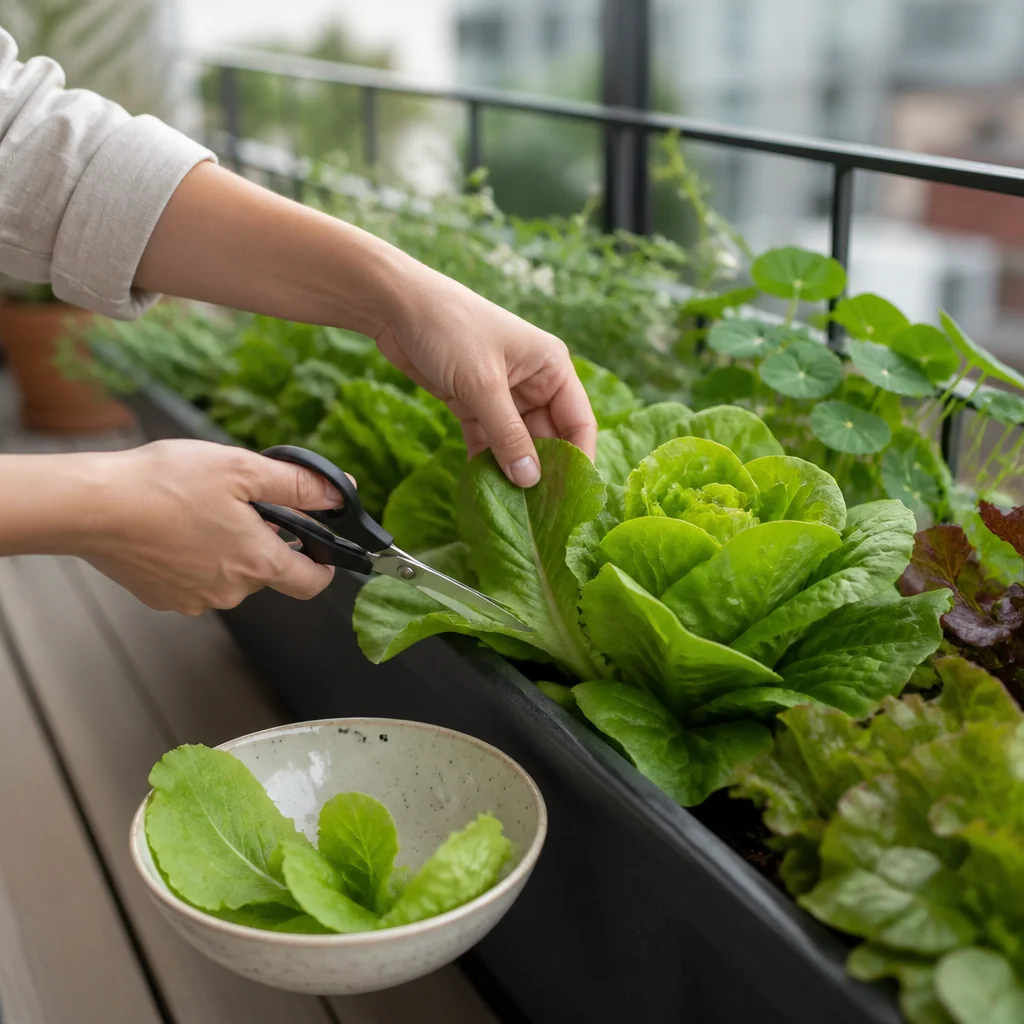
For loose-leaf greens, pick a few mature outer leaves from each plant and leave the central growing point intact. Harvesting across several plants avoids stripping one pot bare and encourages a useful succession of tender leaves. Pick in the cooler part of the day when possible, and use clean scissors or pinch leaves carefully. If a plant begins to flower or its leaves become tough and bitter, remove it and sow or transplant a replacement suited to the season. Between crops, clear away old roots and fallen leaves, then top up the container with fresh potting mix as needed. If the mix has become compacted, drains poorly, or supported a diseased crop, replace it rather than assuming it will recover. Review the layout after a storm or a change of season: a shelter that worked in spring may cast too much shade later, while a newly exposed corner may need a more secure arrangement.
How did this story make you feel?
Choose one reaction. You can change it later.