Container Gardening7 min read
How to Build a Container Garden That Drains Well
A container garden can turn a doorstep, balcony, or small patio into a lush retreat, but its success depends on what happens below the leaves. When excess water cannot escape, air spaces in the growing mix fill with water and roots struggle to breathe. Good drainage is not about making pots dry out as quickly as possible; it is about balancing moisture with oxygen. With the right containers, a suitable mix, and a few thoughtful placement choices, you can create arrangements that look inviting and give their roots room to thrive.
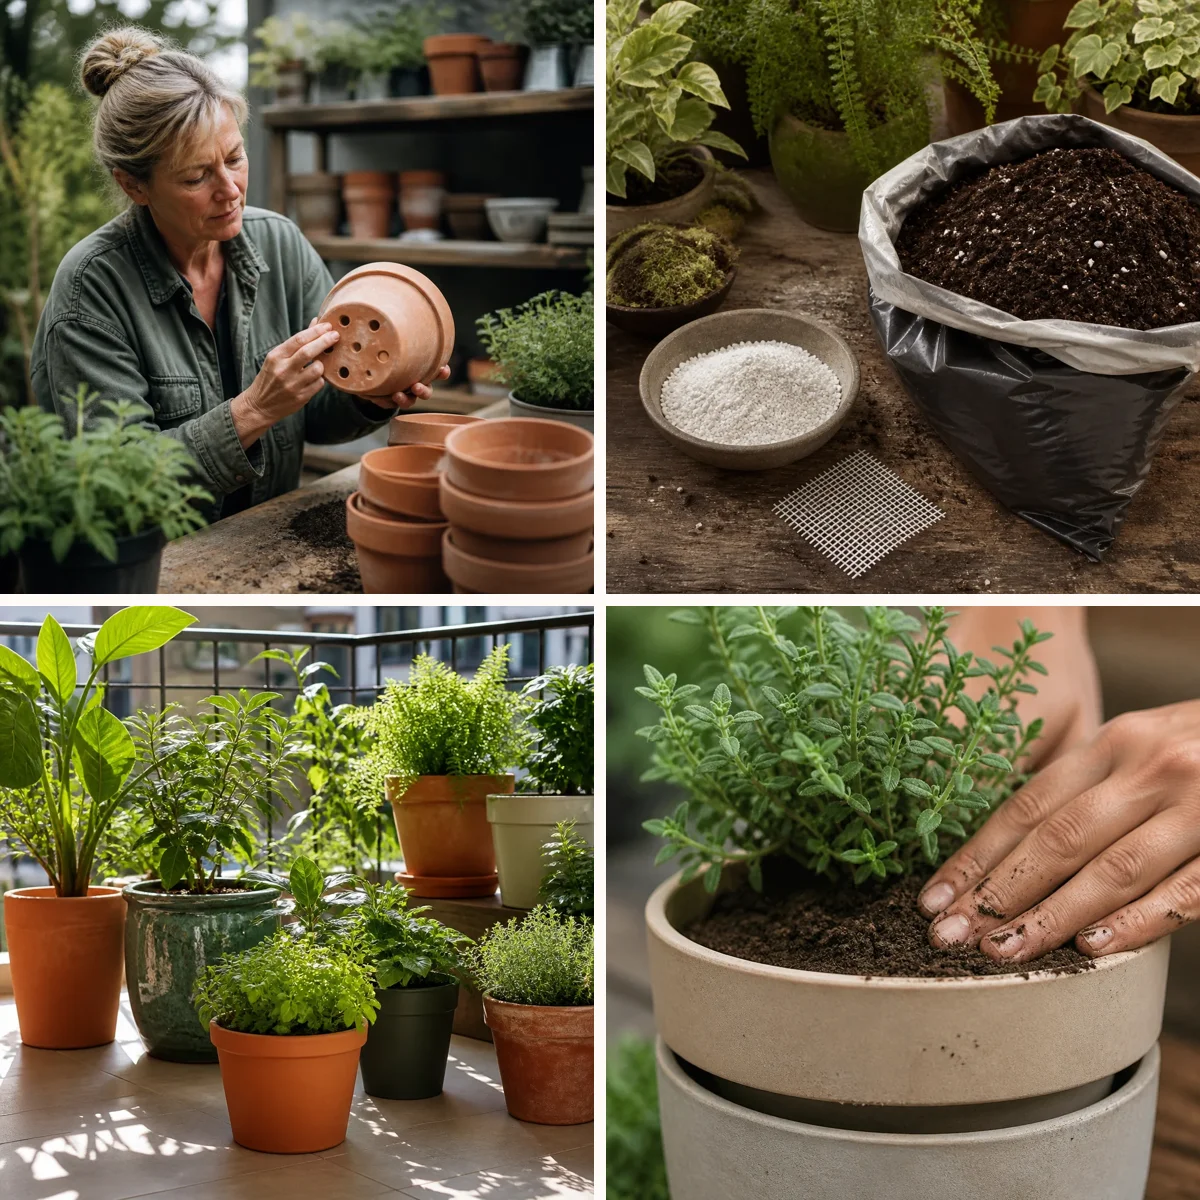

Start With Containers That Have Drainage Holes
Choose pots with open drainage holes in the bottom so excess water has a clear route out. Several holes distributed across a broad base can help water leave more evenly than a single small opening. Before planting, check that each hole is unobstructed; a manufacturing plug, compacted soil, or a surface pressed tightly against the base can slow the flow. Match the pot size to the plant rather than choosing the largest available container. A greatly oversized pot holds more wet mix than a small root system can use, increasing the chance that it stays soggy. If you love a decorative pot without holes, use it as a cover rather than planting directly into it. Set a slightly smaller nursery pot inside, then lift it out to water and let it drain before returning it. Check the outer pot regularly and empty any collected water. For a cohesive look, group different nursery pots inside cachepots in related colors or materials.
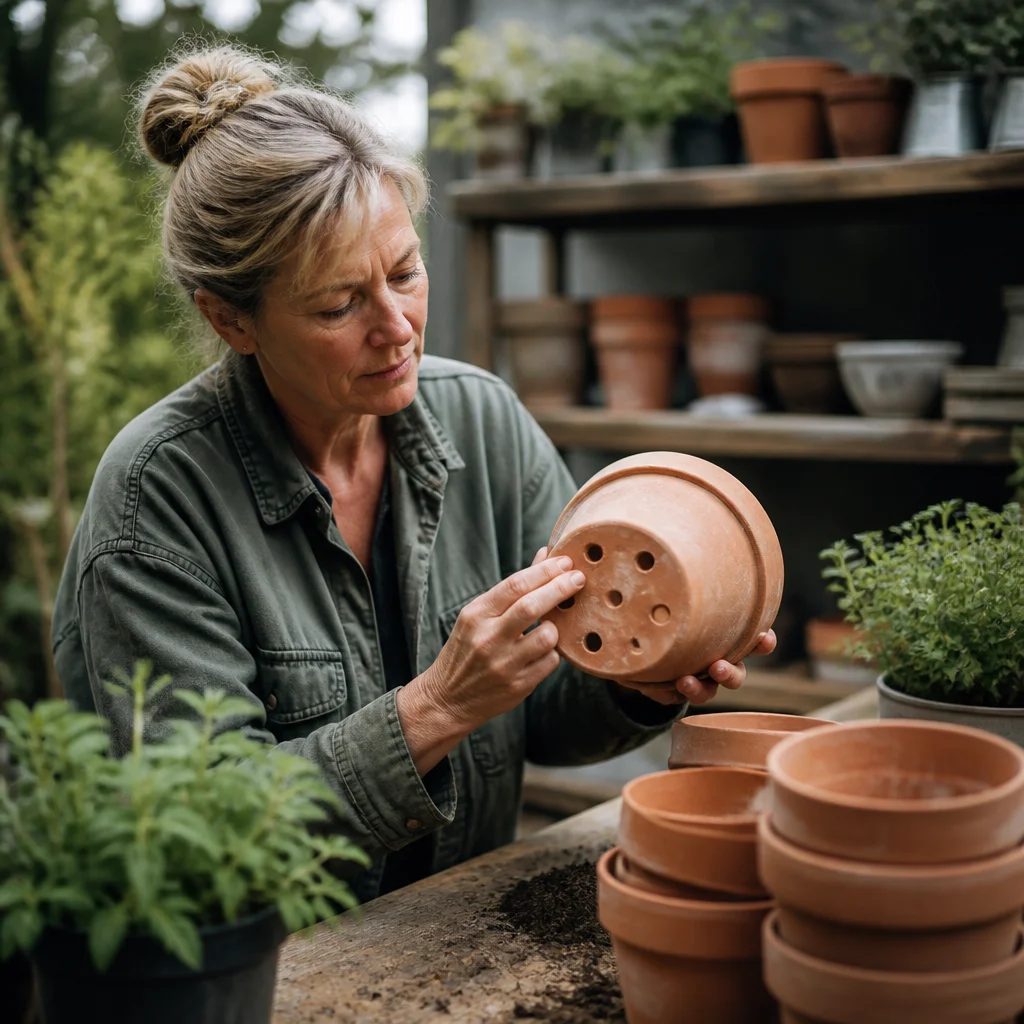
Choose a Potting Mix With an Airy Structure
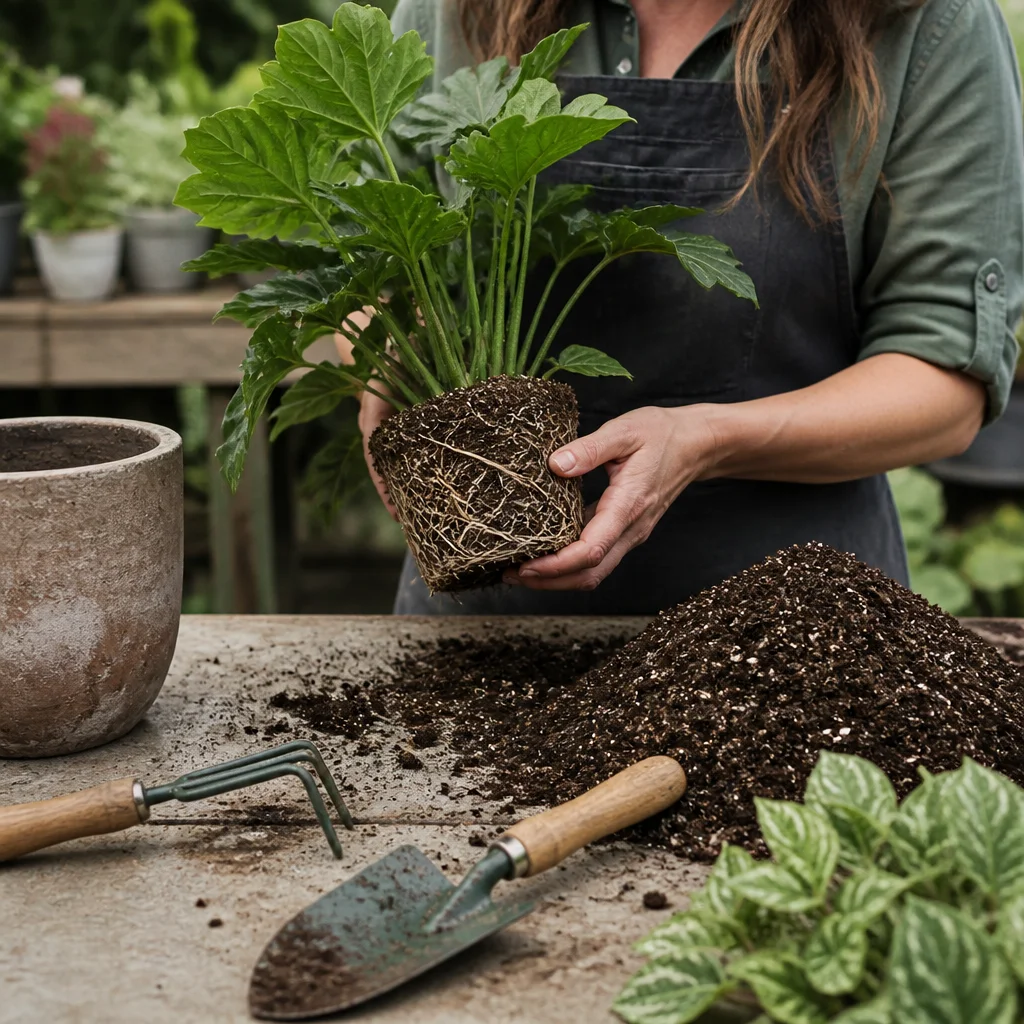
Use a potting mix formulated for containers rather than garden soil, which can compact in a pot and restrict air around roots. A typical container mix combines moisture-holding materials with coarser ingredients that preserve air spaces. For plants that prefer faster drying, such as many succulents, choose a suitable cactus and succulent mix or amend a general mix with an appropriate amount of horticultural pumice or perlite. Plants that appreciate more consistent moisture may do better in a standard potting mix without extra coarse material. Moisten dry mix lightly before planting so it absorbs water more evenly. Fill the container with the same suitable mix from bottom to top instead of adding a layer of gravel or broken pottery beneath it. A gravel layer does not reliably improve drainage and leaves less room for roots. If mix escapes through a large hole, cover it with a small piece of mesh that lets water pass.
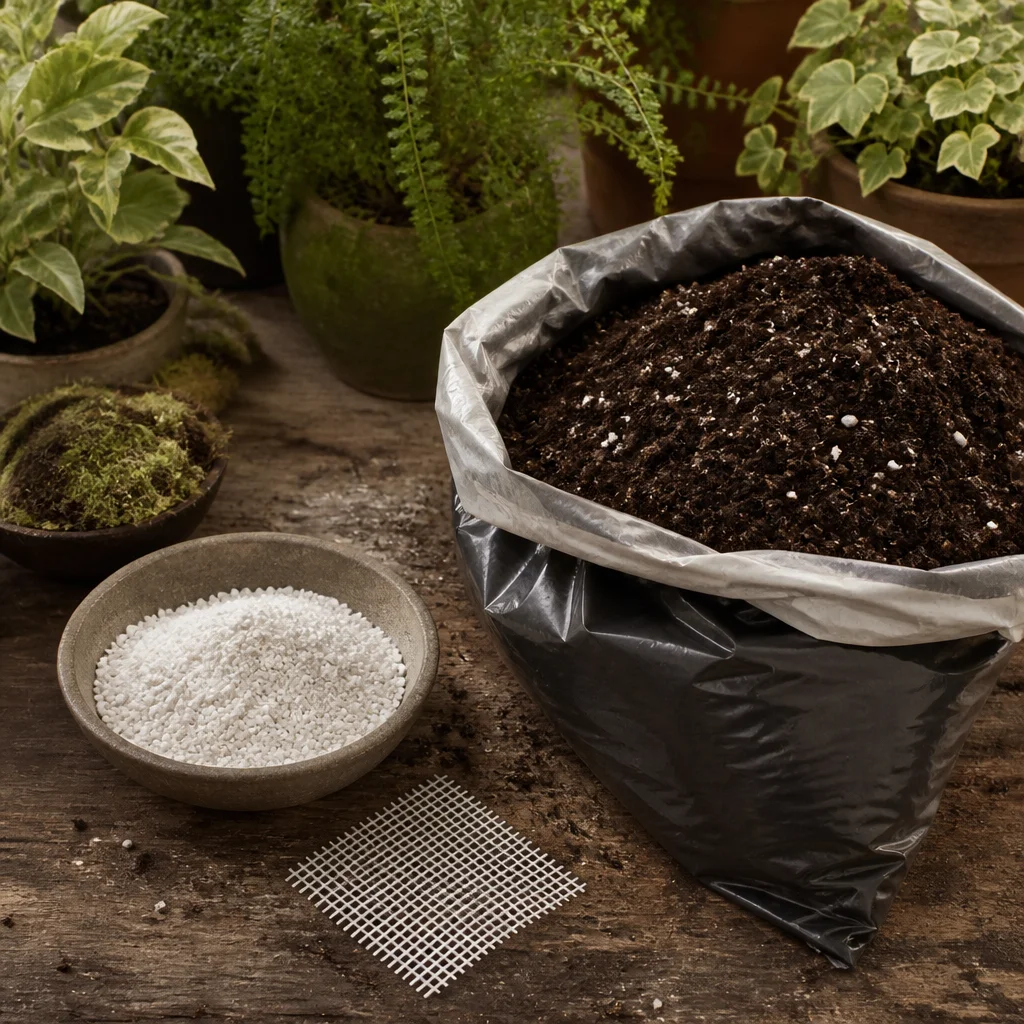
Match the Container Material to Your Routine
Container material influences how quickly a pot dries, so choose it with your climate and watering habits in mind. Unglazed terracotta is porous and can lose moisture through its walls, which is useful for plants that dislike staying wet but may mean more frequent watering in hot, windy weather. Glazed ceramic and plastic generally retain moisture longer. Lightweight plastic can be practical on a balcony, while a heavier ceramic pot can provide stability for a top-heavy planting. Whatever material you choose, drainage holes remain essential. Use a consistent palette to make a collection feel intentional: warm terracotta can give herbs a relaxed Mediterranean character, while a mix of matte charcoal pots can make foliage stand out. Vary the heights and shapes for interest, but keep similar plants together so that differences in material do not make watering difficult to judge.
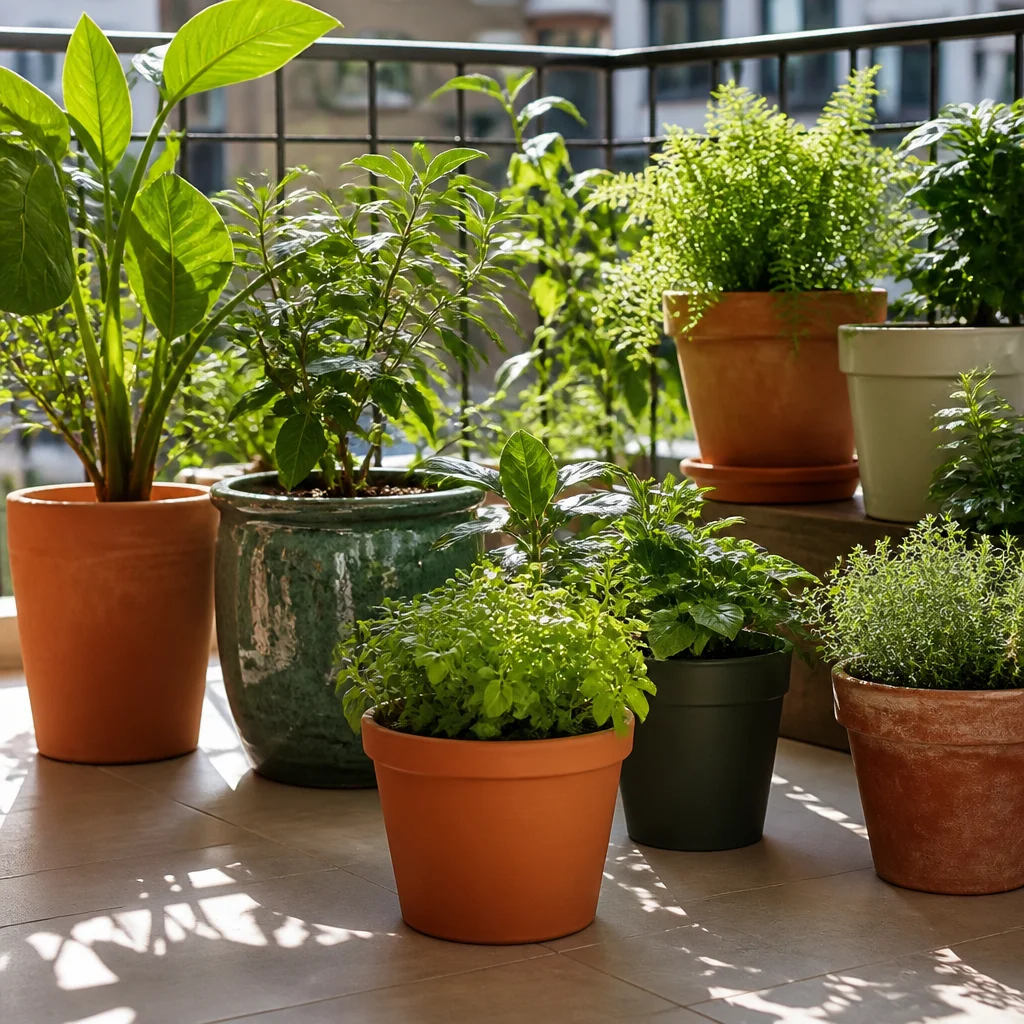
Plant at the Right Depth and Leave Room to Water
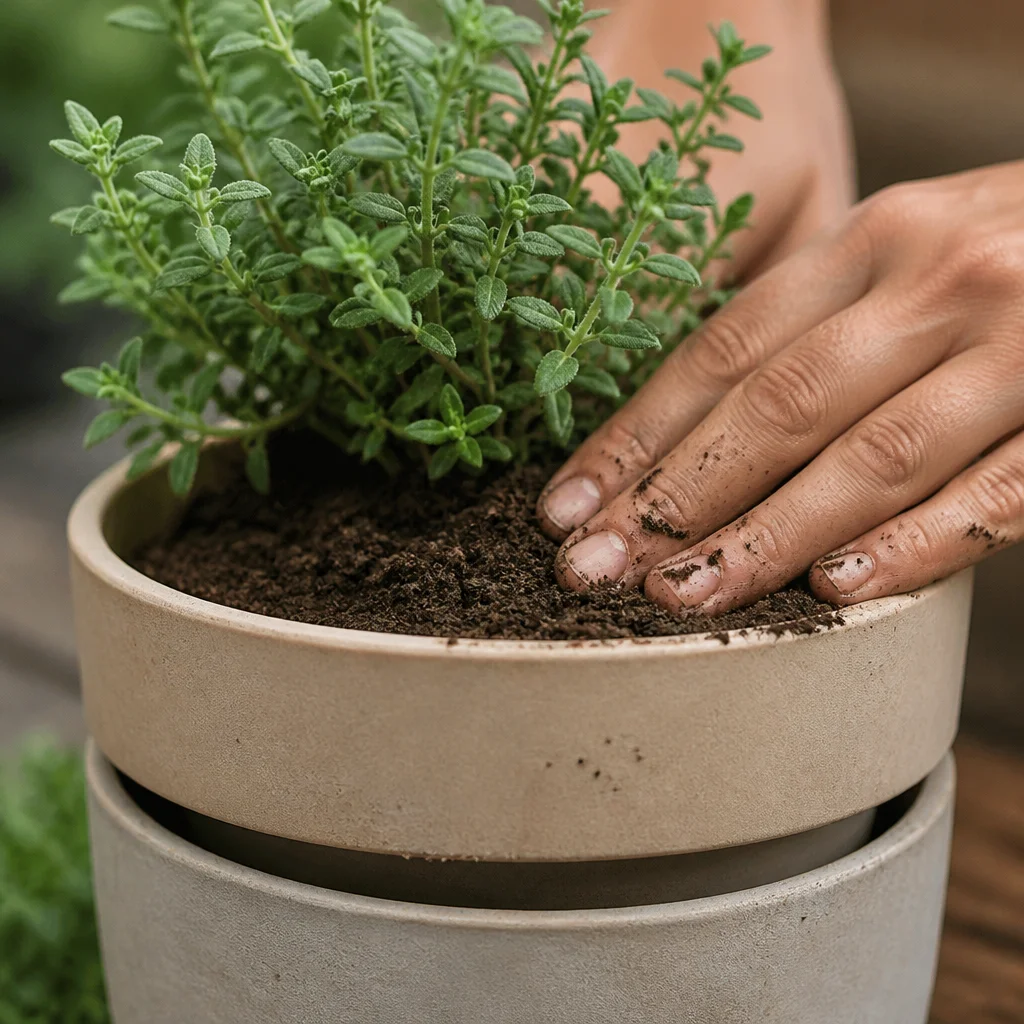
Before filling the pot, set the plant in place and check its height. The top of the root ball should generally sit at about the same level it did in its nursery pot, with space between the soil surface and the rim. That gap gives water room to soak in instead of spilling over the edge. Add mix around the root ball and firm it gently with your fingers; pressing hard can squeeze out the air spaces that help roots breathe. For a mixed container, combine plants with similar light and moisture preferences. A sun-loving herb that likes to dry a little between waterings may struggle beside a plant that needs consistently damp soil. Give each plant enough space to grow, and avoid burying stems under a thick decorative mulch. A light top dressing of small stones can create a tidy finish for drought-tolerant plants, but leave the crown clear and check the mix beneath before watering.
Use Saucers Without Leaving Roots in Standing Water
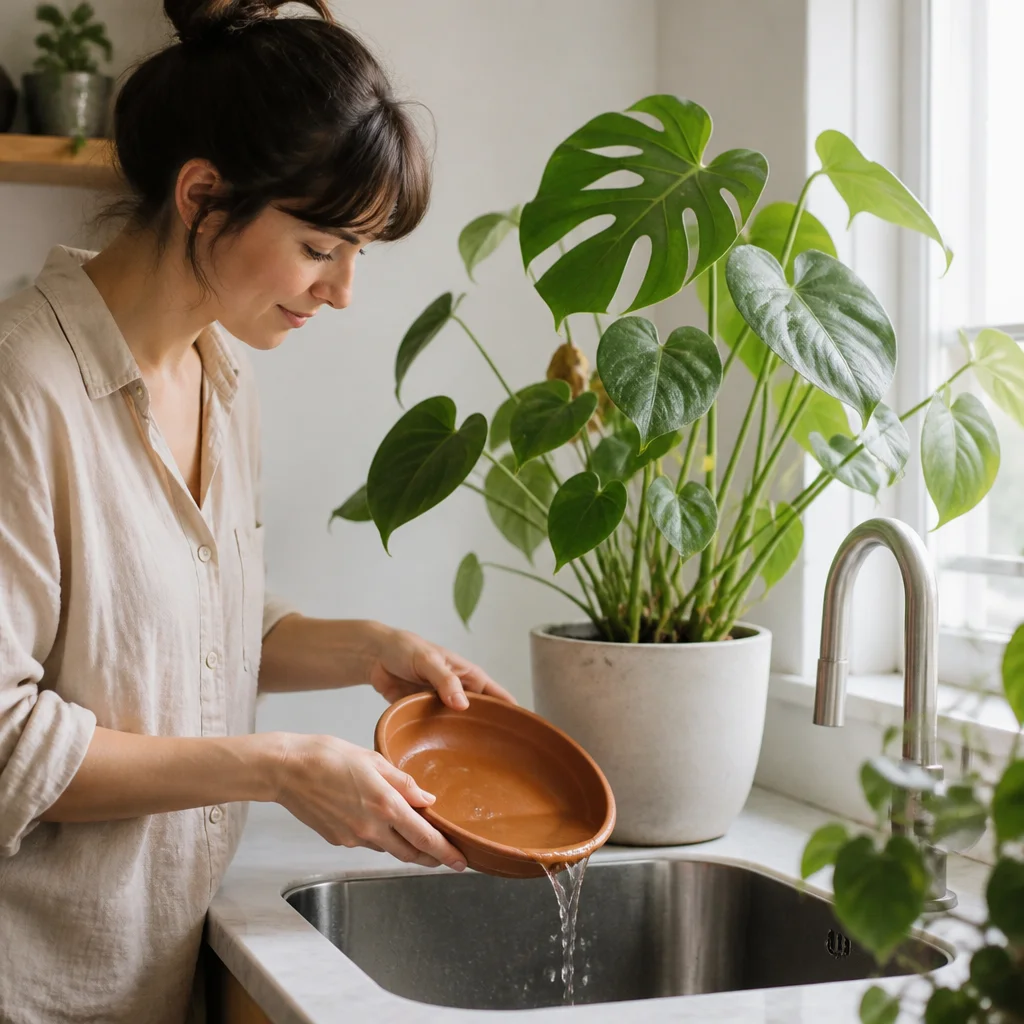
Saucers protect floors and collect runoff, but they can also hold water against the drainage holes. After watering, allow the pot to drain, then empty the saucer rather than leaving the container standing in a puddle. Check saucers after heavy rain as well, especially beneath pots in exposed locations. Indoors, carry smaller pots to a sink for watering when convenient; return them to their saucers once dripping has stopped. For larger containers that are awkward to lift, use a saucer that can be reached easily for emptying. Pot feet or small supports can raise the base above a shallow saucer, provided the pot remains stable and the collected water stays below the drainage holes. Choose saucers in the same finish as the pots for a quiet, coordinated look, or use a contrasting color as a deliberate accent.
Place Pots Where Water Can Escape
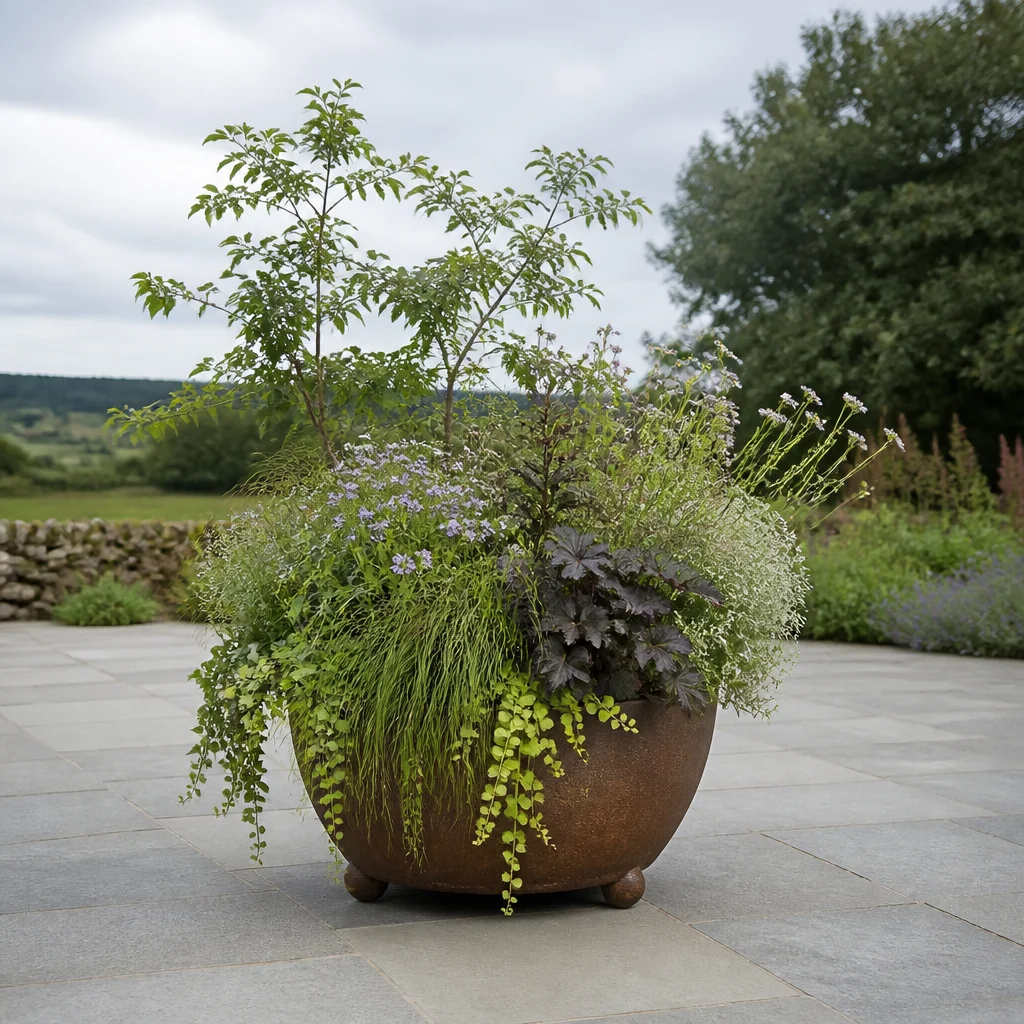
A well-drained pot still needs a suitable place to stand. Set outdoor containers on a level, stable surface where runoff can move away without damaging decking, staining paving, or troubling neighbors below. Small pot feet can lift the base slightly, keeping drainage holes from sitting flush against a flat surface. They also make it easier to see whether water is collecting underneath. Ensure feet are evenly spaced and strong enough for the filled, watered pot. Consider the weather as well as the view. A sheltered porch may protect a container from prolonged rain, while an exposed patio pot can become saturated during a wet spell. Arrange pots so you can reach each one to inspect the mix and clear debris from drainage openings. Grouping containers in a loose arc or at staggered heights creates depth without packing them so tightly that maintenance becomes a chore.
Water According to the Mix, Not the Calendar
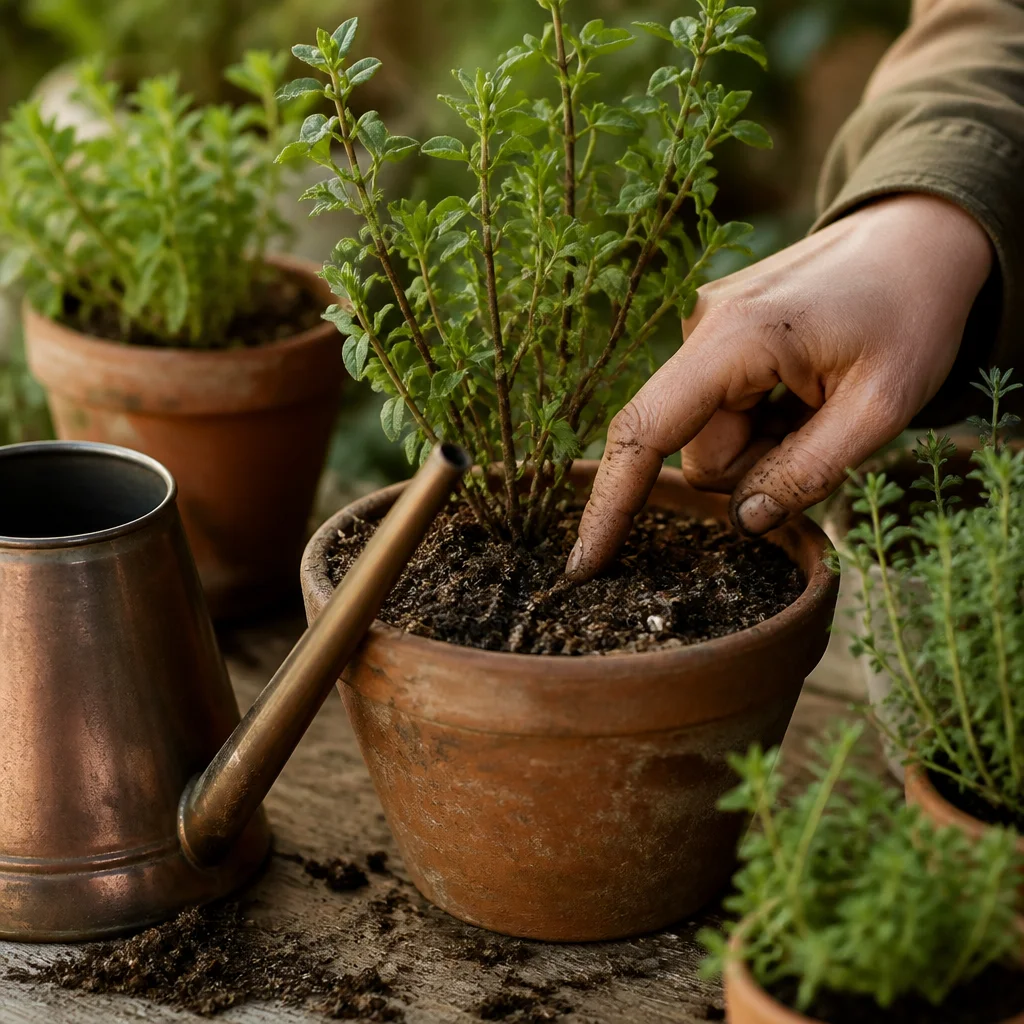
Check the growing mix before reaching for the watering can. Push a finger into the surface, or use a small wooden stick to feel for moisture deeper down. The right time to water depends on the plant: some prefer the upper layer to dry between waterings, while others need more consistent moisture. Pot size, sunlight, wind, and temperature all change how quickly a container dries, so two pots side by side may need different care. When a plant needs water, apply it slowly and evenly over the mix until excess begins to run from the drainage holes. If water rushes down the sides of a very dry pot, water in stages so the mix has time to absorb it. Let the container drain afterward. A watering can with a narrow spout helps you reach the soil beneath dense foliage without displacing the mix or splashing nearby surfaces.
Watch for Trouble and Refresh the Setup
Regular checks can catch drainage problems before a planting declines. Mix that remains wet for an unusually long time, a sour smell, or persistent yellowing leaves can be signs of excess moisture, although these symptoms can have other causes too. Inspect the drainage holes and saucer first, then consider whether the pot is oversized, the mix has become compacted, or the plant is receiving more water than it needs. Do not assume that a wilted plant is thirsty; feel the mix before adding water. If the mix has broken down or stays waterlogged, repot into fresh, appropriate container mix in a pot with clear drainage holes. Inspect the roots while repotting and remove any that are soft and mushy with clean tools. Give the refreshed plant a suitable position and adjust watering as it recovers. Seasonal rearranging is also a chance to clean saucers, check pot feet, and update the display with a few complementary containers.
How did this story make you feel?
Choose one reaction. You can change it later.
