Culinary Herbs7 min read
How to Grow Mint in a Pot and Keep It Productive
A pot of mint brings fresh flavor within easy reach, whether you add its leaves to tea, salads, sauces, or a jug of cold water. Container growing also solves mint’s most notorious problem: its eager spreading. Give the roots their own space, offer steady moisture and suitable light, and harvest regularly to encourage tender new shoots. With an occasional refresh, one pot can provide useful pickings through much of the growing season.

Choose a Pot That Gives Roots Room
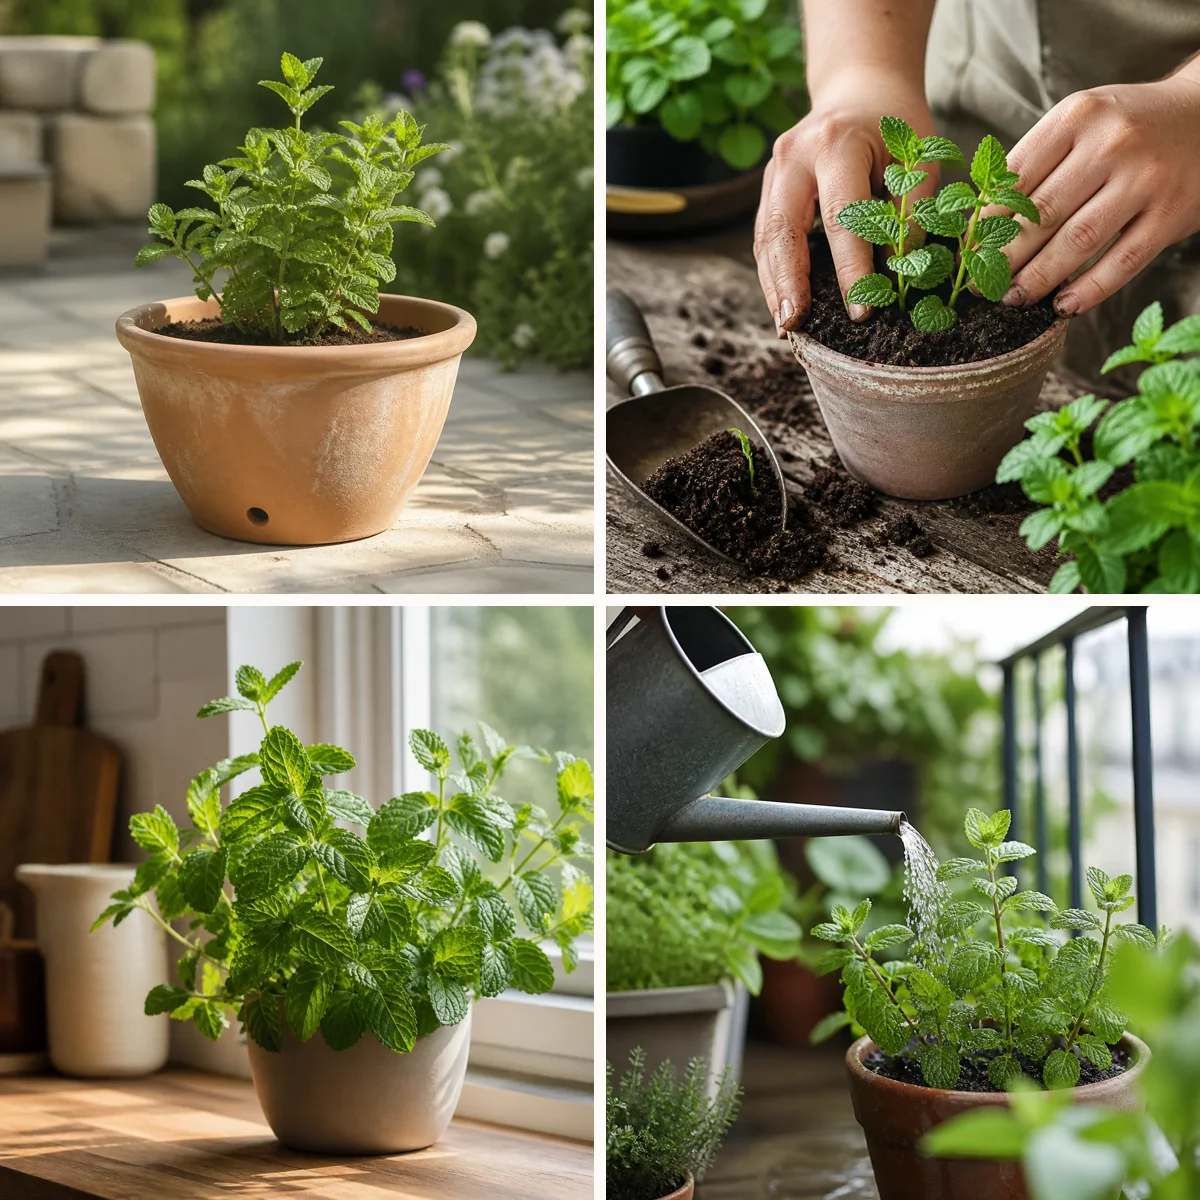
Start with a container at least 12 inches wide and deep for one mint plant. A wider pot provides more room for the shallow, spreading roots and is less likely to dry out quickly than a tiny windowsill pot. Drainage holes are essential: mint likes moisture, but roots sitting in stagnant water can rot. If you want to use a decorative pot without holes, keep the plant in a draining nursery pot inside it and empty any collected water after watering. Terracotta has a natural look but dries out faster than glazed ceramic or plastic, so it suits gardeners who can check moisture frequently. A heavy pot also offers stability as leafy growth develops. Keep the container off open soil or check its drainage holes regularly, because escaping stems and roots can take hold in the ground.
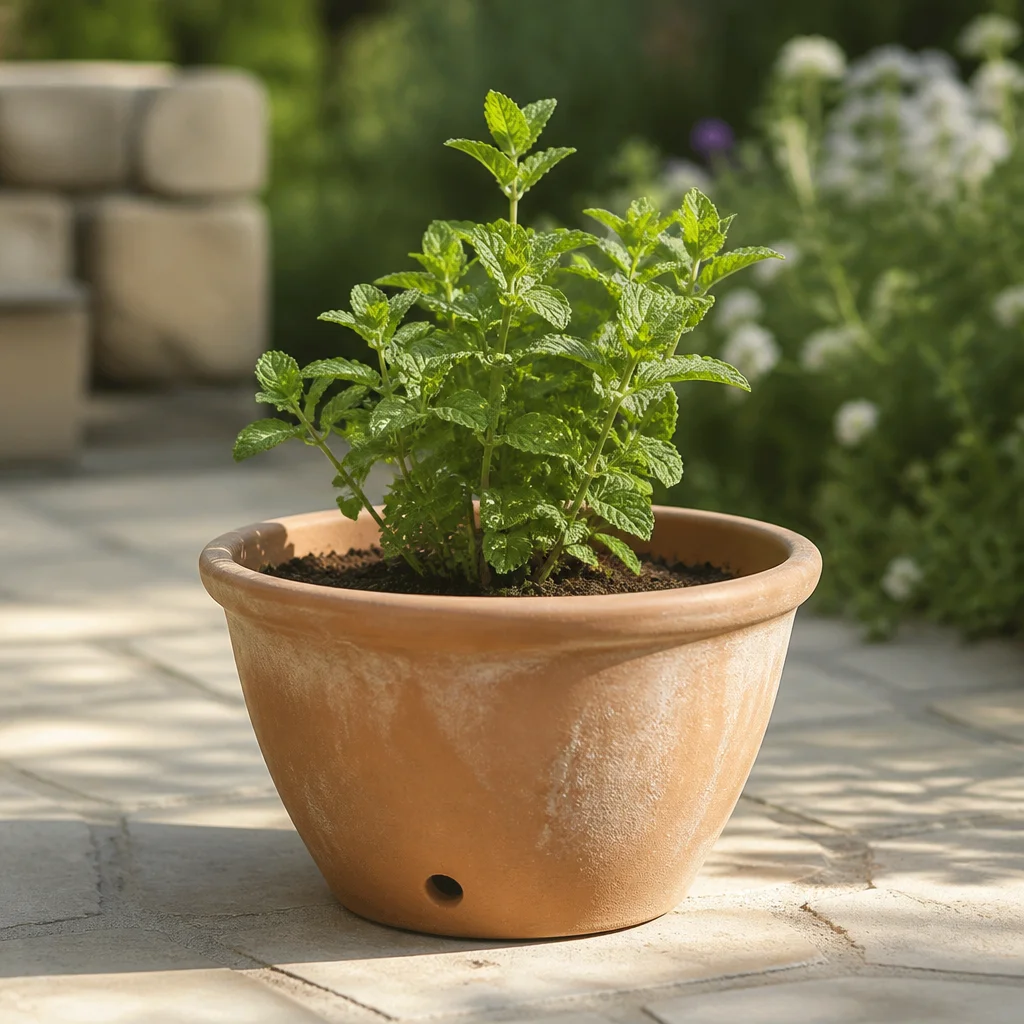
Plant Mint in Fresh, Free-Draining Mix
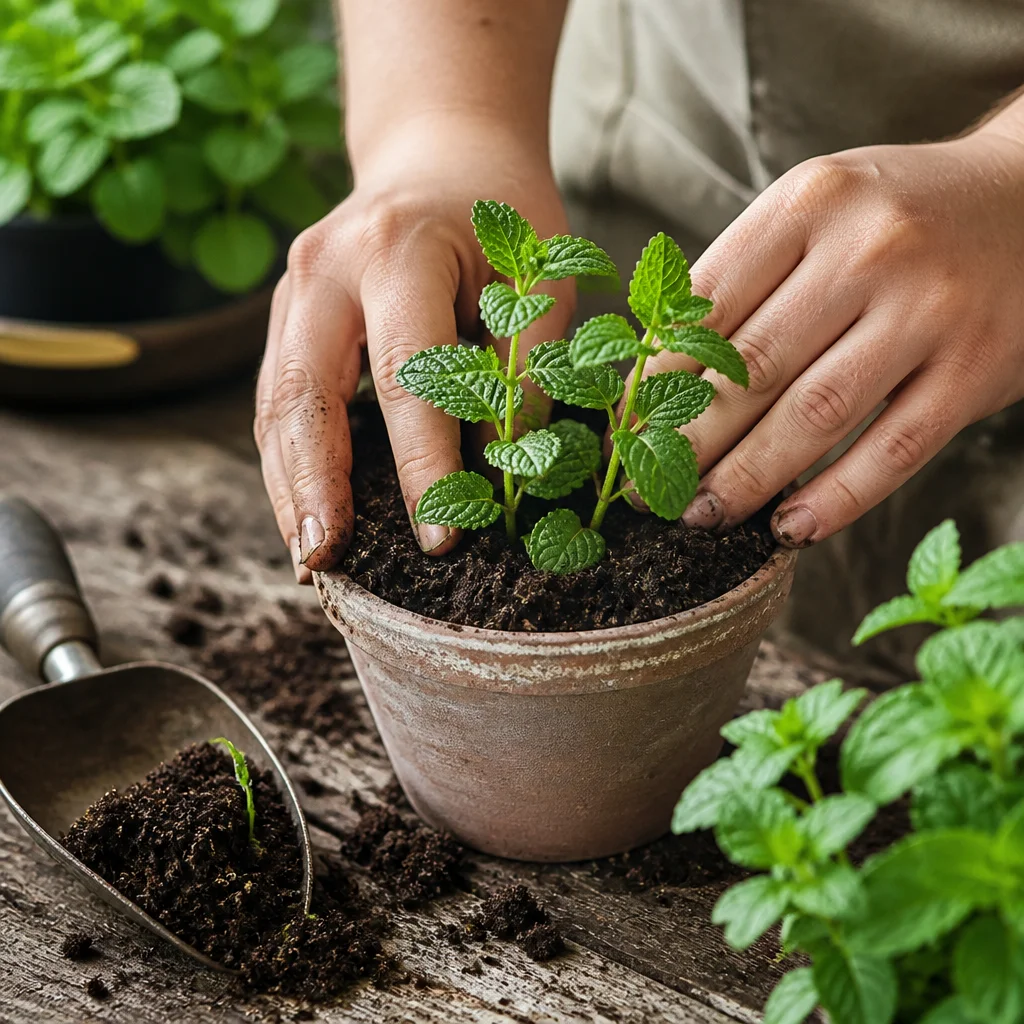
Fill the pot with a good-quality potting mix rather than garden soil, which can compact in a container and impede drainage. Leave about an inch between the surface of the mix and the rim so water has room to soak in. Set the plant at the same depth it was growing in its nursery pot, firm the mix gently around the roots, and water thoroughly. For a reliable start, buy a young plant or take a cutting from a mint you already enjoy. Varieties differ in aroma and flavor, so rub a leaf and smell it before choosing. Peppermint offers a strong, cooling scent, while spearmint is a versatile choice for drinks and savory dishes. Give each variety its own pot if you want to keep its flavor easy to identify and its growth simple to manage.
Find a Bright Spot Without Excessive Heat
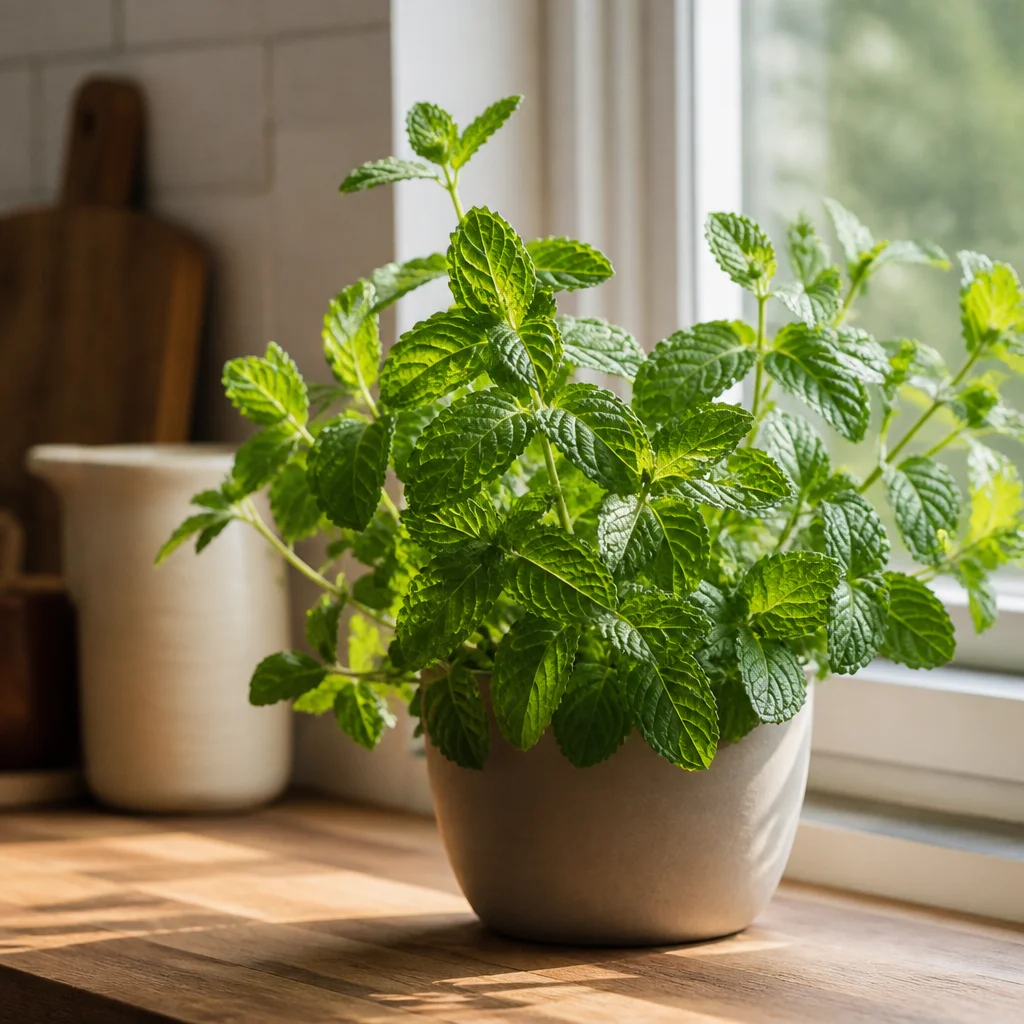
Mint grows well in full sun to partial shade, but the best position depends on your climate and how quickly the pot dries. Aim for several hours of direct light each day; morning sun followed by light afternoon shade is a useful arrangement where summers are hot. In cooler conditions, a sunnier position can support stronger growth. Indoors, place mint close to your brightest window and turn the pot every week or so for more even growth. If stems stretch toward the glass and produce widely spaced leaves, the plant probably needs more light. Move it gradually into a brighter position rather than exposing tender indoor growth to intense outdoor sun all at once.
Water for Consistent, Not Soggy, Moisture
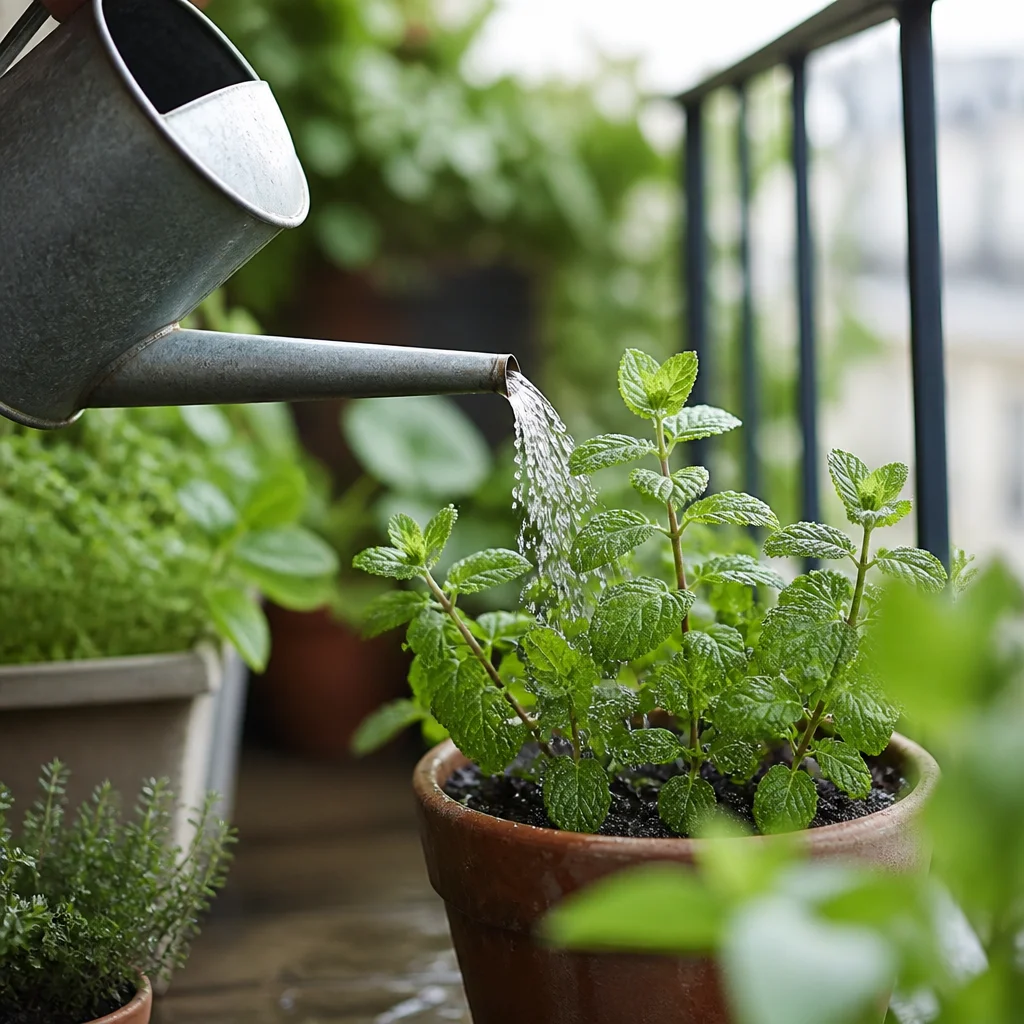
Check the potting mix with a finger every day or two in warm weather. When the top inch begins to feel dry, water slowly until excess drains from the bottom. Let the pot drain, then empty its saucer. During hot or windy spells, a container may need water daily; in cool weather, it may need much less. The goal is evenly moist mix, not a fixed watering schedule. A thin layer of small bark chips can slow evaporation, provided it is kept clear of the stems. If the plant wilts on a hot afternoon, check the soil before watering: dry mix calls for a thorough drink, while wet mix may indicate poor drainage or root trouble. Moving the pot into temporary light shade can also reduce stress during extreme heat.
Harvest Often to Encourage Bushy Growth
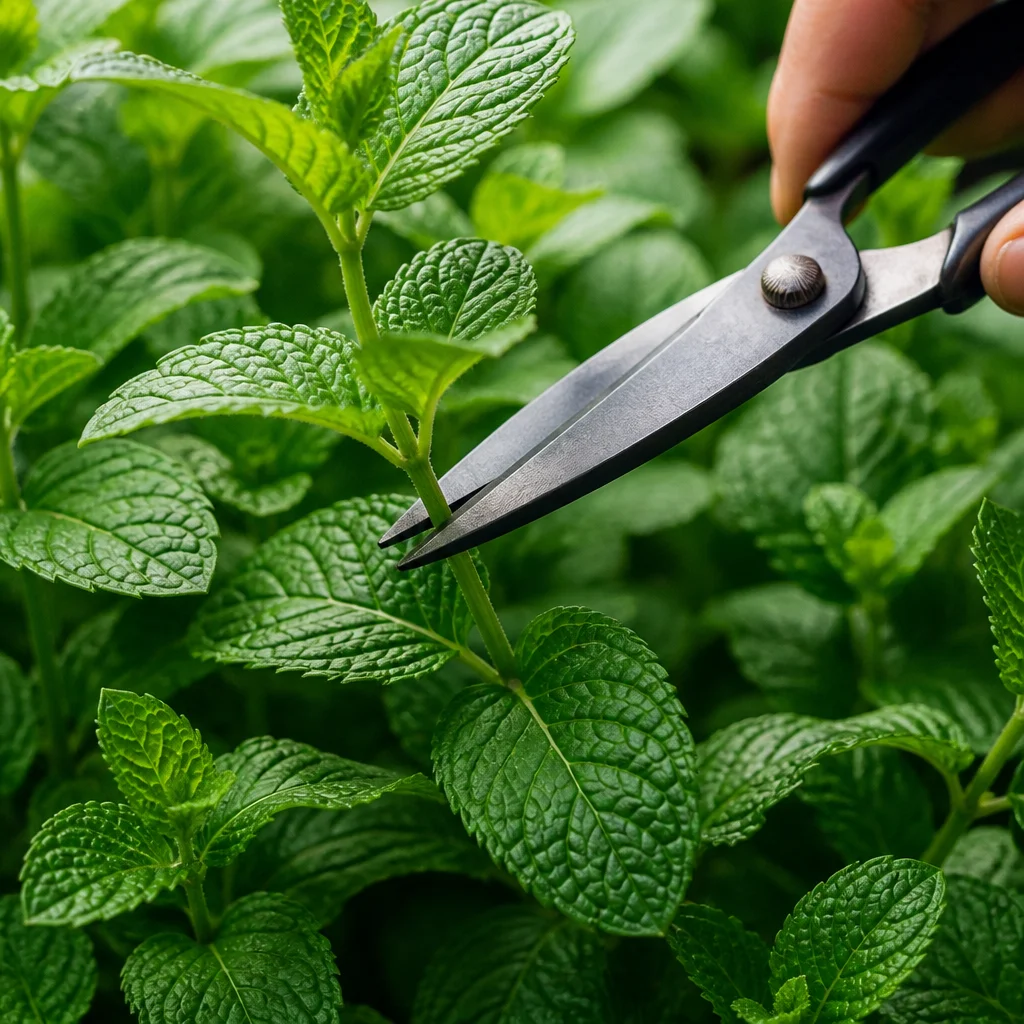
Begin picking once the plant has established several healthy stems. Snip stems just above a pair of leaves rather than stripping every leaf from one branch. New shoots can develop from the nodes below the cut, helping the plant become fuller. For a few leaves, pinch off a shoot tip; for a larger kitchen harvest, cut several stems and leave plenty of foliage to support recovery. Harvest in the morning after dew has dried for clean, fresh leaves. Regular cutting also delays flowering and keeps the pot supplied with tender growth. Flowers are useful to pollinators, however, so you might allow a few stems to bloom if you have enough mint for the kitchen. Remove tired flowering stems afterward to make space for new shoots.
Feed Lightly and Refresh the Surface
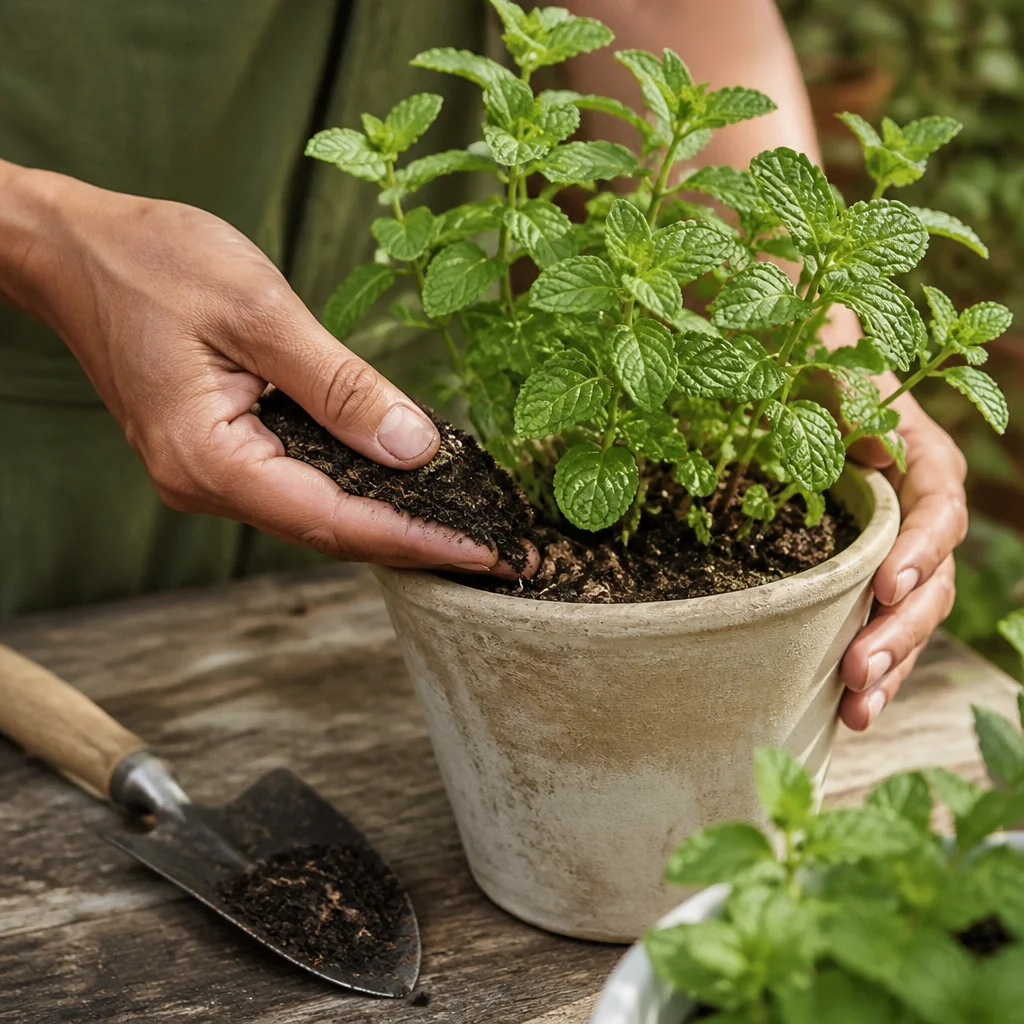
Container plants eventually use the nutrients in their potting mix, but mint does not need heavy feeding. During active growth, use a balanced liquid fertilizer according to the label, avoiding stronger or more frequent applications than recommended. Overfeeding can encourage soft, sprawling growth, so start conservatively and watch how the plant responds. You can also remove a little tired mix from the surface in spring and replace it with fresh potting mix, taking care not to damage roots near the top. This is a modest refresh rather than a substitute for repotting a crowded plant. Clear away fallen leaves at the same time to keep the surface tidy and make moisture easier to judge.
Divide Crowded Plants for Fresh Growth
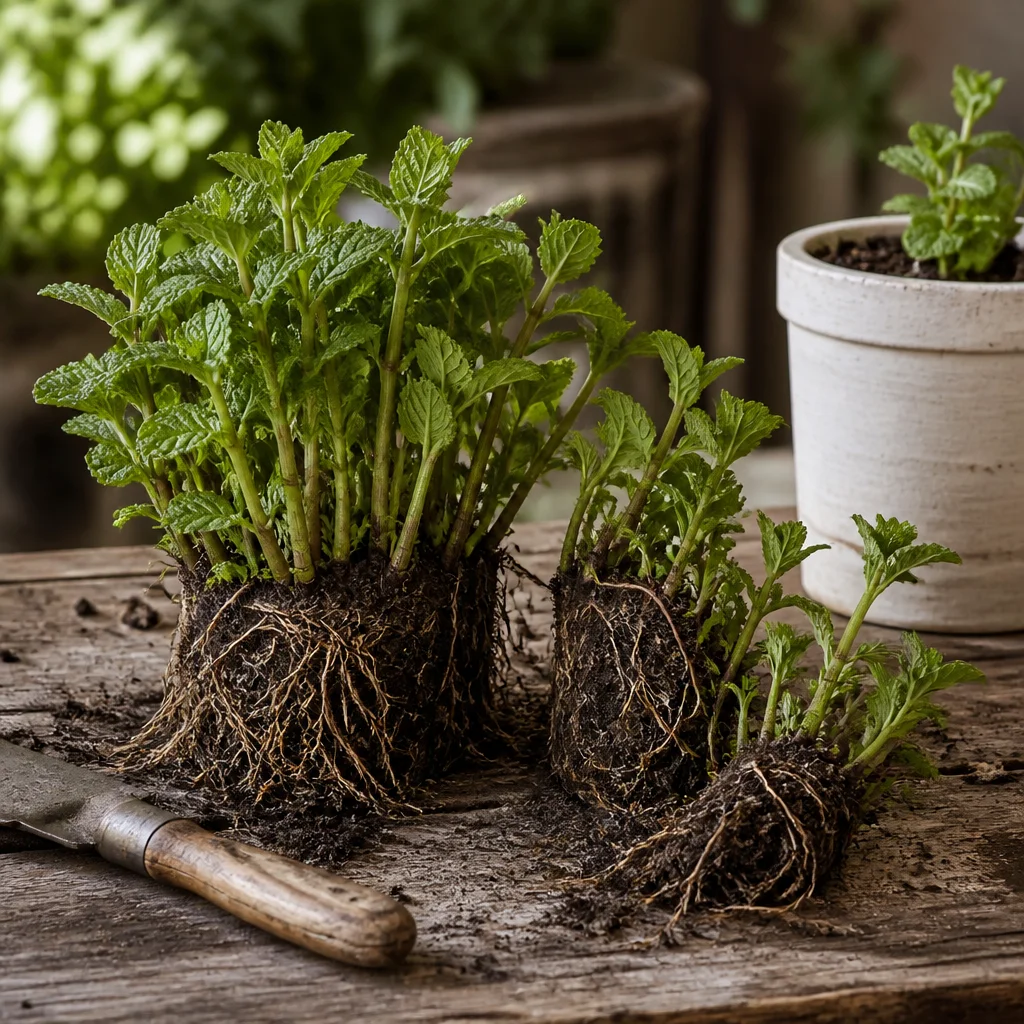
Mint can fill a pot with roots and runners surprisingly quickly. If water runs straight through, growth becomes sparse, or the root mass is tightly packed, it is time to divide. Spring is convenient because new growth is beginning, though division can also be done during the growing season if you keep the pieces well watered afterward. Slide the plant from its pot and use clean hands or a clean knife to separate the root mass into sections, each with healthy roots and shoots. Replant one vigorous section in fresh potting mix at its previous depth, water it well, and keep it out of harsh sun while it settles. Pot up another section to share, or compost surplus material where it cannot root and spread.
Keep an Eye on Pests and Seasonal Changes
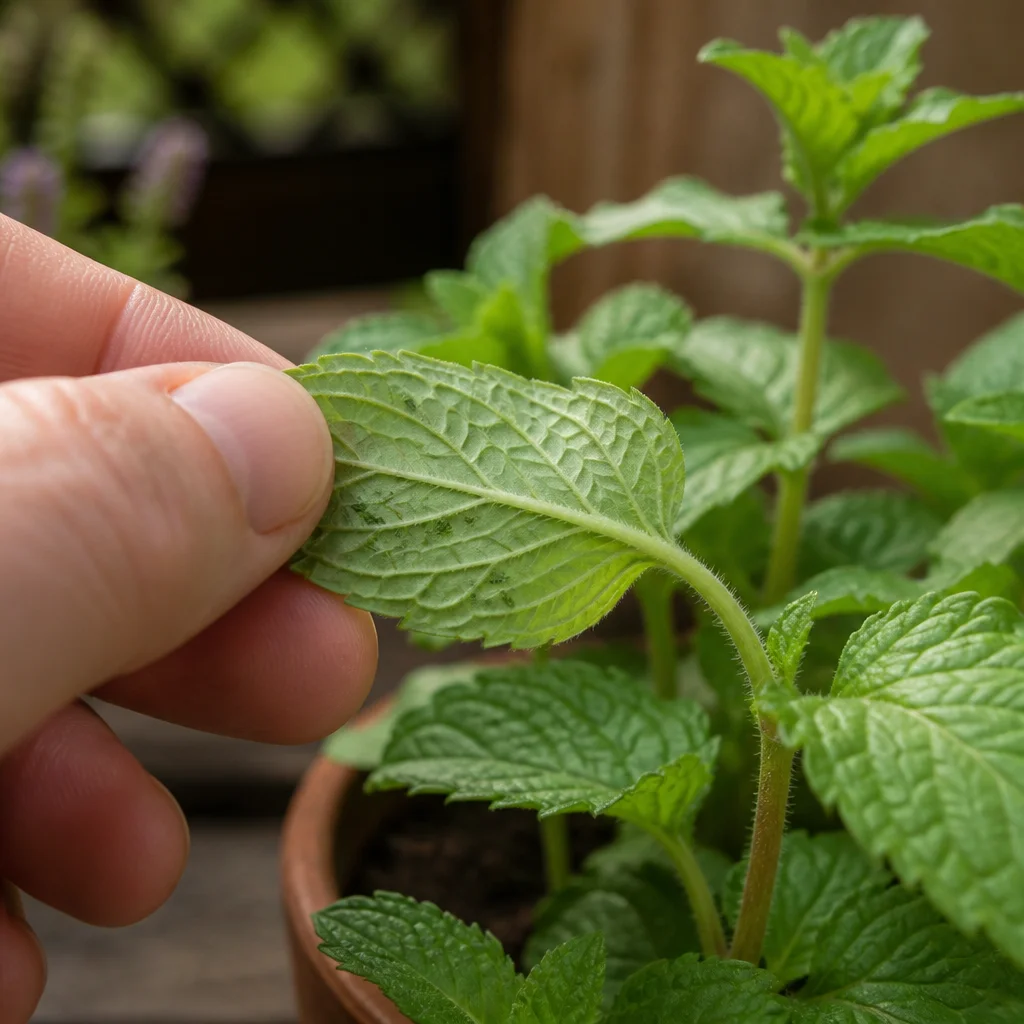
Inspect the undersides of leaves and the soft tips when you harvest. Aphids and spider mites can gather there, particularly on stressed plants. A firm rinse of water can dislodge small populations; repeat as needed, and remove badly affected growth. Good spacing around the pot helps air circulate, while steady watering reduces stress. Mint naturally slows in cold weather, and aboveground stems may die back in winter. In climates where the variety is hardy, leave the pot in a sheltered position and keep the mix just lightly moist rather than saturated. Containers freeze more readily than garden soil, so protect the pot from severe freezing or move it to a cool, sheltered place. Trim dead stems as fresh growth appears in spring.
Style a Useful Mint Corner Near the Kitchen
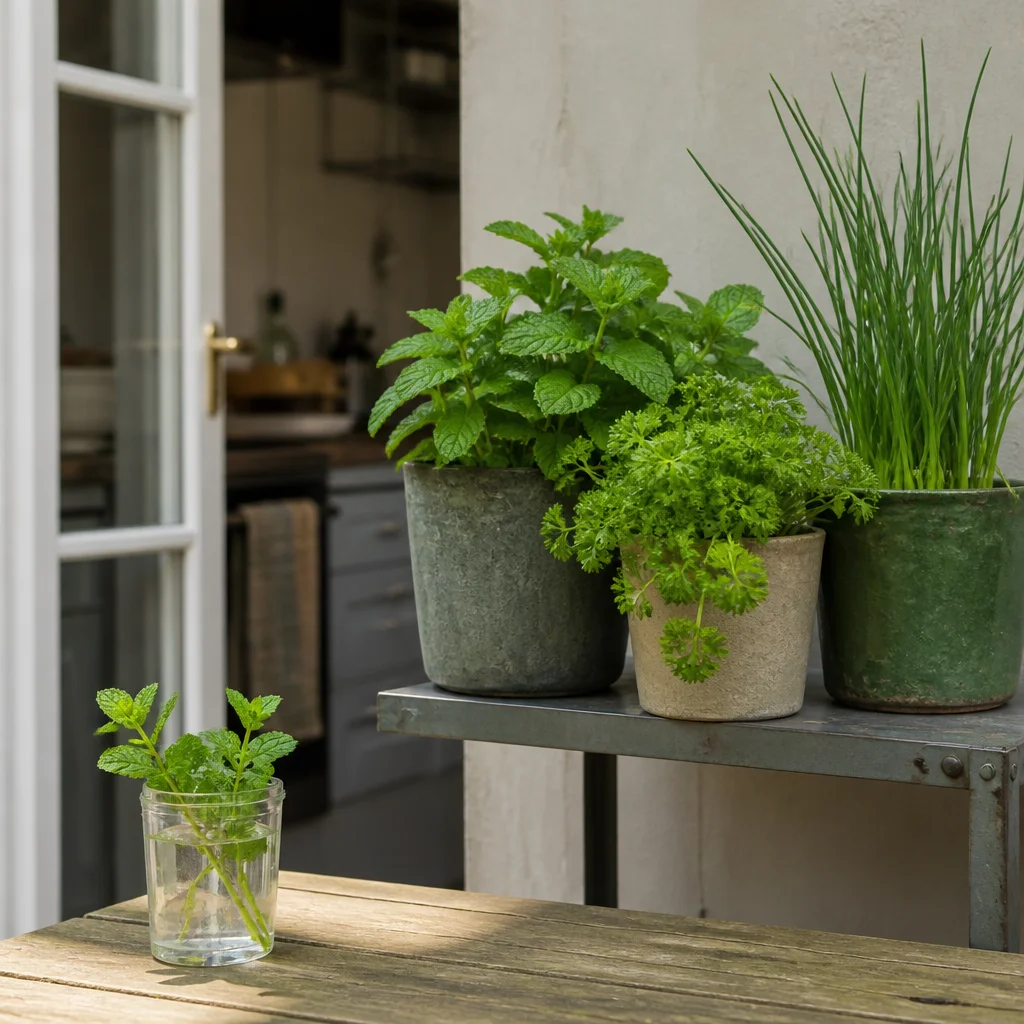
Place your pot where you will remember to use and water it: near a kitchen door, beside a sunny patio table, or on a bright balcony. Group mint with pots of parsley or chives for a compact cooking collection, while keeping each herb in its own container so watering and root growth are easier to manage. Repeat one pot color or material to give the group a calm, cohesive look. Raise smaller pots on a sturdy shelf or low stand to bring leaves within reach, but make sure excess water can drain safely. Keep a clean pair of snips nearby and harvest only what you need. For a simple table arrangement, stand a few freshly cut mint stems in a small glass of water; use the leaves promptly while their scent and texture are at their best.
How did this story make you feel?
Choose one reaction. You can change it later.