Vegetables7 min read
A Beginner’s Guide to Growing Carrots in Containers
Freshly pulled carrots can come from a sunny balcony or a small patio, not just a garden bed. Containers make it easy to give these roots loose soil and consistent care, and their feathery foliage is attractive enough to mix with herbs and flowers. Start with a suitably deep pot, choose a compact variety, and sow directly where the carrots will grow. With a little patience and careful thinning, you can enjoy a colorful harvest from even a modest space.

Choose a Pot with Room for Roots
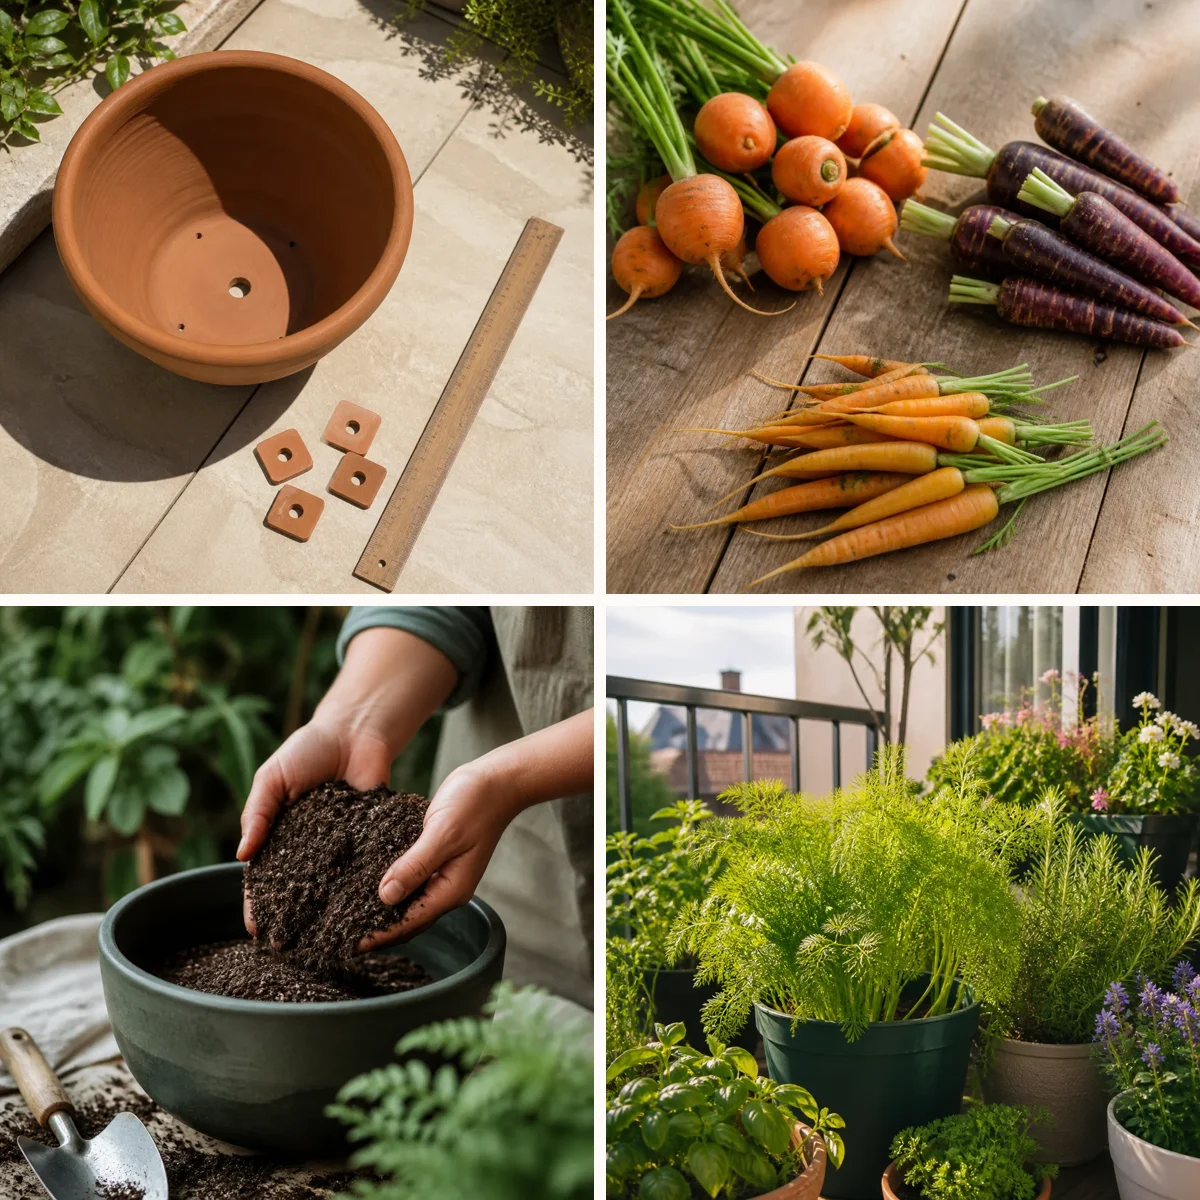
Carrots need depth as well as surface area. For round or short-rooted varieties, choose a container at least 8–10 inches deep; allow 12 inches or more for longer roots. A wide pot gives you room for several rows or a generous patch, while a narrow one may yield only a handful. Window boxes can work if they are deep enough, and a large fabric grow bag is another practical option. Whatever its material, the container must have drainage holes so excess water can escape. Set it on pot feet or a saucer that can be emptied after watering. Before filling a large pot, place it where it will grow: damp compost makes it surprisingly heavy.
Pick Varieties Suited to Small Spaces
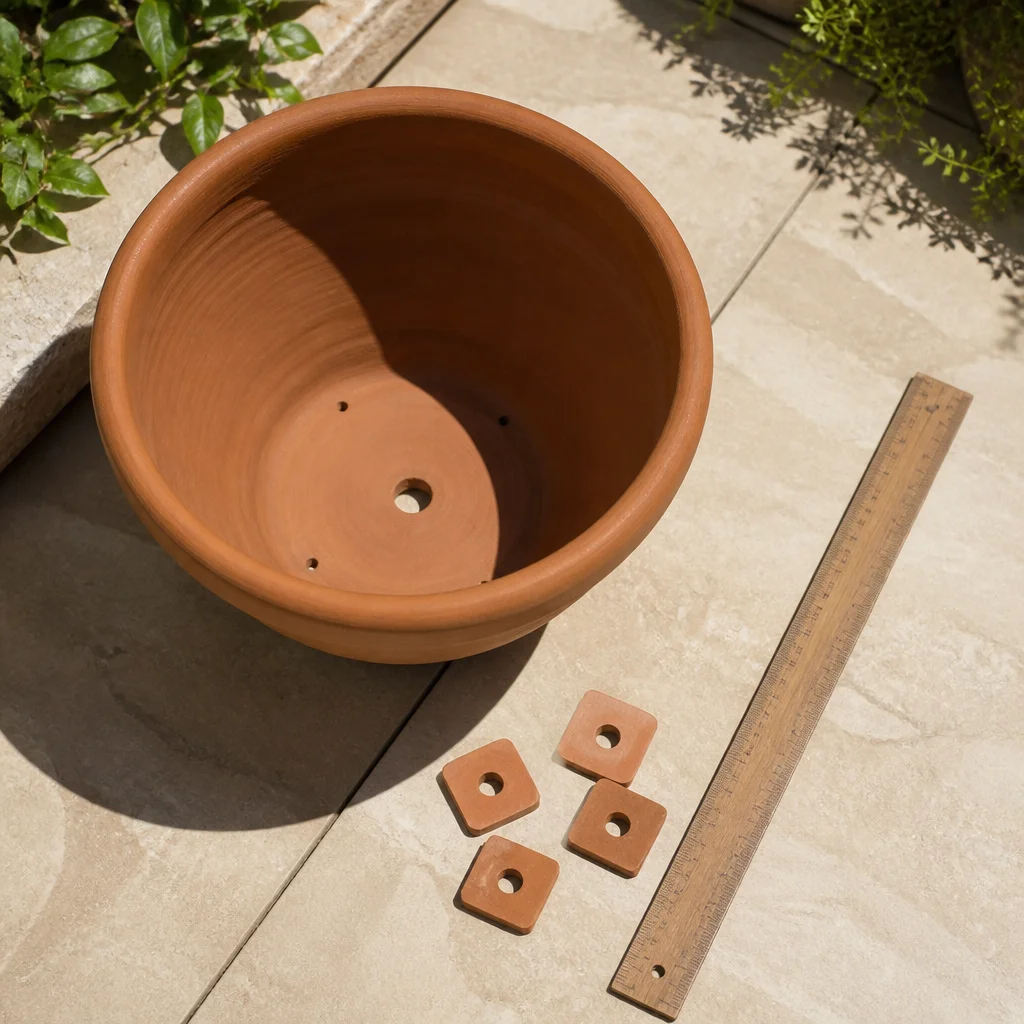
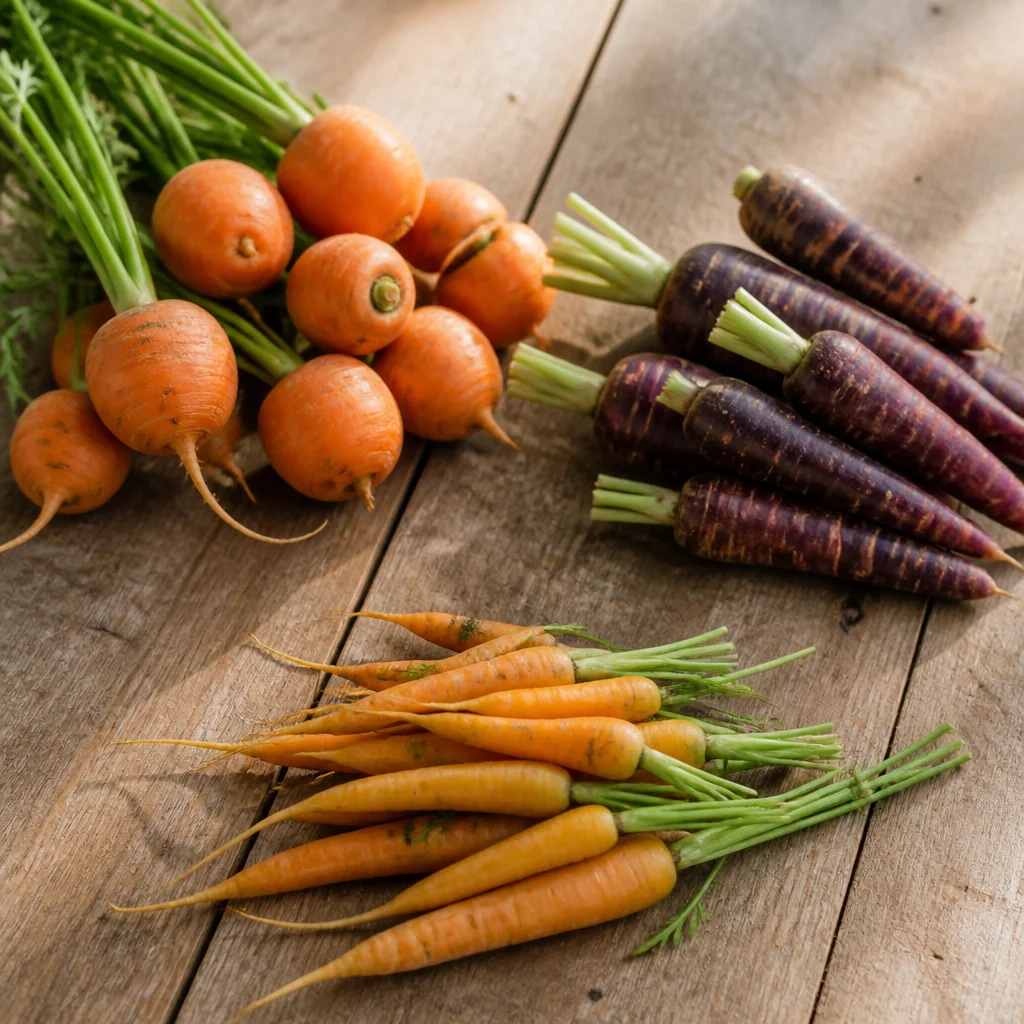
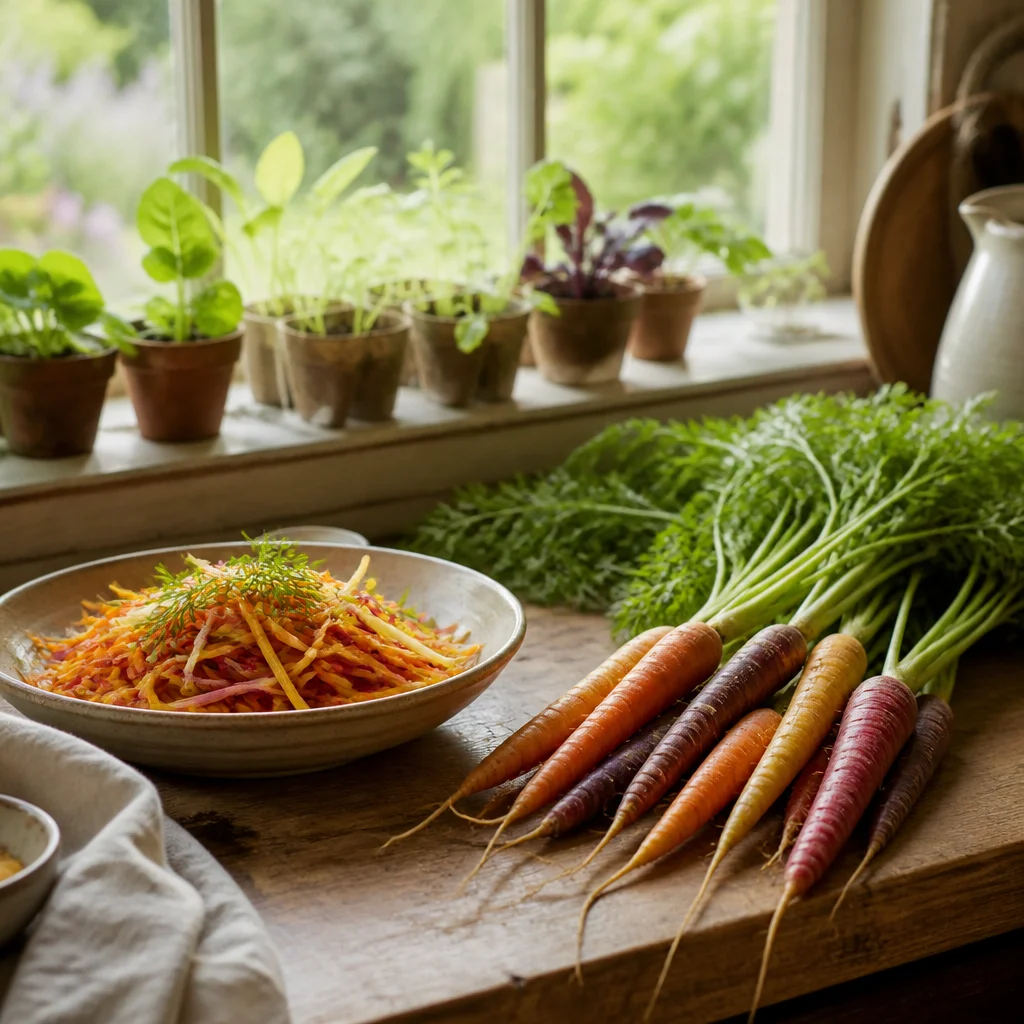
Short, rounded, and blunt-ended carrots are forgiving choices for containers. Look for round types such as ‘Paris Market’, small cylindrical varieties such as ‘Little Finger’, or compact Chantenay types. Check the seed packet for expected root length and match that measurement to the depth of your pot, leaving extra room beneath the roots. Color is another reason to experiment. Orange, yellow, purple, and white varieties can make an appealing mixed harvest, although different varieties may mature at different rates. For your first pot, try one variety so it is easier to judge spacing and harvest time. Save the packet for its sowing and maturity guidance.
Fill with Loose, Fine Potting Mix
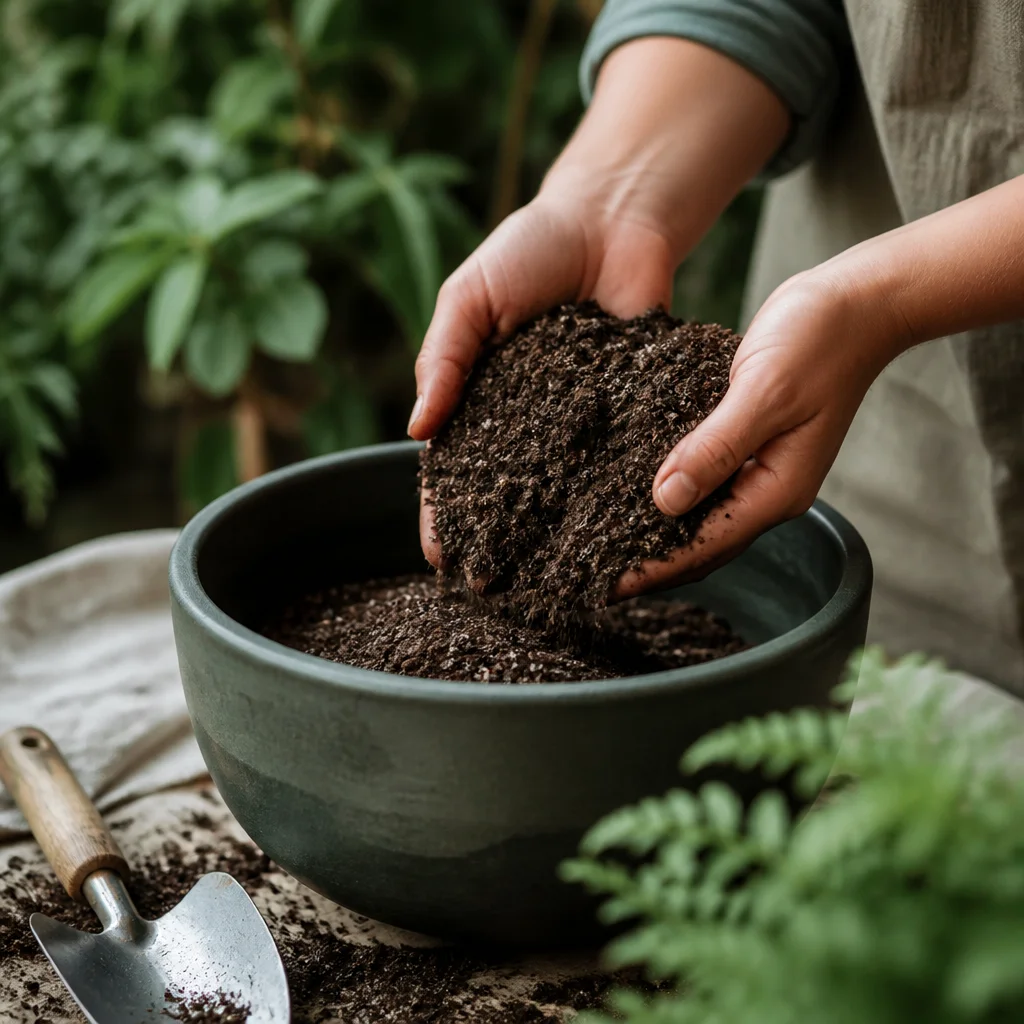
Use a fresh, well-draining potting mix with a fine texture, breaking up clumps as you fill the container. Remove stones and large pieces of bark that could obstruct developing roots. Avoid filling the pot with heavy garden soil, which can compact in a container and make drainage and root growth more difficult. Moisten the mix before sowing, then settle it gently without pressing it hard. Leave about an inch between the surface and the rim so water has space to soak in. Carrots do not need a heavily enriched mix; too much nitrogen can encourage leafy growth at the expense of roots. Avoid adding fresh manure or a strong dose of high-nitrogen fertilizer.
Find a Bright, Convenient Position
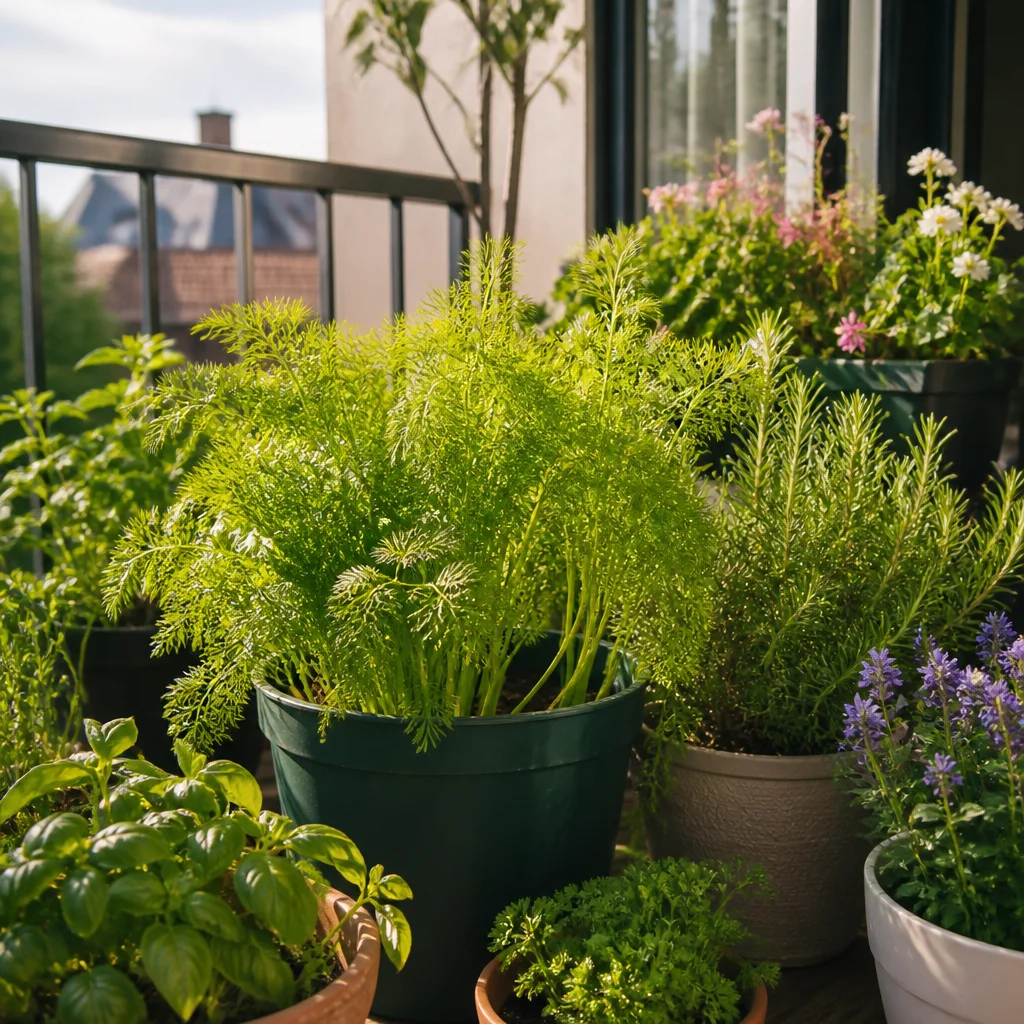
Put your container where it receives at least six hours of direct sun on most days. More sun generally supports strong growth, though a little afternoon shade can be helpful during hot weather, particularly for pots that dry out quickly. A sheltered spot also prevents tall foliage from being battered by strong winds. For an attractive arrangement, group carrot pots with containers of leafy herbs or edible flowers, but give each plant its own space and light. Keep the carrots near a tap or watering can: a beautiful corner is much easier to maintain when daily checks are convenient. Rotate the pot occasionally if one side consistently leans toward the light.
Sow Seeds Directly and Shallowly
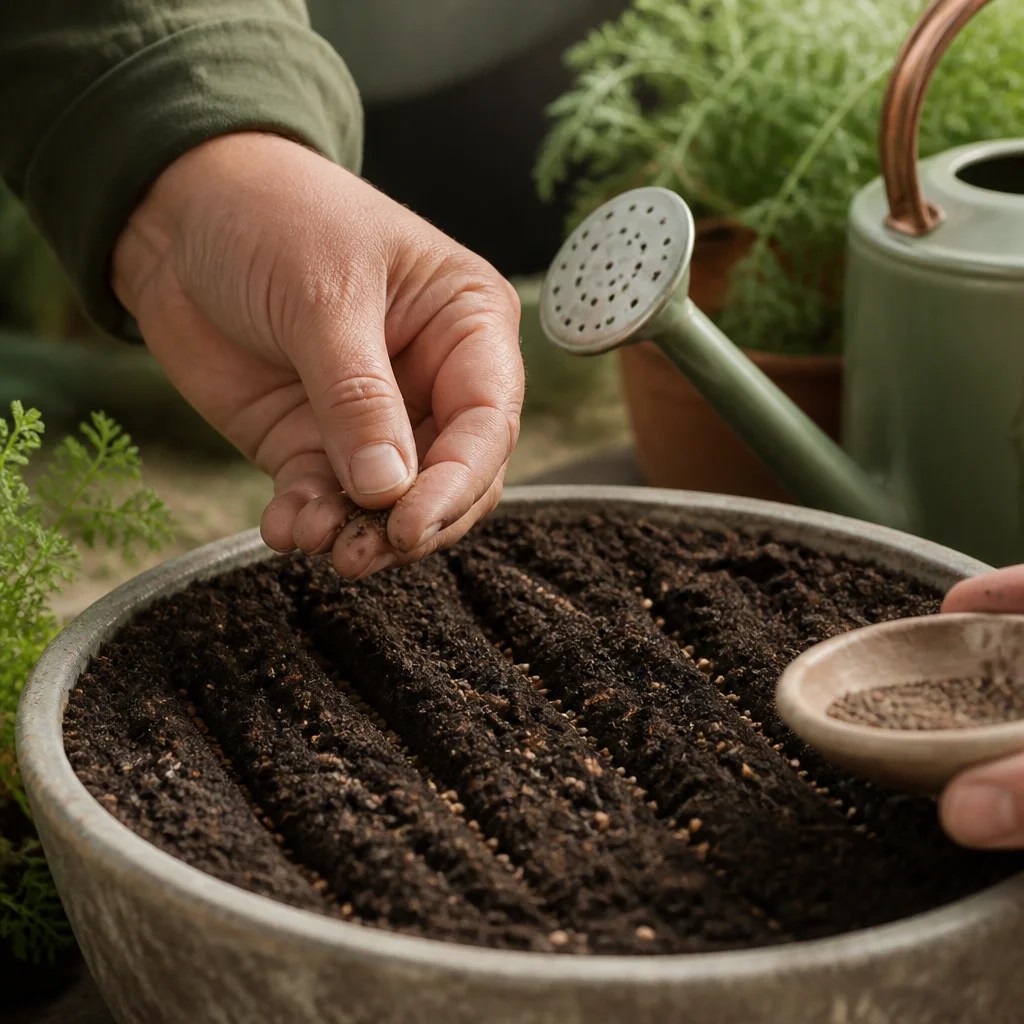
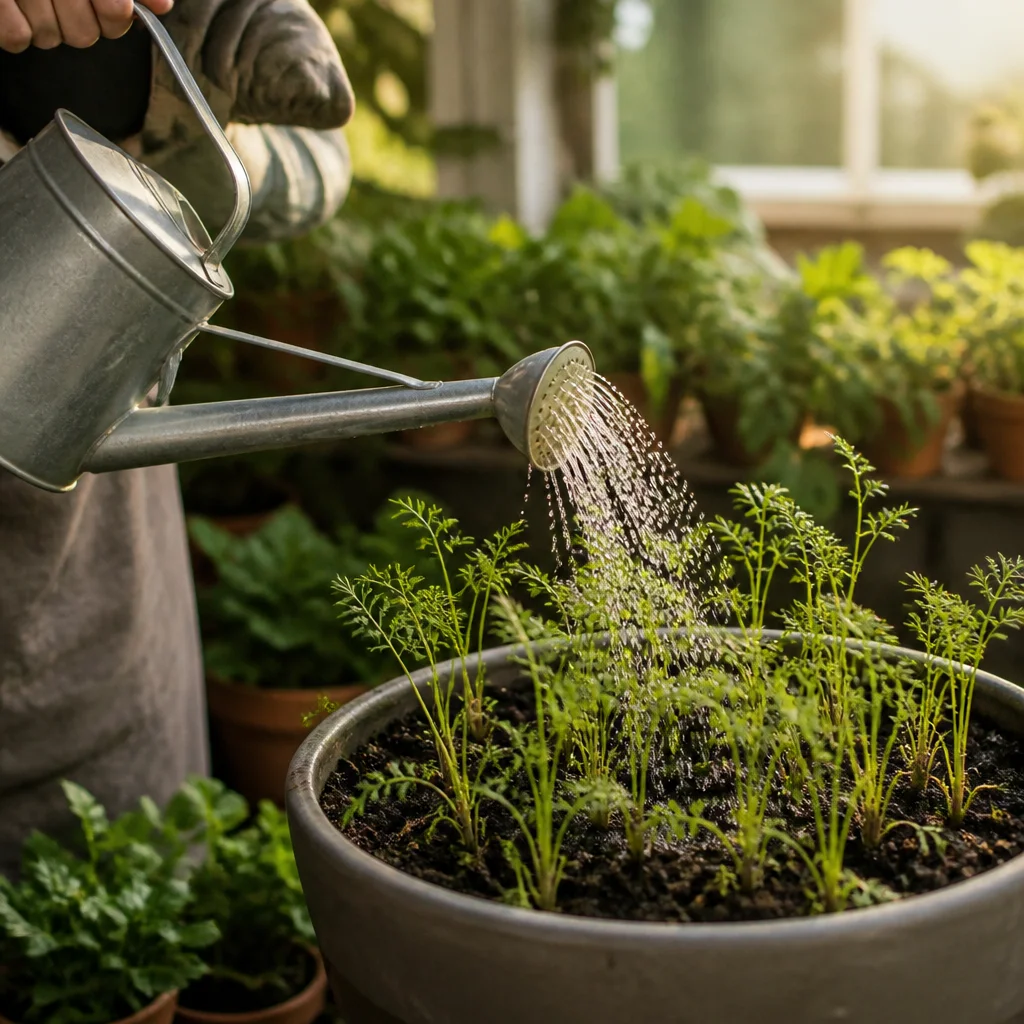
Carrots dislike root disturbance, so sow seeds directly in their final container rather than starting them in trays. Sow in cool weather, following the timing on your seed packet for your climate. Make shallow drills or scatter seeds across the surface, aiming for a light, even distribution. Cover them with a thin layer of fine mix, usually about a quarter inch deep, or follow the packet’s directions. Water gently with a fine rose or spray so the tiny seeds are not washed into piles. Label the pot with the variety and sowing date. Germination can take two weeks or longer, especially in cool conditions, so resist the temptation to dig around to check. Keep the surface evenly moist while you wait.
Water Steadily from Seed to Harvest
A consistent water supply is especially important in containers, where the mix dries faster than garden soil. Check the surface daily during germination and water gently whenever it begins to dry. Once seedlings are established, water thoroughly when the top inch of mix feels dry, allowing excess water to drain away. In hot or windy weather, pots may need checking more than once a day. Avoid letting the mix repeatedly swing between bone-dry and saturated. Uneven moisture can stress plants and contribute to split or misshapen roots. A light layer of fine mulch can help conserve moisture after seedlings are established, but keep it away from their small stems. Empty standing water from saucers to avoid soggy roots.
Thin Seedlings for Well-Shaped Roots
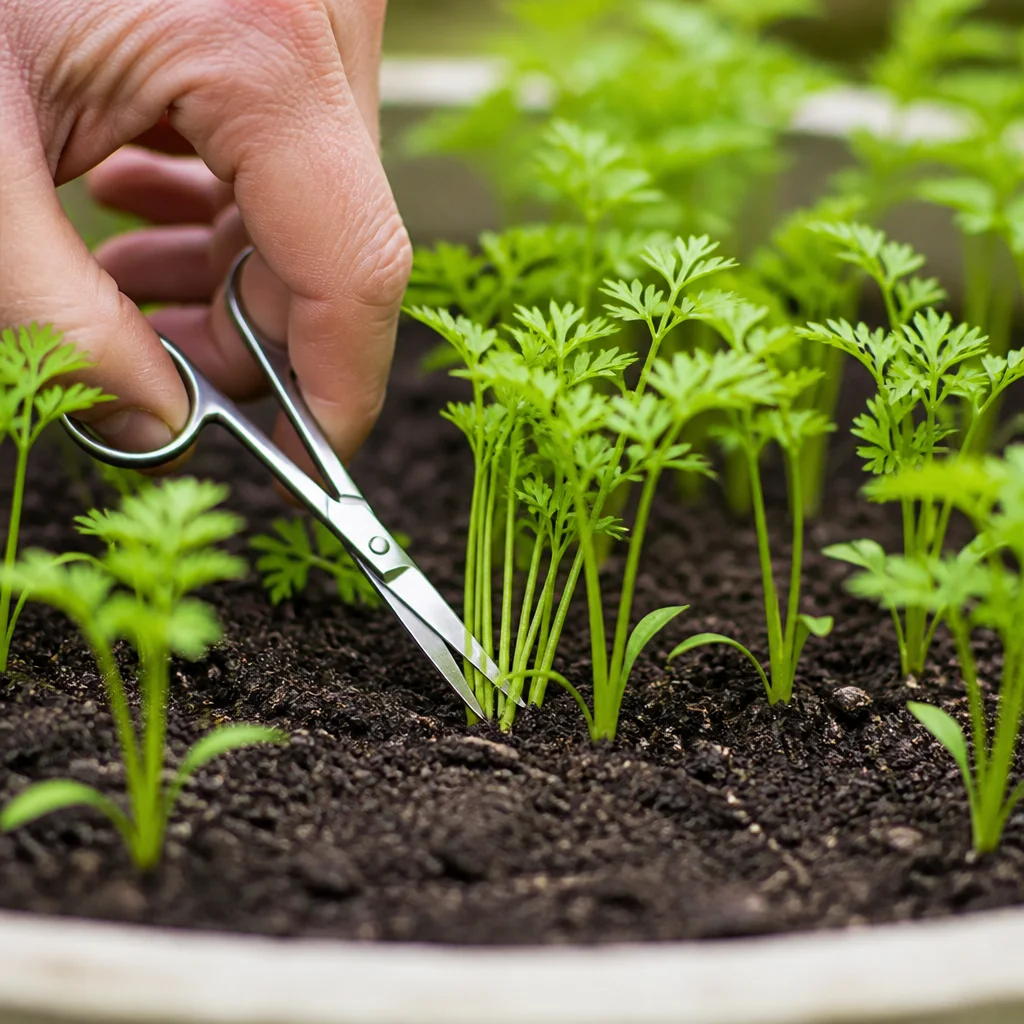
Carrot seeds are small, and even careful sowing often produces crowded seedlings. Once they are large enough to handle, thin them gradually to the spacing suggested on the packet. A final spacing of roughly 2 inches between small carrots is a useful starting point; larger varieties may need more room. Crowded roots compete for water and space and may remain thin or become tangled. Snip unwanted seedlings at soil level with small scissors rather than pulling them, which can disturb their neighbors. If a patch is especially dense, thin it in two stages over a couple of weeks. The remaining foliage will look sparse at first, but the extra space gives each root room to develop.
Keep Foliage Healthy and Roots Covered
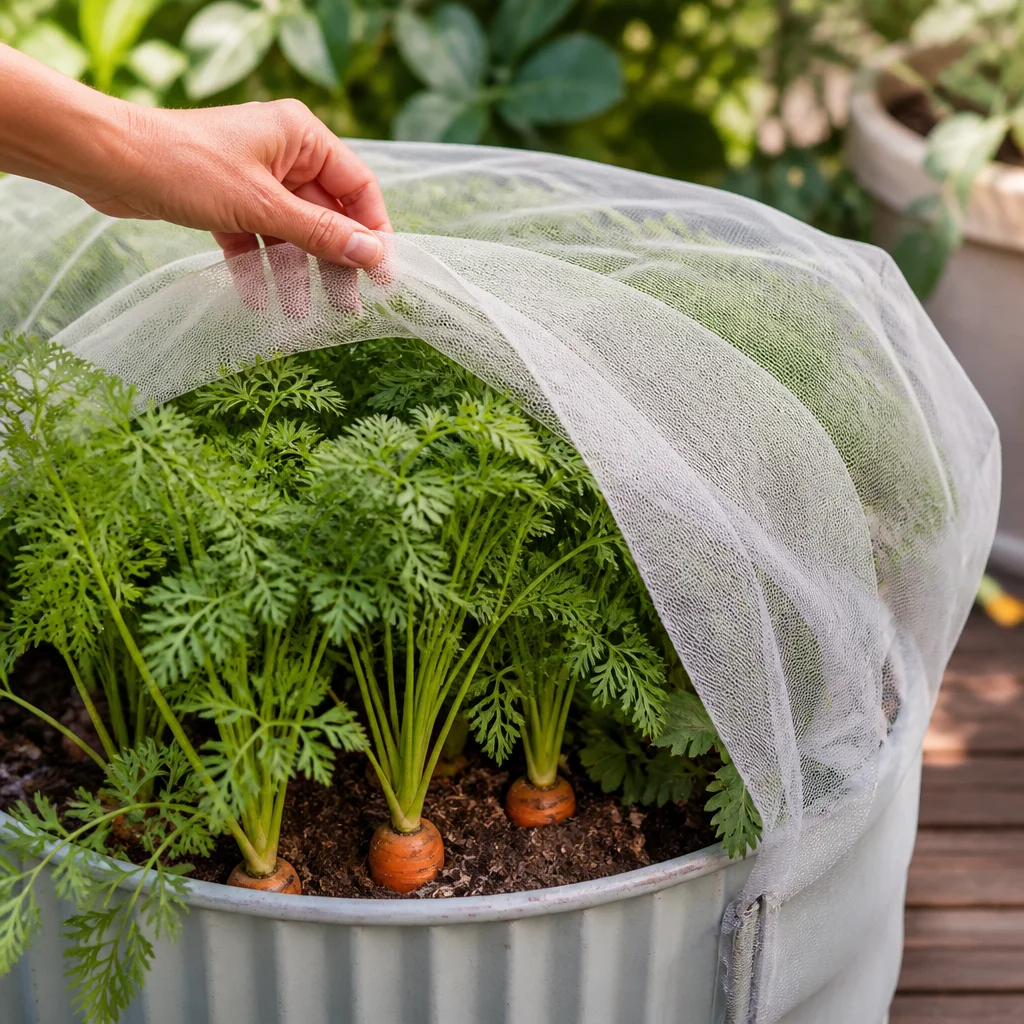
Check plants regularly for damaged leaves, pests, and drying soil. Remove dead foliage and keep the area around pots tidy. Carrot fly can be a problem in some regions; where it is common, cover the container with fine insect mesh from sowing, securing the edges while leaving enough room for leaves to grow. Check beneath the cover periodically for watering needs and other pests. As carrots grow, their shoulders may push above the mix. Gently add a little potting mix around exposed shoulders to keep them covered and reduce greening. If growth is pale or weak, check watering and light first. Follow the potting mix or fertilizer label before feeding, rather than assuming that more fertilizer will produce bigger roots.
Harvest Young or Wait for Full Size
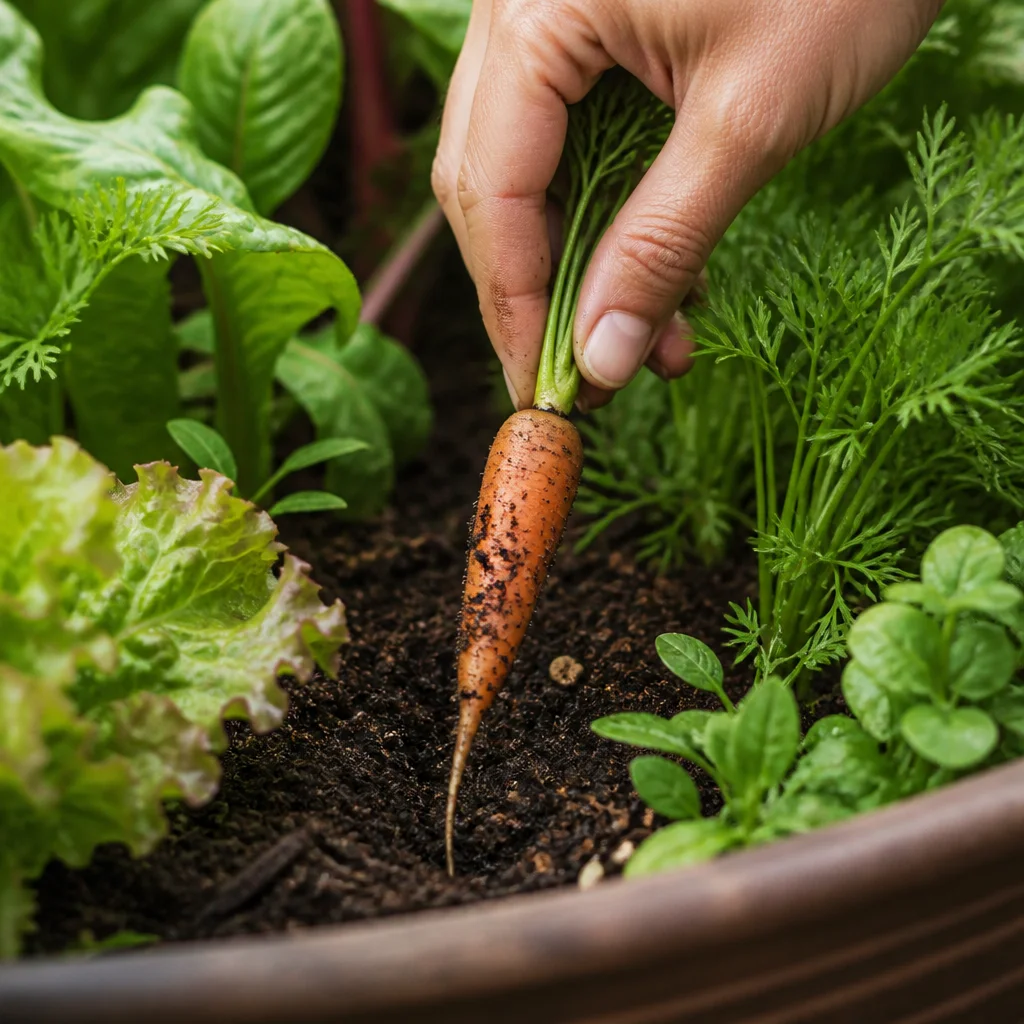
Use the packet’s estimated days to maturity as a guide, not a deadline. Carrots are ready whenever they reach a size you enjoy, and small roots can be tender and flavorful. Brush a little mix away from the top of one plant to check its shoulder. If it looks promising, water the pot and ease out a test carrot by grasping the foliage near its base and pulling gently. Harvest alternate roots first if the rest would benefit from more space, taking care not to disturb their neighbors. You can leave carrots in the container for a short period and pick as needed, but check regularly: roots left too long may become woody or split. In severe cold or persistent wet, harvest before conditions damage the crop.
Enjoy the Harvest and Plan Your Next Pot
Twist or cut off the leafy tops soon after harvesting, leaving a short stem, and brush away loose mix. Refrigerate the roots in a bag or covered container and wash them before eating. Enjoy small carrots raw, roast mixed colors until tender, or slice them into a quick salad. If using the greens, wash them thoroughly and treat them as an optional herb-like addition. For a longer season of harvests, sow another container every few weeks while temperatures remain suitable, using fresh or refreshed potting mix and following local sowing guidance. Arrange the pots in a simple row and label each sowing date on a small marker. Their soft foliage gives the display continuity while each container moves from seedlings to harvest.
How did this story make you feel?
Choose one reaction. You can change it later.