Garden Paths7 min read
How to Make a Stepping-Stone Path Through a Garden Bed
A stepping-stone path makes a garden bed easier to tend without turning every visit into a balancing act. Well-placed stones offer firm footing for watering, weeding, and harvesting while keeping repeated footsteps away from plant roots and cultivated soil. The most successful paths feel natural to walk, stay steady underfoot, and leave enough room for plants to grow around them. With a little planning and a properly prepared base, you can create a route that is practical from the first season and attractive for years to come.

Map the Work You Need to Do
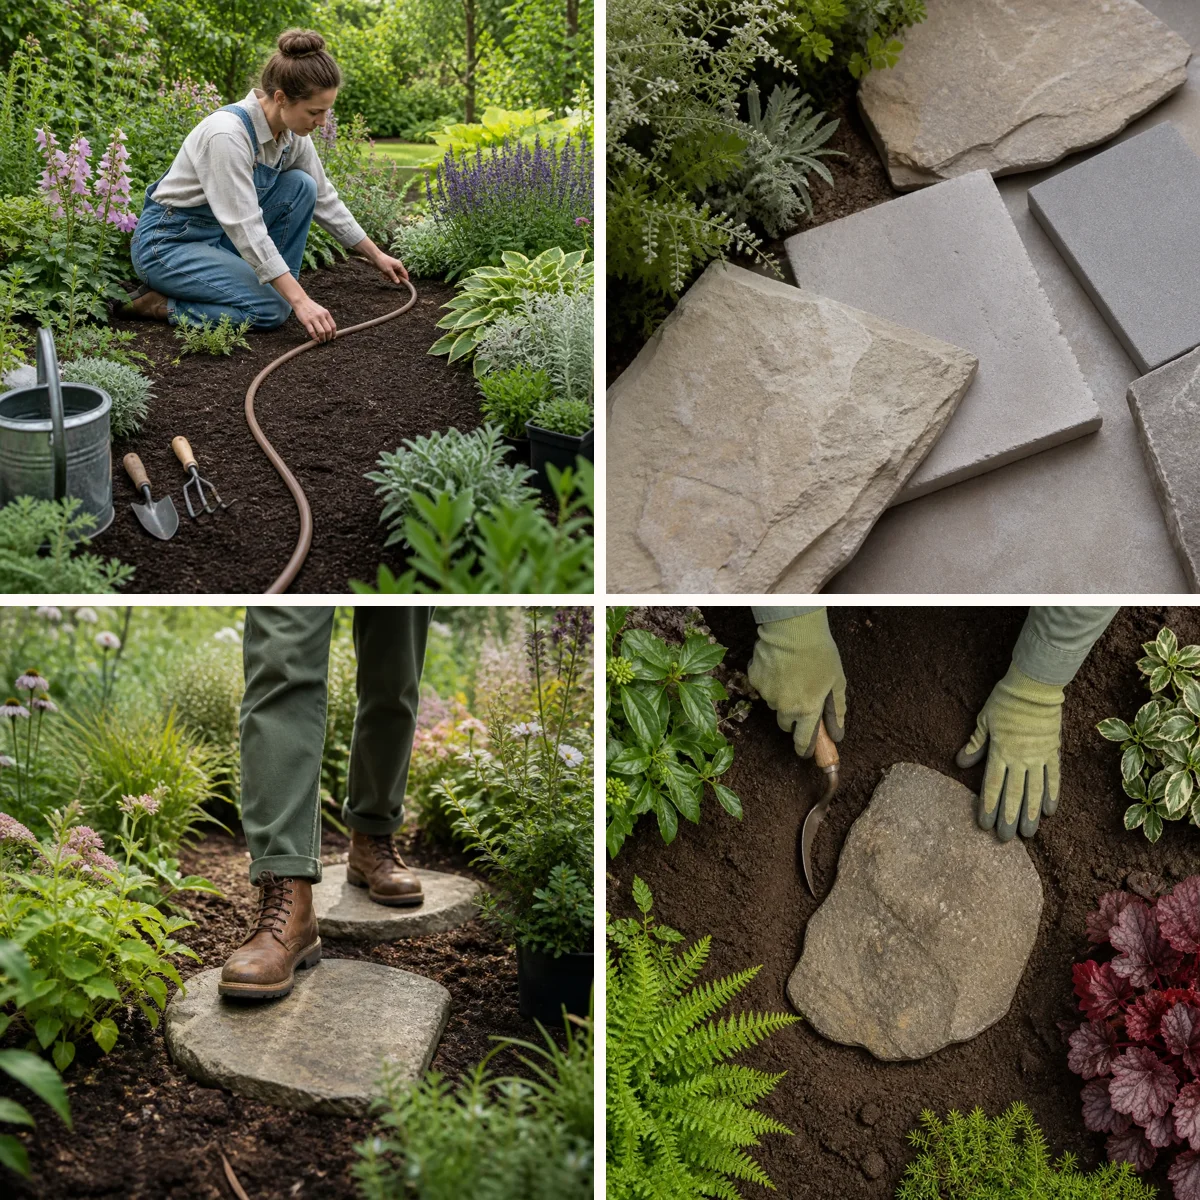
Start by observing how you use the bed. Identify the plants you regularly prune, pick, water, or divide, along with taps, gates, and other places you need to reach. Lay a hose or string through the bed to suggest a route, then adjust it so you can comfortably reach work areas from the proposed stones. A gentle curve can look inviting, but avoid a winding route that makes routine chores awkward. Keep the path away from the crowns of established plants and allow space for their mature spread. If the bed is wide, a short branch or an occasional wider stone can provide access without covering the entire planting area. Work around large roots rather than cutting them to force a stone into position.
Choose Stones That Feel Secure
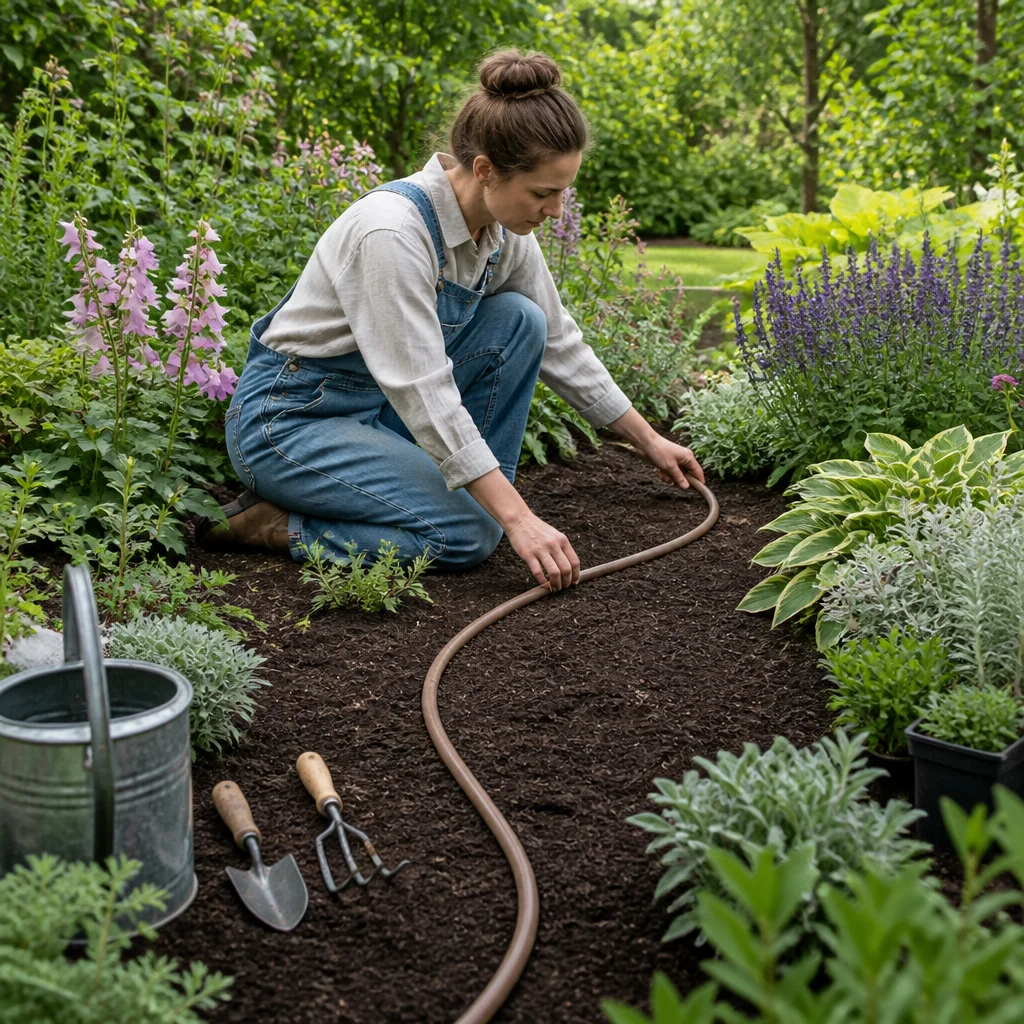
Select stones with a broad, relatively flat upper surface and enough area to support a full foot. Pieces roughly 16–24 inches across are a useful starting range, though larger stones can make stopping to work more comfortable. Natural flagstone gives an informal look, while concrete pavers offer consistent dimensions and a more orderly rhythm. Choose a textured surface rather than a polished one, which can become slippery when wet. Thickness and weight matter too. Thin pieces can crack or shift, especially on an uneven base, so choose sturdy material suited to outdoor paving and local conditions. Handle heavy stones with help and use gloves and suitable footwear. Whatever material you select, avoid sharp projecting edges along the route.
Set a Comfortable Walking Rhythm
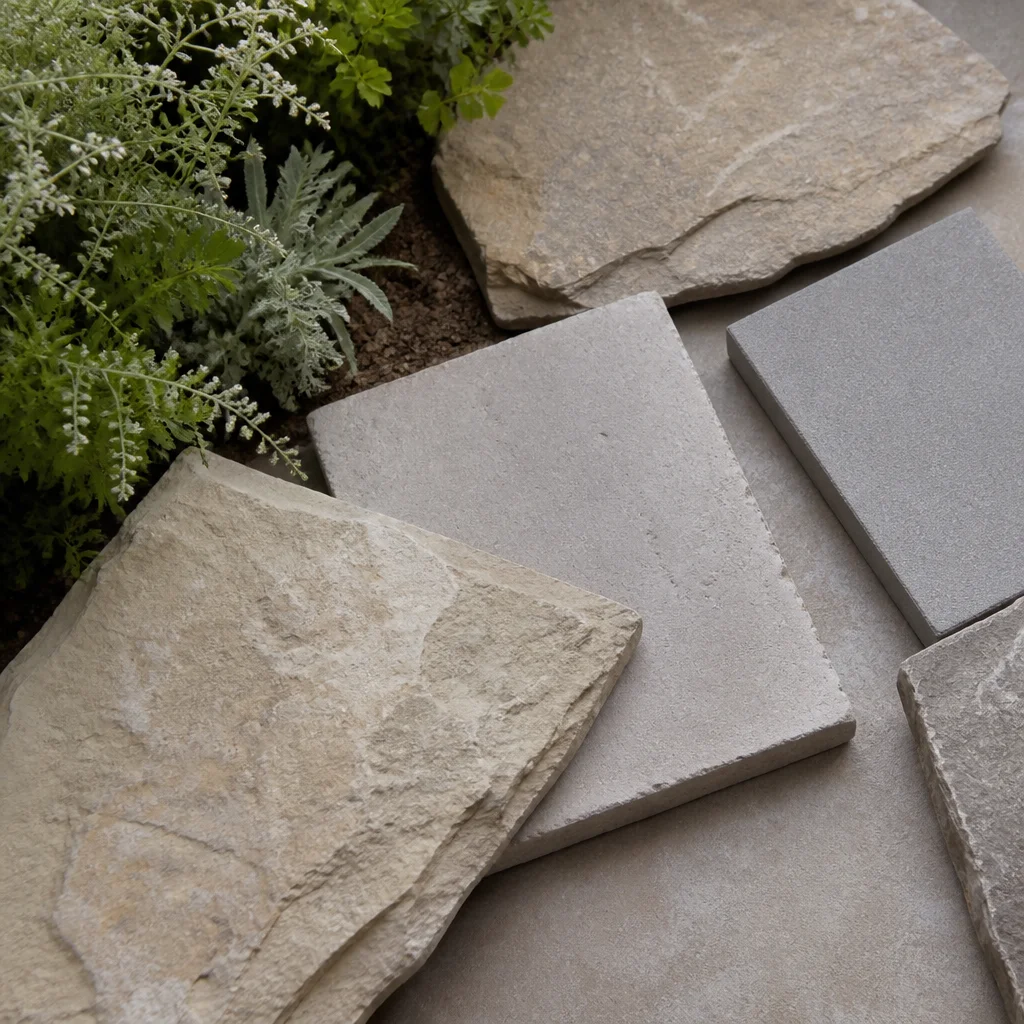
Place the stones temporarily on the soil and walk the route several times before digging. A useful starting point is about 24 inches from the center of one stone to the center of the next, but stride length varies. Adjust the spacing to suit the people who will use the path most often, including anyone carrying a watering can or basket. Make the gaps small enough that a missed step does not land in a plant crown. Pay particular attention to turns: the stones may need to sit closer together there. Test the approach from both directions and try pausing where you expect to garden. If children or people with shorter strides will use the route, prioritize easy, predictable steps over a dramatic scattered arrangement.
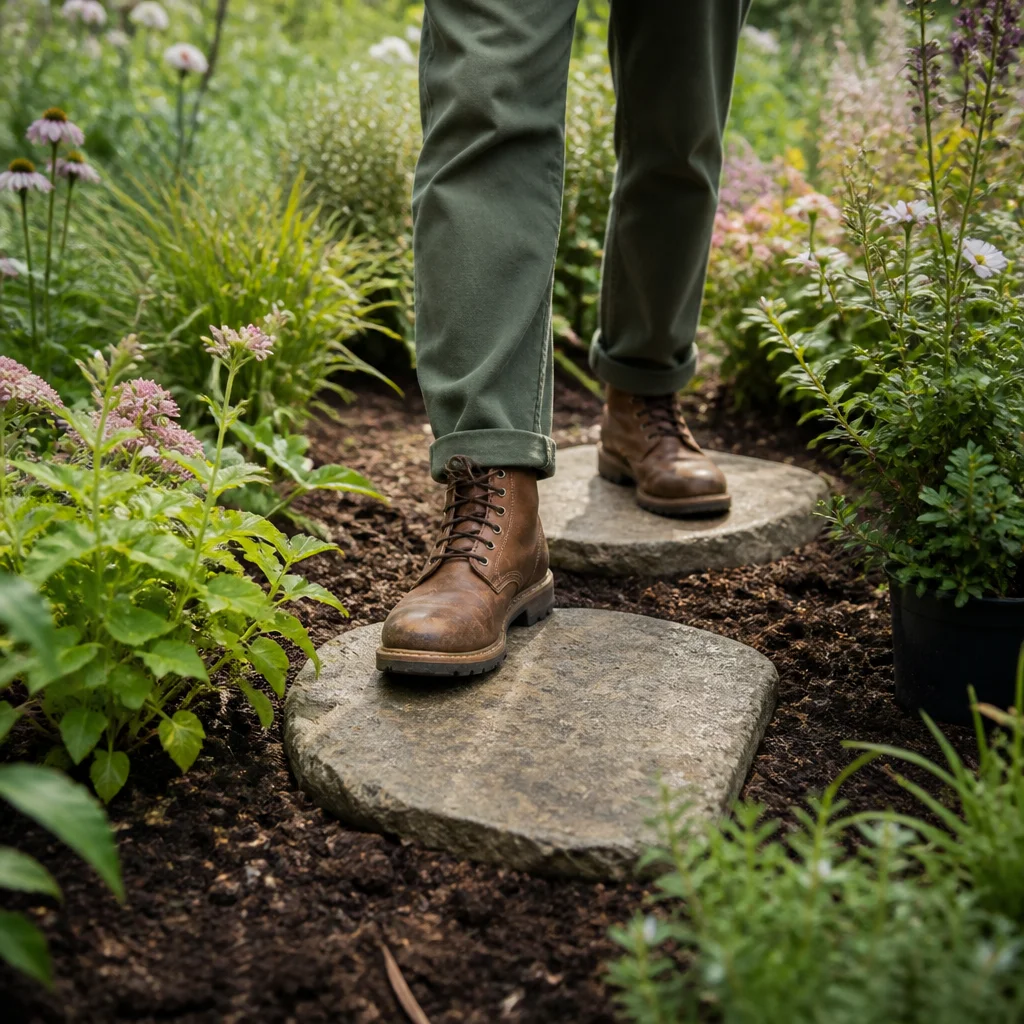
Mark Each Position Before You Dig
Once the layout feels right, mark around each stone with a hand trowel or garden-safe marking material. Note its position before lifting it away; numbered pieces of tape can help when stones have irregular shapes. Check that the intended footprints do not crowd irrigation lines, shallow roots, or bulbs you want to preserve. If you are unsure where buried services run, locate them before digging. Excavate each marked area slightly wider than its stone so you have room to adjust the fit. Set the excavated soil aside for backfilling or elsewhere in the garden. In an established bed, use hand tools carefully and shift the route if digging exposes substantial roots.
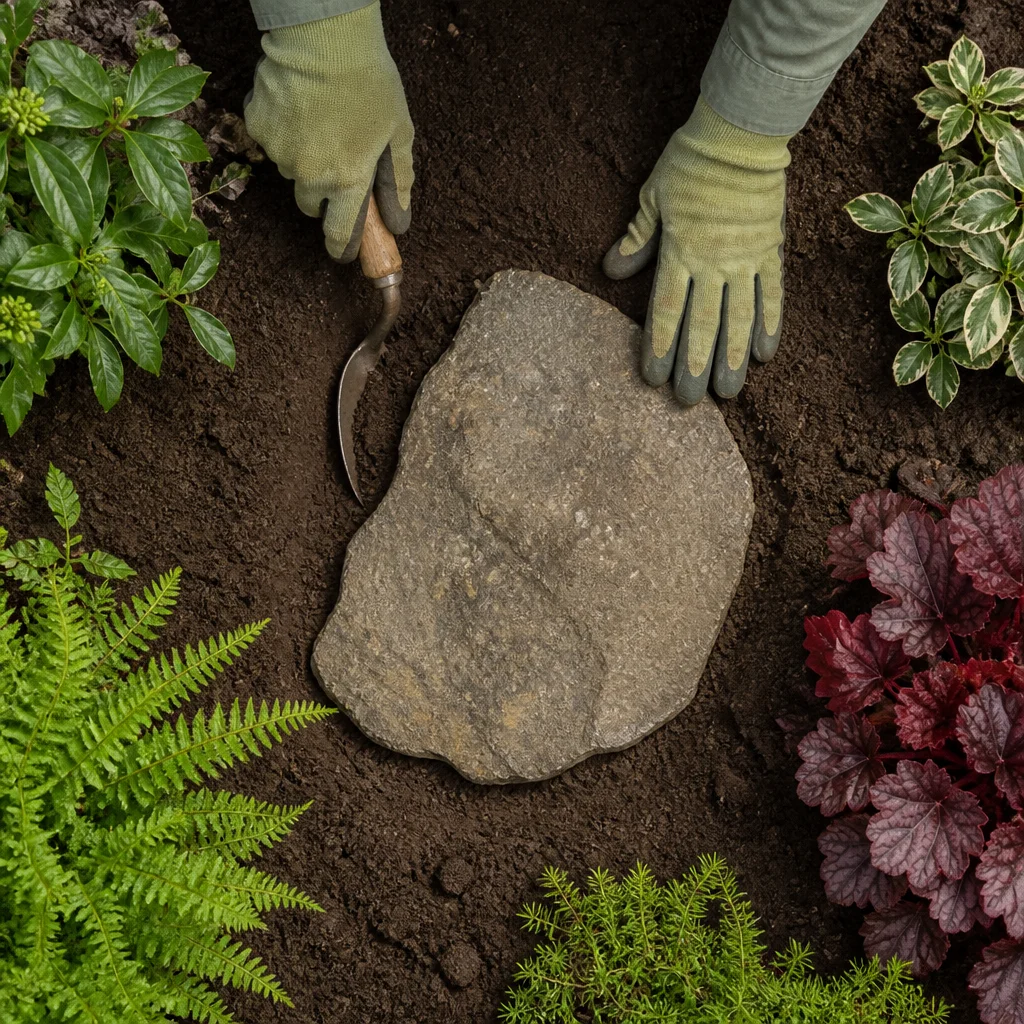
Build a Firm, Draining Base
A stable stone needs more than a shallow hollow in loose soil. Excavate deeply enough for the stone, a compacted layer of crushed aggregate, and a thin leveling layer. For a typical garden path, around 3–4 inches of compacted aggregate beneath the stone is a practical starting point; wet, soft, or frost-prone ground may need a deeper base or local guidance. The finished stone should sit near the surrounding soil level, not balance high above it. Firm the bottom of the excavation, add crushed aggregate in shallow layers, and compact each layer with a hand tamper. Then spread a thin layer of coarse sand or stone screenings to help seat the stone. Avoid relying on a thick cushion of loose sand, which can shift and leave the stone uneven.
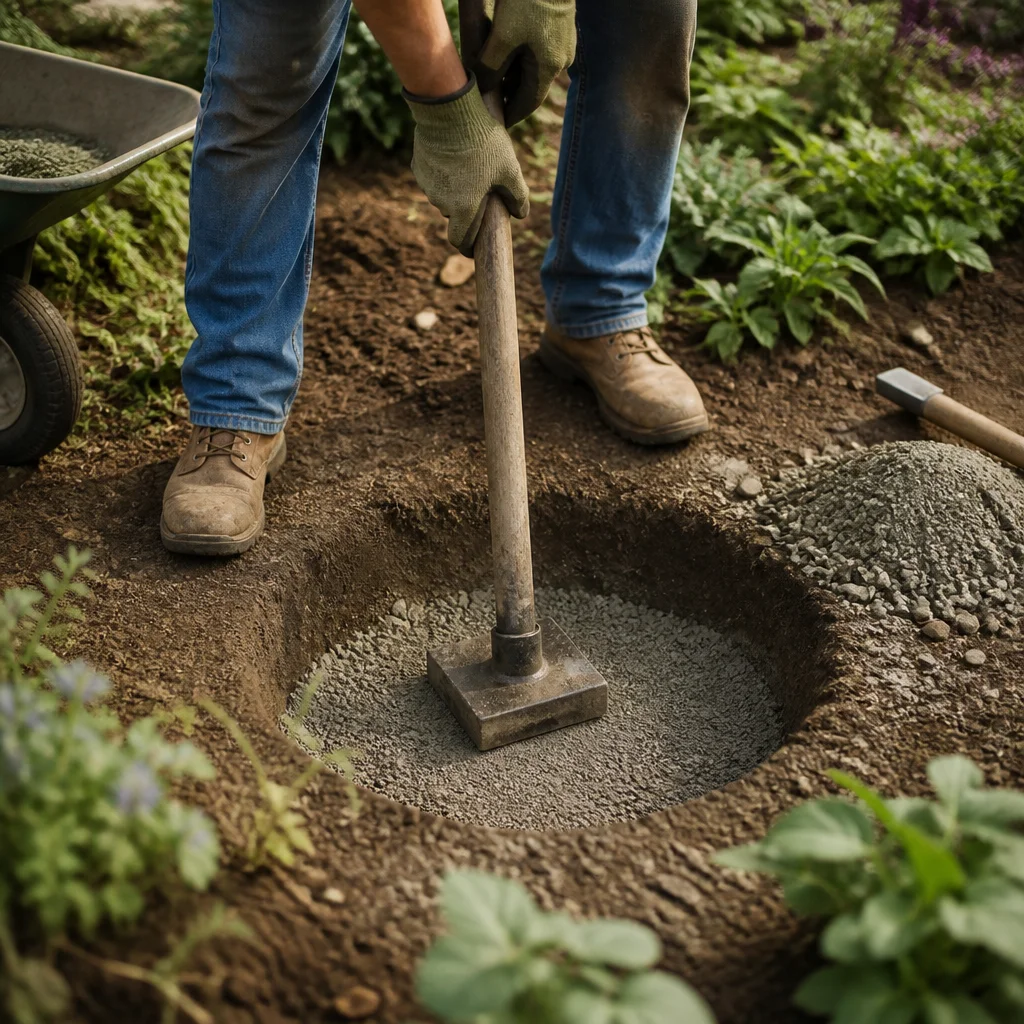
Level Each Stone Without Trapping Water
Lower the stone onto its prepared base and test it by stepping gently on different edges. If it rocks, lift it and add or remove a little leveling material beneath the low or high spots. Press it down firmly and repeat until it feels solid. A spirit level can help you check the surface, but aim for a slight slope that lets rain drain away rather than collect on top. Keep the top close to the finished level of the bed or adjacent lawn, while allowing for mulch and seasonal settling. A stone that projects too far can trip a gardener or catch a mower; one buried too deeply can collect mud. Recheck the height after compacting and before filling the edges.
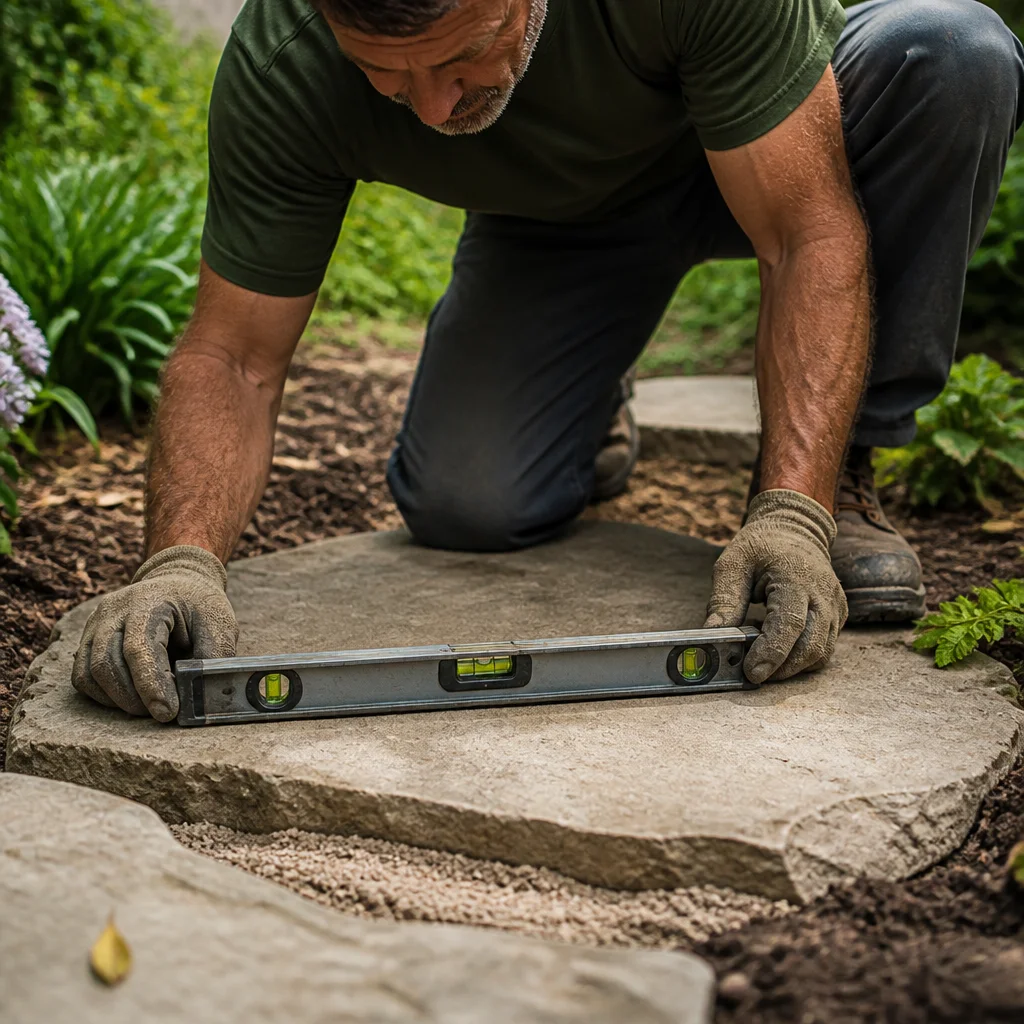
Finish the Gaps to Suit the Planting
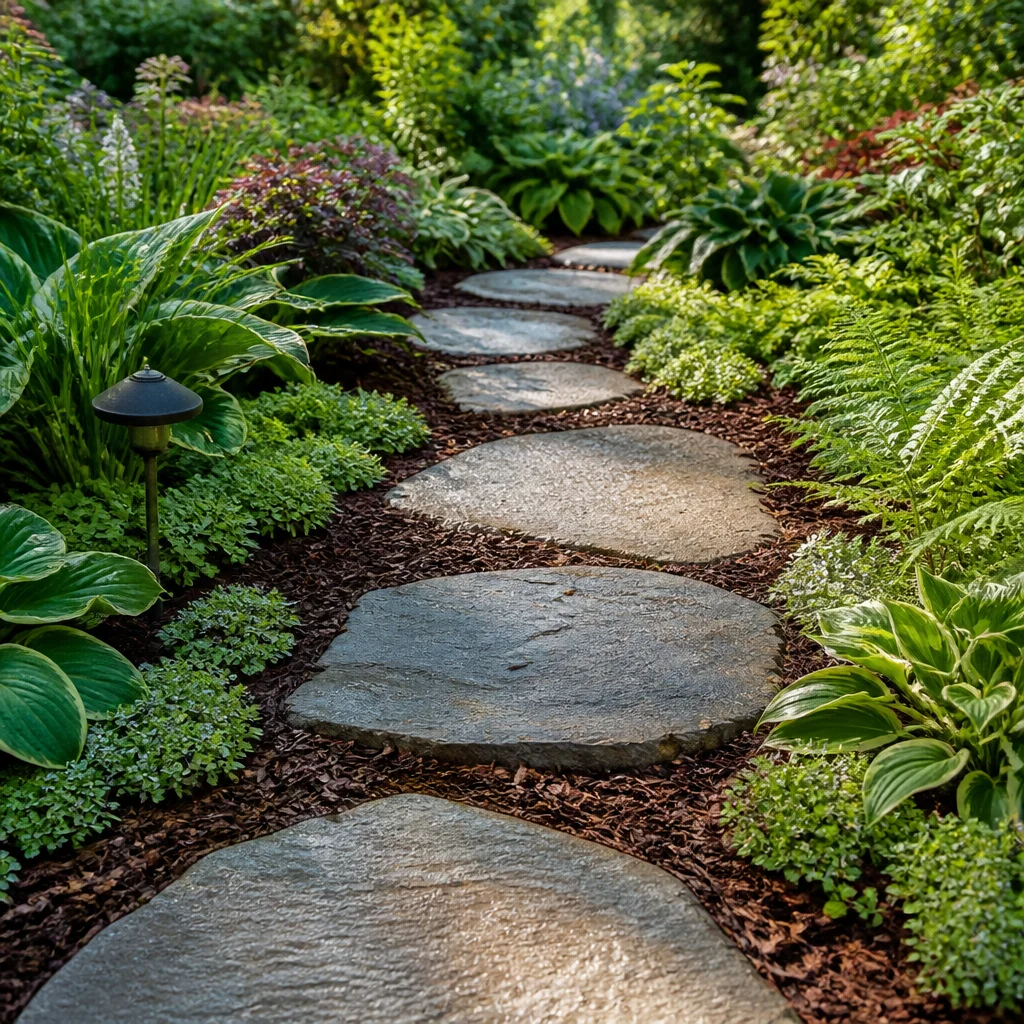
Backfill around the edges with the soil you removed, firming it gently to prevent the stones from shifting sideways. Keep loose material off the walking surfaces. In an ornamental bed, a layer of fine bark mulch can soften the transition between stone and planting while helping cover bare soil. Leave a small clear space around plant crowns so mulch does not sit against stems. For a more tailored look, use gravel in the immediate gaps, keeping it below the stone tops so it does not roll underfoot. Low, noninvasive groundcovers can also soften edges where growing conditions suit them, but give them room to spread without covering the stepping surfaces. Avoid choices that demand frequent trimming just to keep the path usable.
Create Comfortable Places to Pause
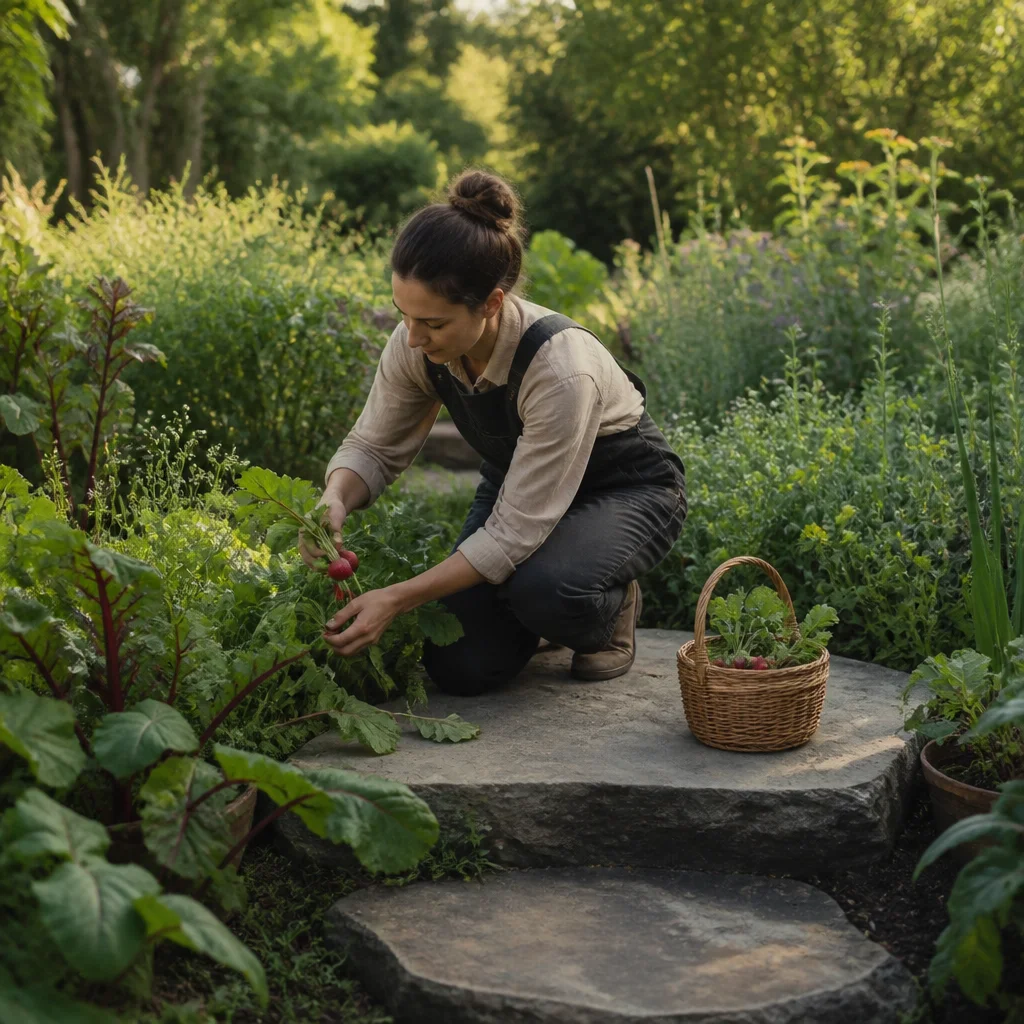
Not every stone has to serve only as the next step. Near a vegetable patch, rose, or frequently tended border, use a larger slab or a pair of closely placed stones to create a stable place to stand. Position it where you can reach the plants without leaning heavily across the bed. This small change can reduce the temptation to step onto cultivated soil when a task takes longer than expected. Keep the pause point visually connected to the rest of the path by repeating the same material or color family. A slightly wider surface can also hold a basket briefly, but leave enough clear footing to move safely around it. Rehearse common chores before committing to the final positions.
Style the Route Around the Garden
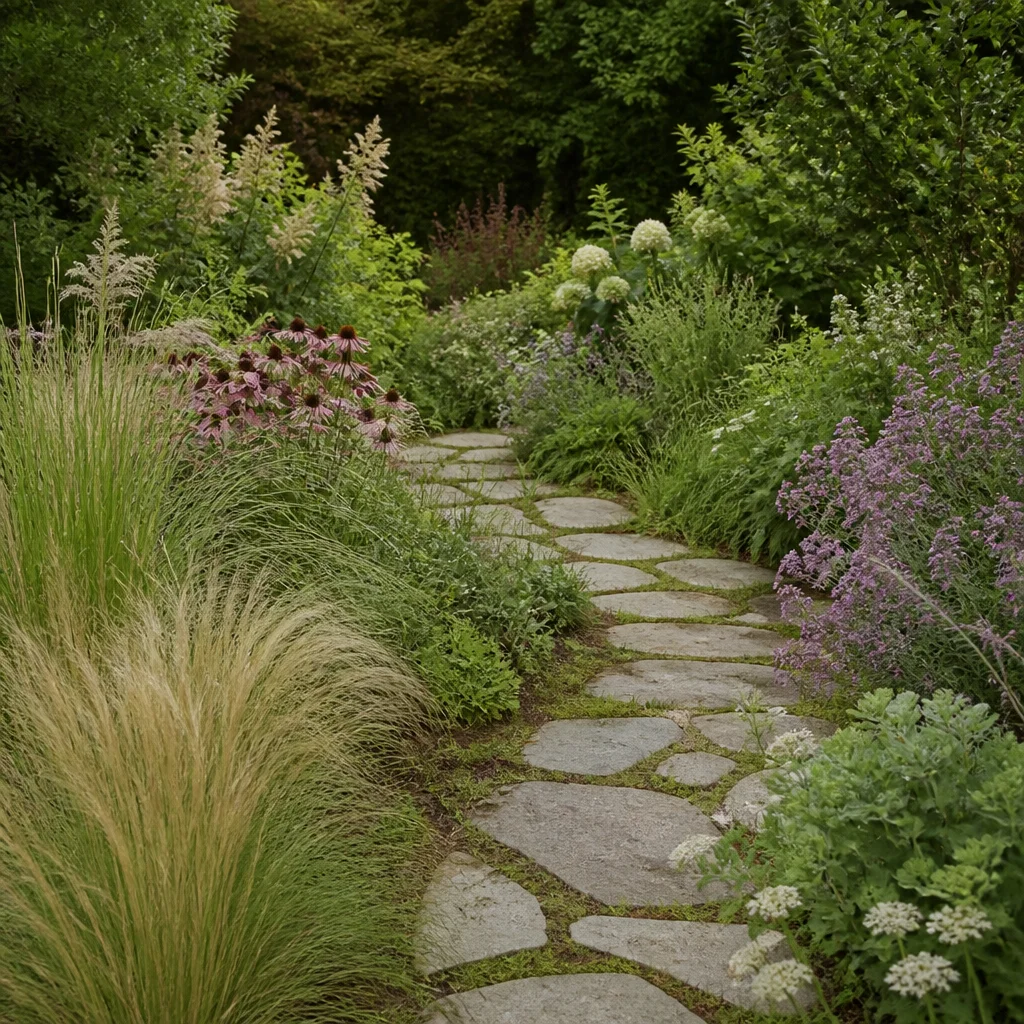
Let the path echo the character of the planting. Irregular stones with softly varied spacing suit a loose cottage-style bed, while similar rectangular pavers can bring calm structure to a modern border. Repeat a stone color already present in a wall, edging, or patio for a cohesive result. In a small bed, a restrained palette usually feels less busy than several competing materials. Arrange plants so they frame rather than obstruct the route. Fine grasses or spreading foliage can soften the edges, while a few upright plants beyond a curve can give the path a sense of destination. Keep thorny, brittle, or tall arching plants far enough back that they will not catch clothing or hide the next foothold.
Maintain Firm Footing Through the Seasons
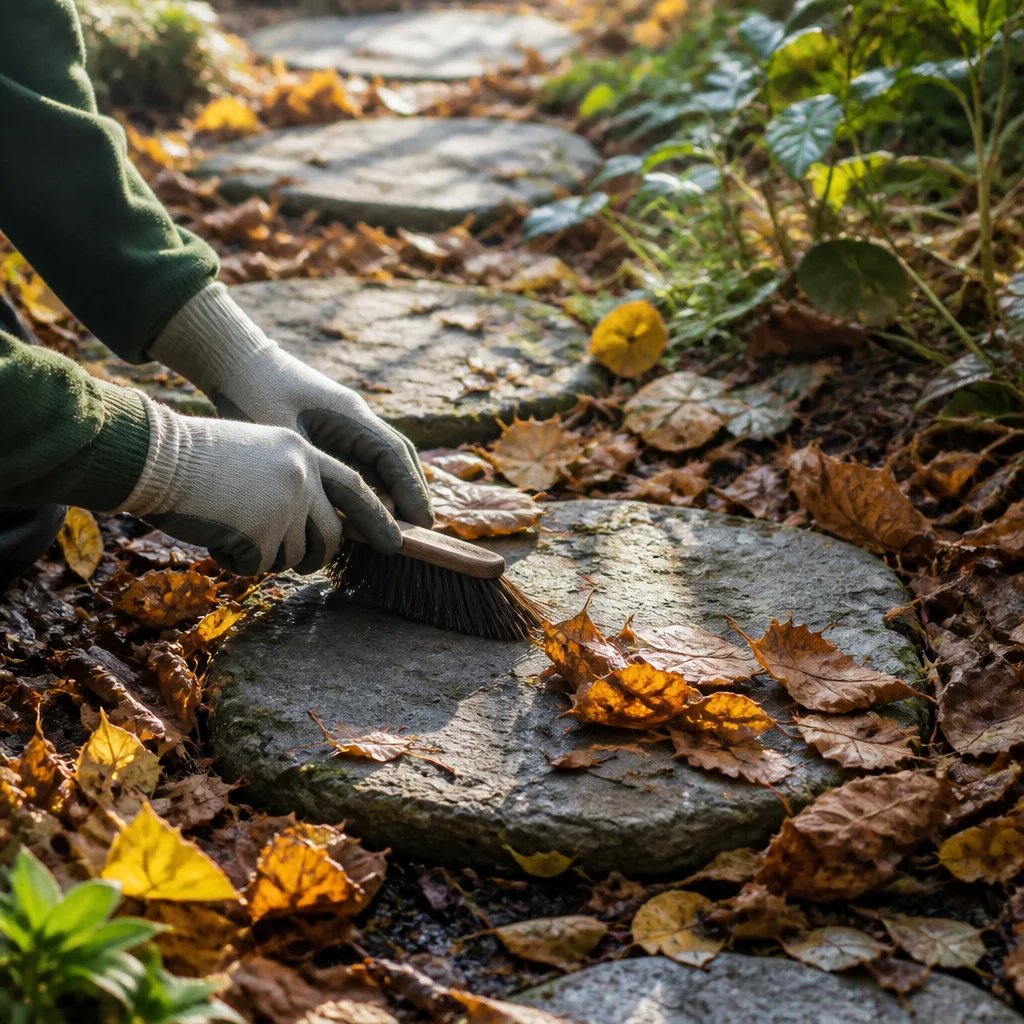
Inspect the path after heavy rain, winter freezes, or major garden work. If a stone rocks, lift it and repair the base rather than packing soil only along its edge. Brush away slippery leaves, mud, and algae as needed, and trim plants that have grown over the walking surface. Refresh mulch or gravel when it becomes thin, keeping the stone tops clear. Watch where people actually step. If a frequently used gap has become a patch of compacted soil, move the stones closer or add another stable foothold. Likewise, if a plant outgrows the route, adjust the path or prune thoughtfully. A stepping-stone path works best when it adapts to the garden instead of asking gardeners to walk around its shortcomings.
How did this story make you feel?
Choose one reaction. You can change it later.