Garden Paths7 min read
Gravel Garden Paths: Planning a Comfortable, Stable Route
A gravel path can feel relaxed and welcoming, but the most comfortable routes are planned with care. Width, drainage, edging and the depth of each layer all affect how the surface feels underfoot. Before ordering a bag of stone, walk the proposed route in different weather and consider who will use it, what they will carry and how much maintenance you are willing to do.
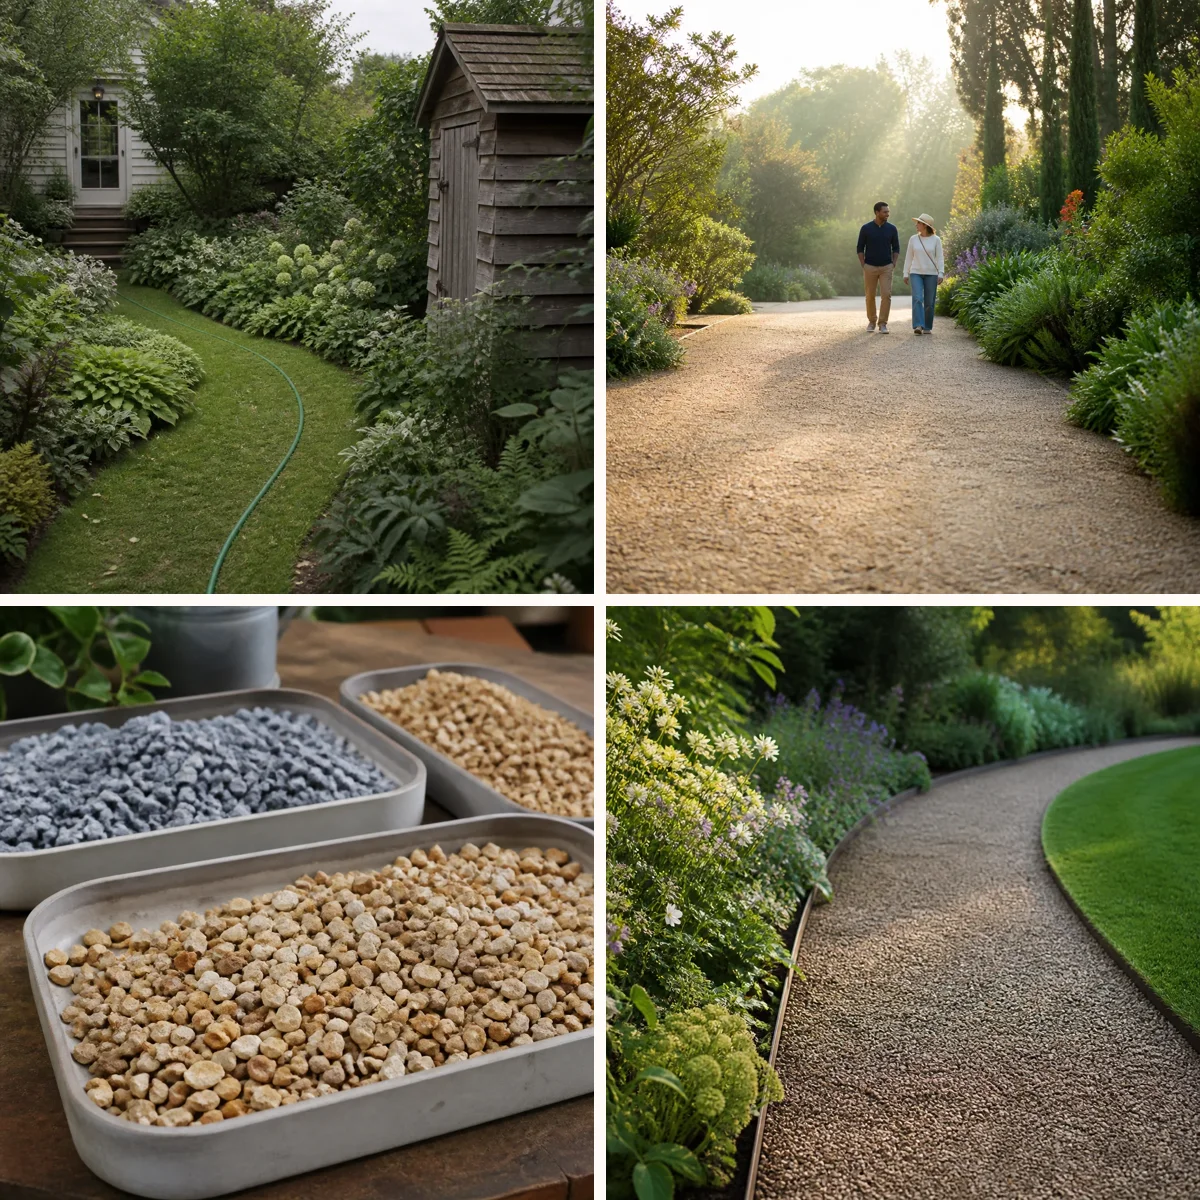

Choose a Route That Fits the Garden
Start by marking the places the path needs to connect: a back door, shed, seating area or vegetable beds. Lay out a temporary line with a garden hose or string, then walk it several times. A direct route usually works best for frequent trips, especially when carrying tools or pushing a wheelbarrow. A gentle curve can make a stroll feel more leisurely, but avoid bends so tight that people cut across the planting. Notice how the route looks from the house and where it meets other surfaces. Aim for a smooth transition at a patio or gate rather than an awkward kink. Check after rain for standing water or runoff from roofs and slopes; a low, wet channel may need drainage work or a different alignment before gravel goes down.
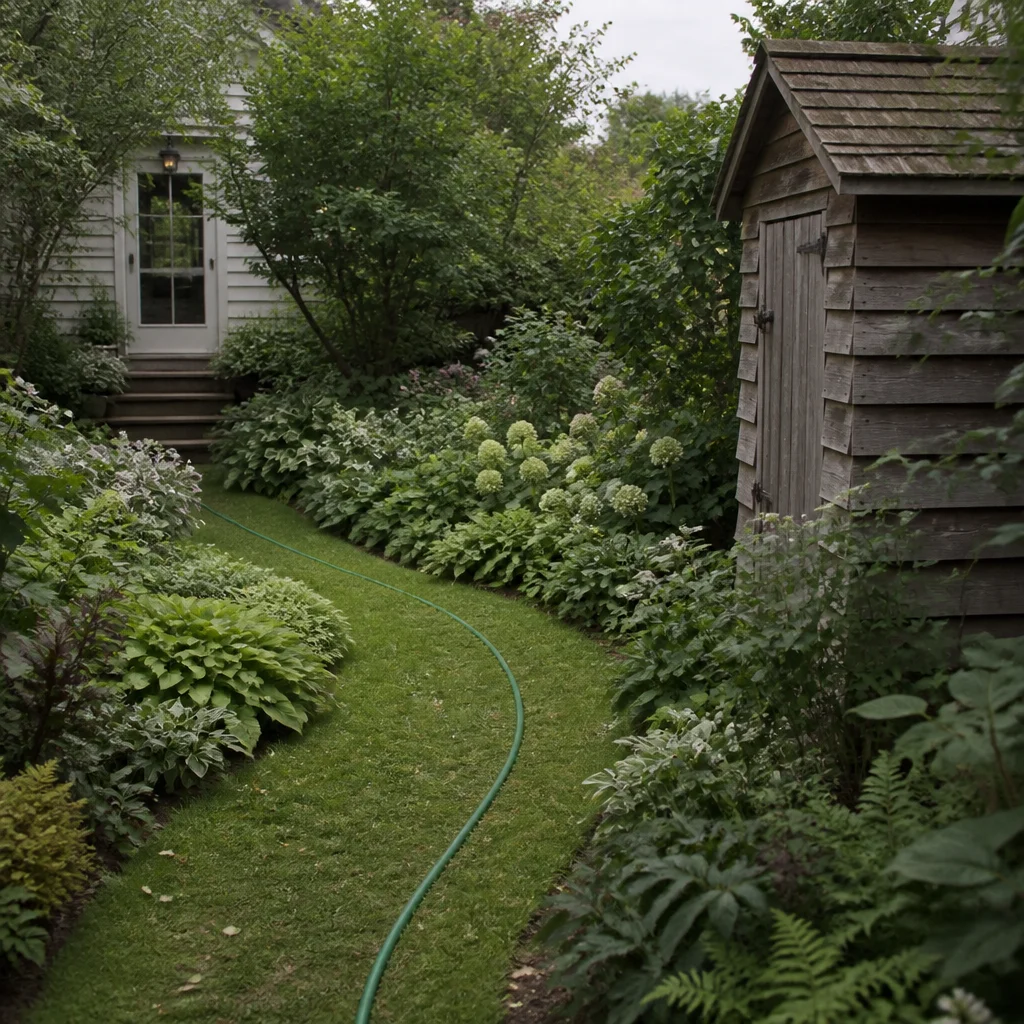
Set a Width for Everyday Use
For a lightly used single-person garden path, about 90 centimetres of clear width is a useful starting point. Around 120 centimetres gives one person more room to move comfortably and makes it easier to pass plants or carry a watering can. If two people will regularly walk side by side, consider 150 centimetres or more where space allows. Measure between the finished edges, not just the lines marked on the soil. Allow extra room where a gate swings, a wheelbarrow turns or planting will spill over the edge. Gravel can be difficult for wheelchairs, walkers and pushchairs, particularly when loose or deep. For an accessible route, consider a firm, bound surface instead and check local accessibility requirements before settling on dimensions and materials.
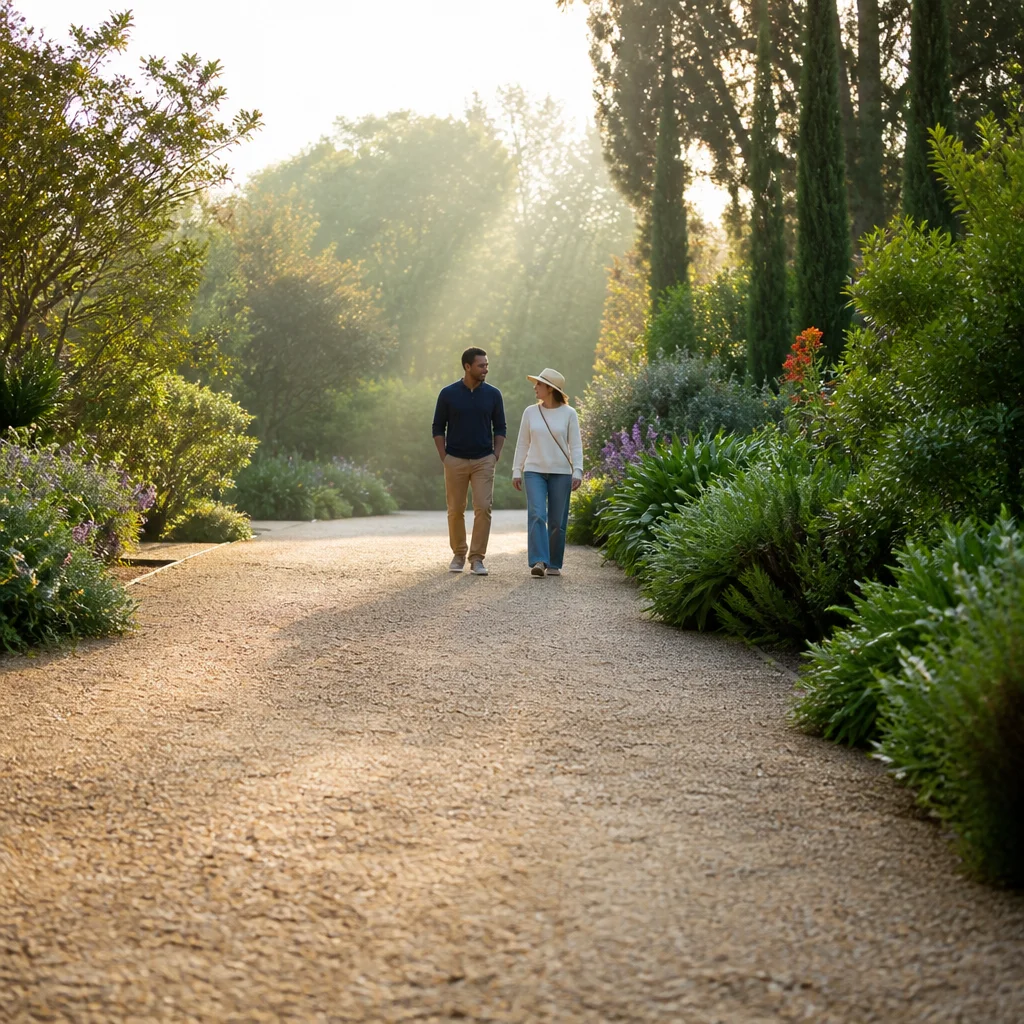
Pick Gravel That Stays Underfoot
Angular, crushed stone tends to interlock better than smooth, rounded pea gravel, which shifts more readily under shoes and wheels. A small aggregate, roughly 6 to 10 millimetres across, is often comfortable for walking while still offering texture. Ask a local supplier for a sample and walk over it in the footwear you normally use in the garden; sharp-edged stone can feel uncomfortable under thin soles or bare feet. Choose a colour that sits comfortably with nearby paving, walls and planting. Warm buff or tan can soften brick and timber, while grey stone can look crisp beside contemporary materials. View a damp sample as well as a dry one, because the colour may deepen noticeably after rain. Avoid choosing on appearance alone: the shape and grading matter more to stability.
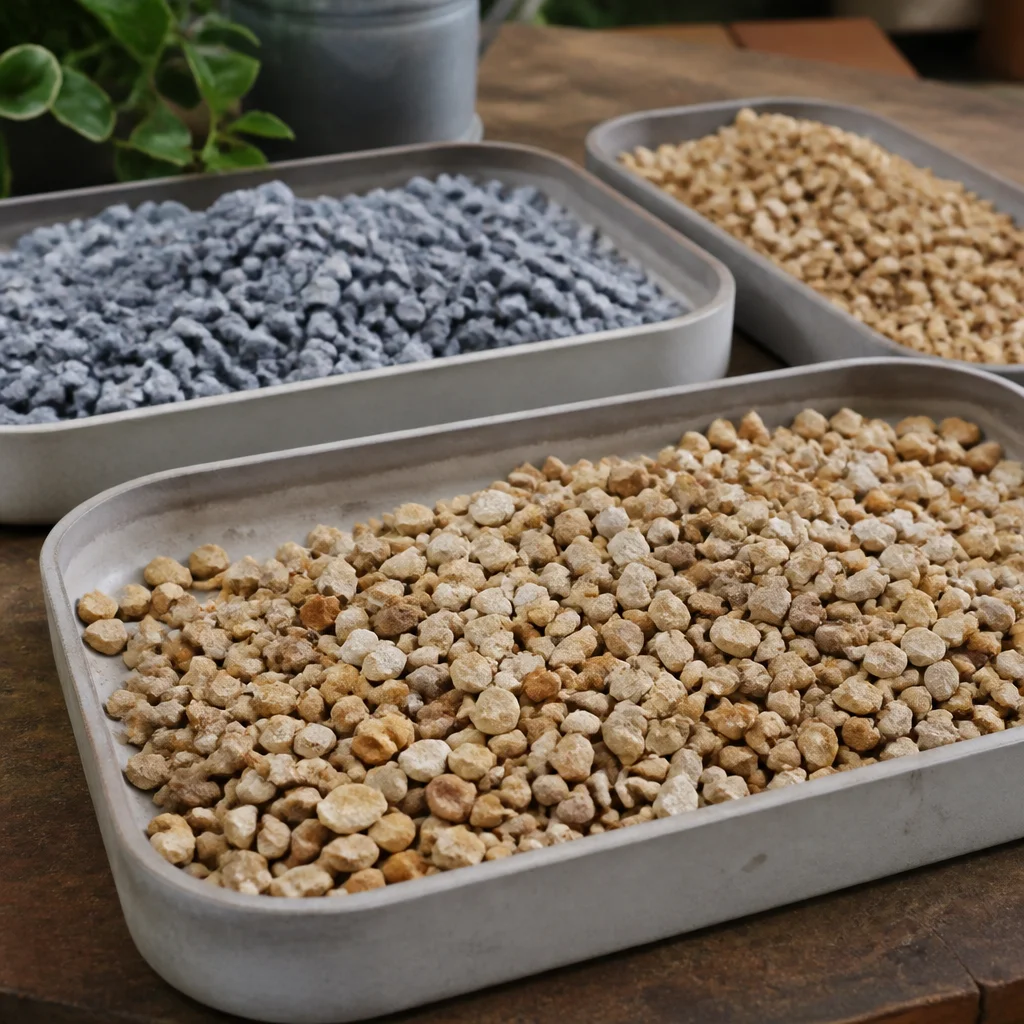
Plan Edging Before Excavating
Edging keeps gravel from migrating into beds and lawns and gives the route a clear shape. Steel or aluminium strips suit slim, flowing lines; brick, stone setts or timber can create a more substantial border. Reclaimed bricks offer a mellow garden character, while a simple metal edge lets surrounding plants take visual priority. Whatever the material, secure it well enough to resist foot traffic and the pressure of compacted layers. Set the top of the edging slightly above the finished gravel to contain loose stone without creating a prominent trip edge. At lawn crossings, consider how a mower will reach the border. If you want a softer look, leave pockets behind the edging for low, spreading plants rather than relying on plants to hold the gravel in place.
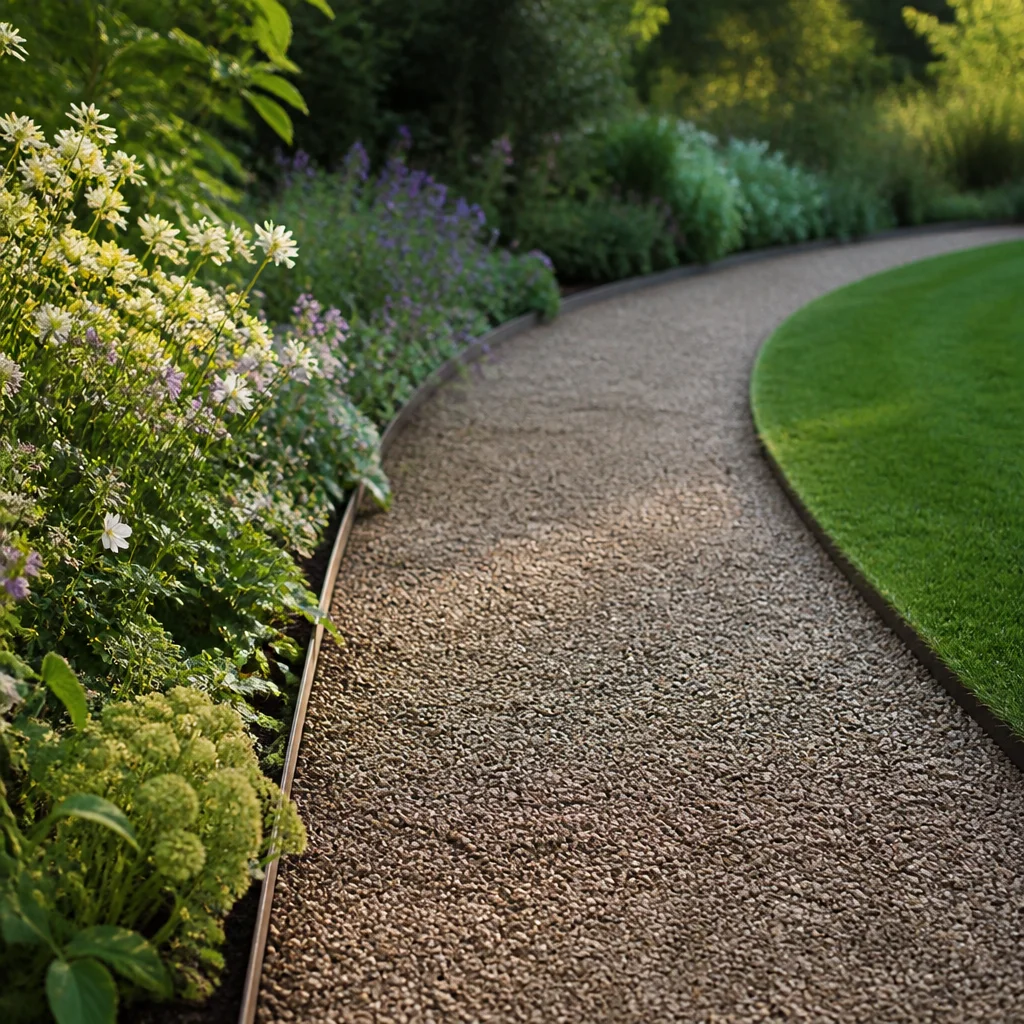
Prepare a Firm, Draining Foundation
Remove turf, roots and soft organic soil along the marked route, then excavate deeply enough for the base and a shallow gravel topping. For a typical pedestrian path, a compacted crushed-stone base of roughly 75 to 100 millimetres, topped with about 25 to 40 millimetres of gravel, is a practical starting point. Depth and construction may need to change for soft ground, heavy use or local conditions, so seek local advice if the soil is unstable or the route must carry more than foot traffic. Shape the ground so water can drain away from buildings and does not collect in dips. Compact the subgrade, then add the base in manageable layers and compact each one. A permeable landscape membrane between soil and base can help keep them separate, especially on soft ground. It does not replace a sound base or prevent all weeds.
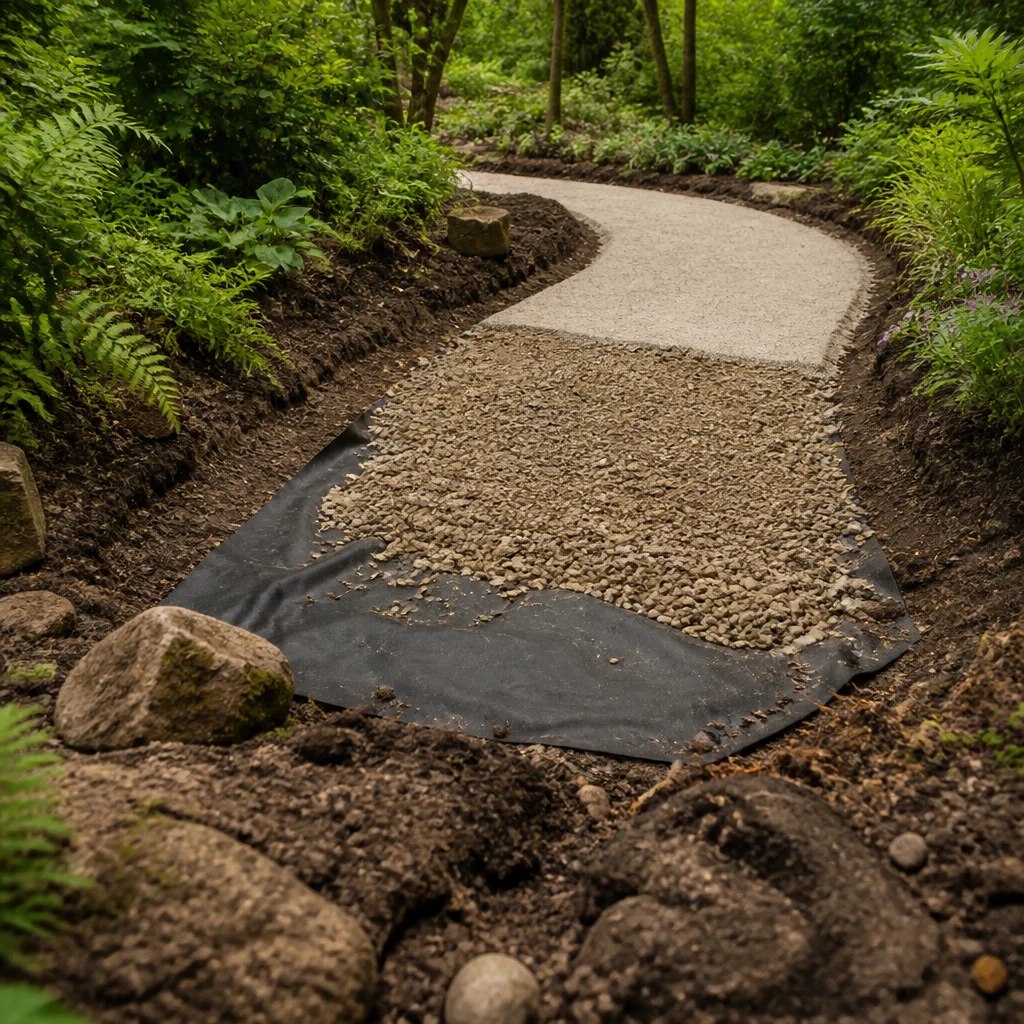
Add the Surface in a Shallow Layer
Once the base is firm and the edging is secure, spread the chosen gravel evenly rather than pouring on a deep blanket. A shallow layer is easier to walk on and less likely to roll underfoot. Rake it to the planned depth, checking that gates open freely and that the finished surface meets adjoining paving without an abrupt step. Keep gravel below building damp-proof courses and away from vents or drainage openings. Walk the whole route and adjust any soft or uneven patches. If the stone moves excessively, first check whether the topping is too deep; removing some may help. Gravel-stabilising grids can also contain aggregate on suitable prepared bases, though they should be installed according to their manufacturer’s directions and are not a substitute for assessing accessibility.
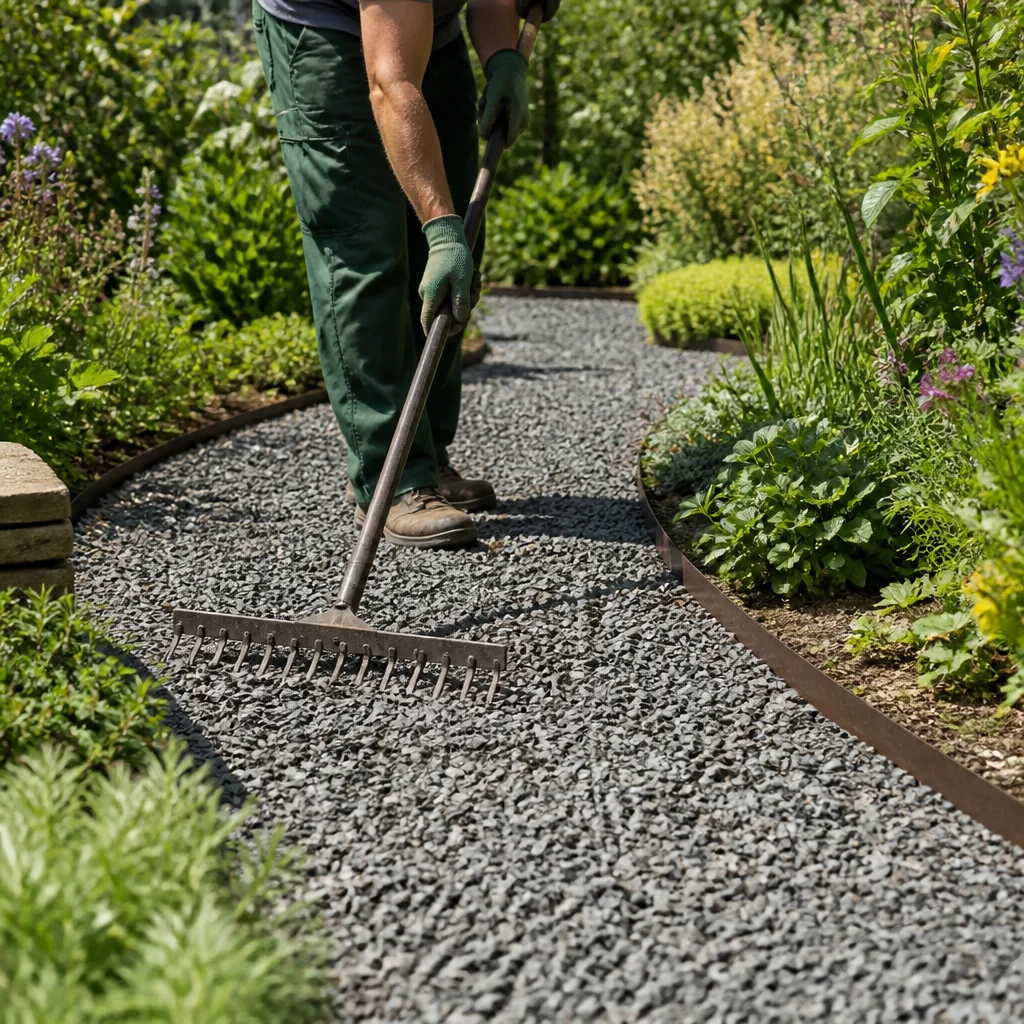
Make Slopes and Transitions Easier
Loose gravel is harder to negotiate on a steep incline, where it can slide downhill and make footing uncertain. If possible, choose a gentler route or introduce a longer curve across the slope. For a pronounced change in level, properly constructed steps or a different firm surface may be more dependable. Avoid placing isolated stepping stones on loose gravel where they can rock or create inconsistent heights. Give special attention to thresholds, junctions and the approach to a shed. A short strip of firm paving at a doorway can reduce the amount of gravel carried indoors and provide a steady place to pause. Keep transitions flush and well supported, and leave enough space for doors and gates to move without scraping the surface.
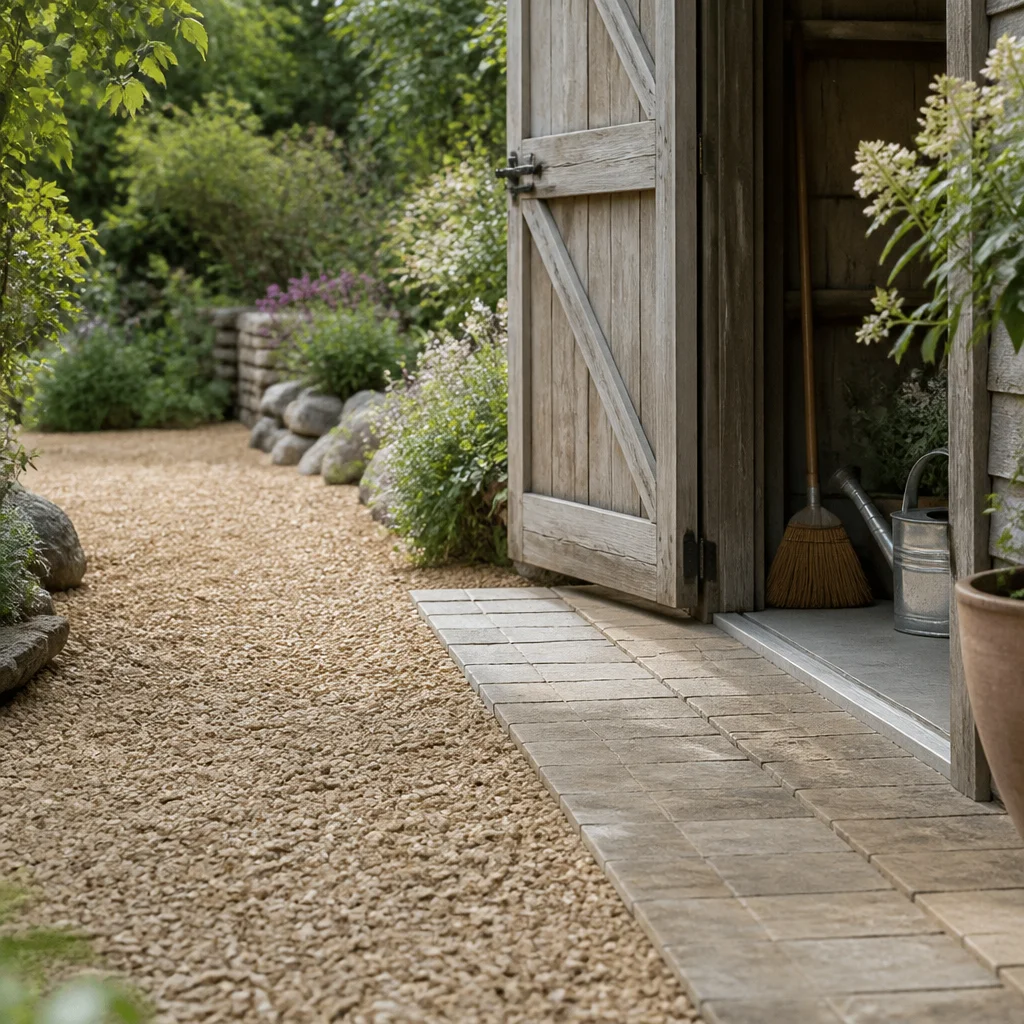
Use Planting to Frame the Route
Planting can make a practical path feel settled into the garden. Try repeated clumps of low grasses, compact herbs or groundcovers along one edge, choosing species suited to your soil, climate and available light. Leave a clear margin beside the walking surface so foliage can mature without narrowing the route. Near entrances, favour plants that do not drop slippery fruit or snag clothing. For a natural look, vary the spacing slightly and let a few low plants soften the outer edge. In a more formal garden, repeat a limited palette at regular intervals. Keep irrigation spray, aggressive runners and heavy leaf fall in mind: they can make the path harder to maintain even when the planting looks attractive.
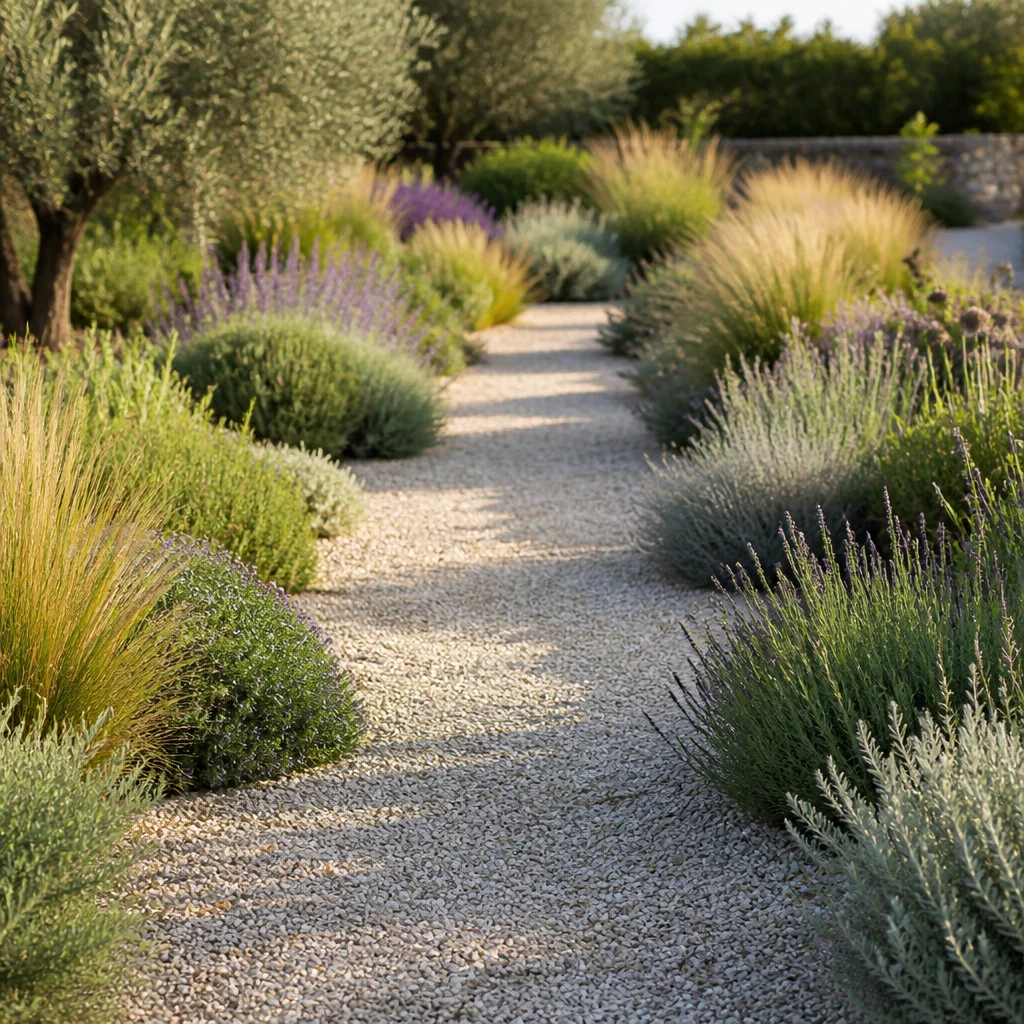
Keep the Surface Tidy and Even
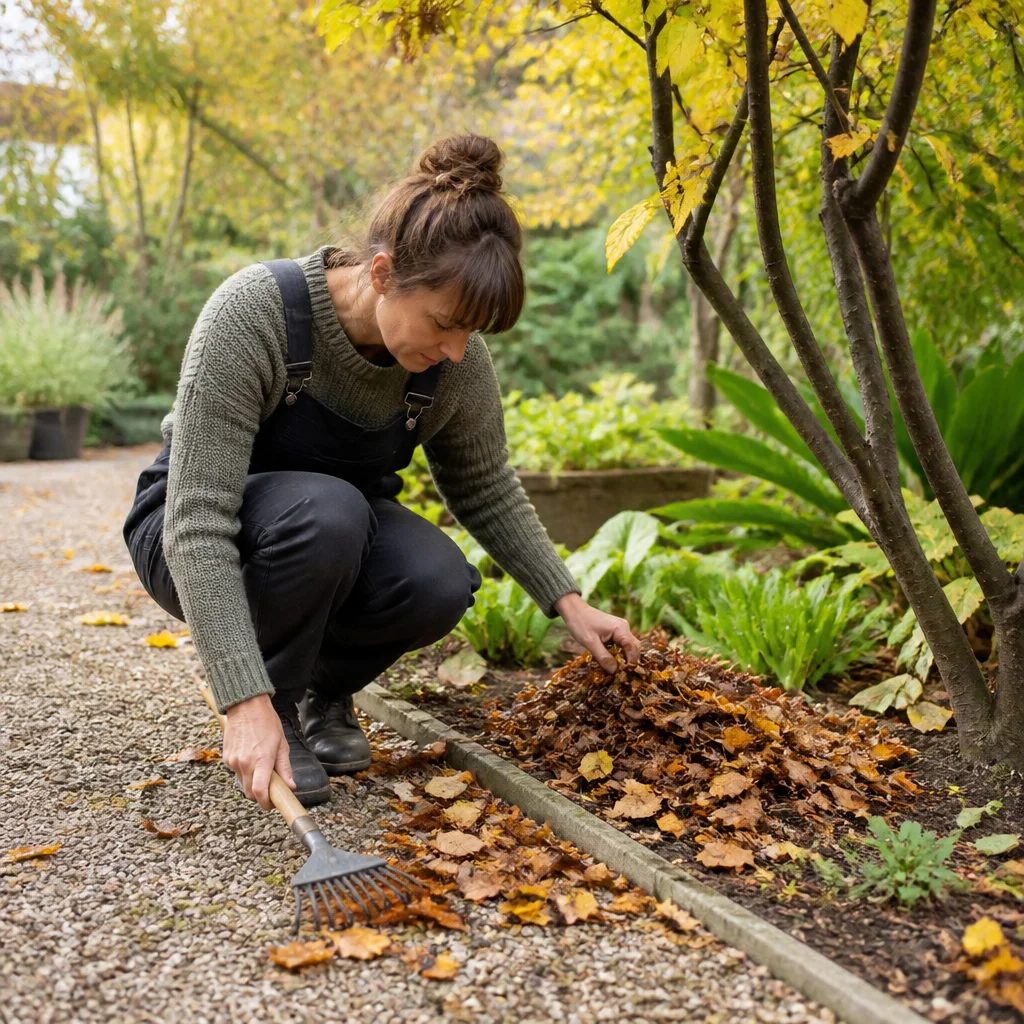
Rake gravel periodically to redistribute stone from the edges and fill shallow hollows, especially along the most-used line. Remove fallen leaves before they break down into material where weed seeds can settle. A leaf blower on a low setting may work on larger gravel, but test a small area first so it does not scatter the surface. Pull young weeds promptly, including their roots where possible. After heavy rain, check for puddles, displaced edging and channels cut through the gravel. Top up only when the surface has become thin, and use matching aggregate so the path remains consistent. If the base repeatedly sinks or stays wet, adding more gravel is unlikely to solve the underlying problem; lift the affected section and investigate the soil, drainage and compaction.
How did this story make you feel?
Choose one reaction. You can change it later.
